CI CD Pipeline for Data Science
개요
- 최근 밑바닥부터 시작하는 딥러닝 3로 수업을 수강생들과 진행하며 배포에 관한 내용이 있었습니다. (p 98).
- 구체적인 방법은 소개하지 않아서, 보충 자료로 작성하였다. 전
- 단계별로 진행하는데, 깃허브에 관한 기본적인 내용 및 코드는 알고 있다는 전제하에 작성하였다.
- 깃허브를 처음 접하시는 분들은 Github Project 포트폴리오를 참고하기를 바란다.
필요한 것
- Github: https://github.com/
- Travis-CI: https://www.travis-ci.com/
- Codecov: https://about.codecov.io/
- PyPI: https://pypi.org/
Steps - Travis Logins
-
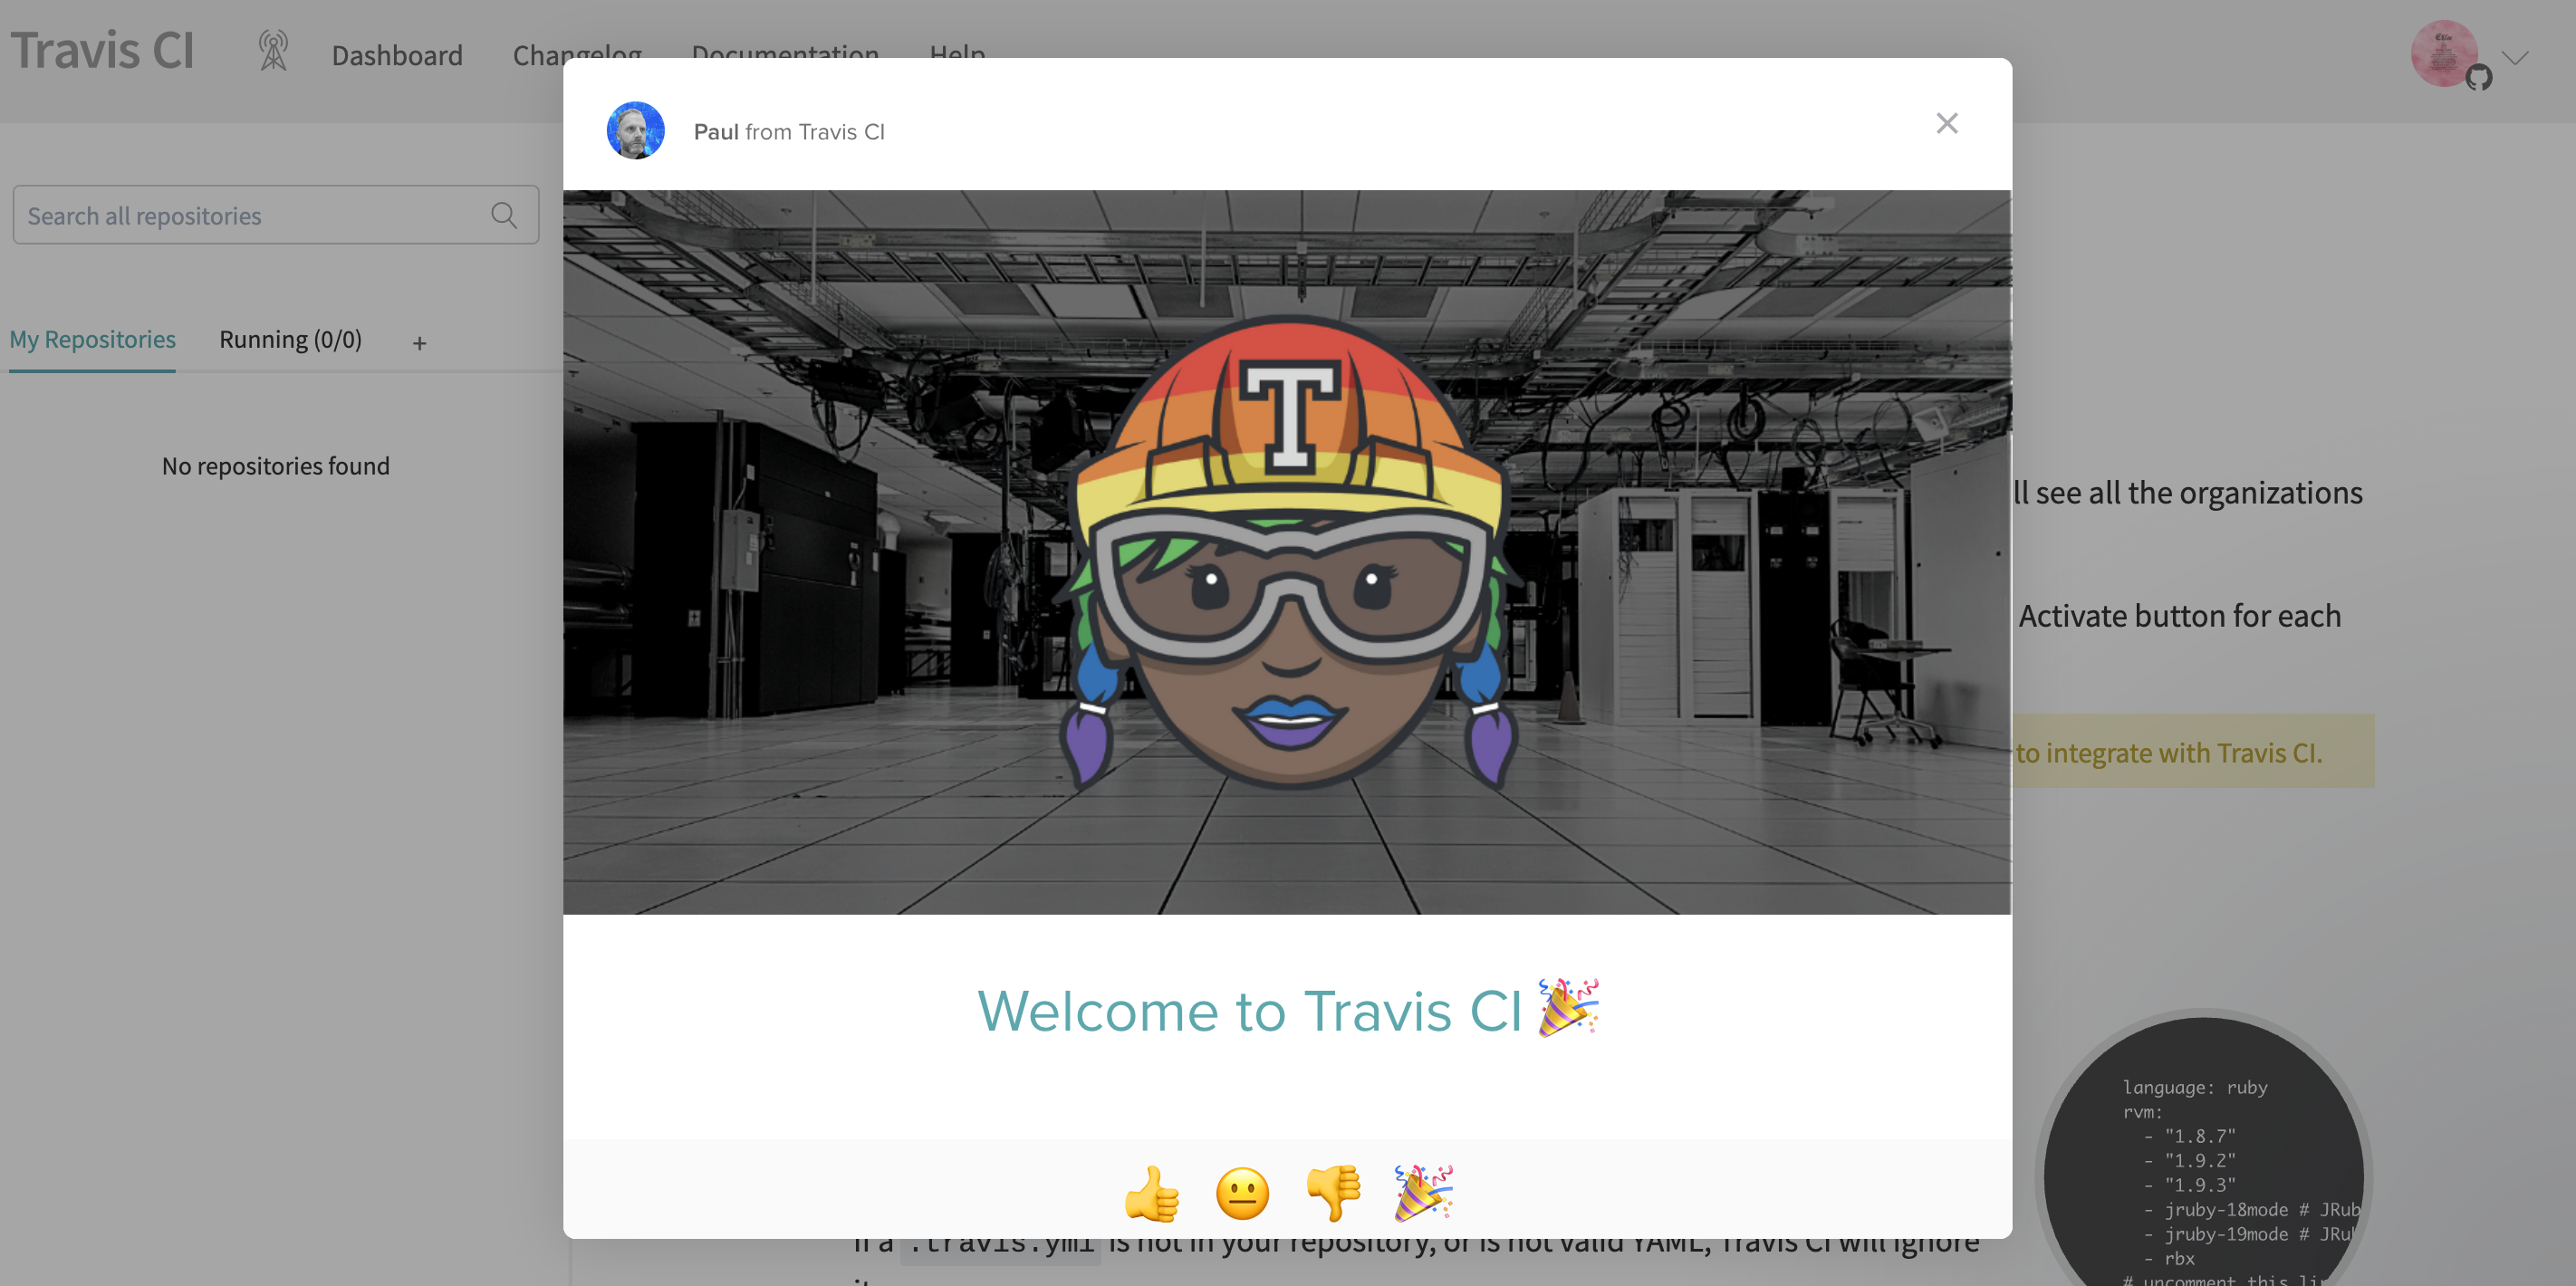
Travis에 깃허브로 로그인 한다. 아래와 같은 화면이 나오면 로그인이 잘 된 것이다.
-
영문 내용을 잘 읽어본다.
(1) Activate your GitHub repositories
Once you’re signed in, go to your profile page where you’ll see all the organizations you’re a member of. You can install the GitHub App integration by clicking the Activate button for each organization you would like to use with Travis CI.
NOTE: You need to be an admin for any repositories you want to integrate with Travis CI.
(2) Add a .travis.yml file to your repository
In order for Travis CI to build your project, you’ll need to add a .travis.yml configuration file to the root directory of your repository. If a .travis.yml is not in your repository, or is not valid YAML, Travis CI will ignore it. Here you can find some of our basic language examples.
(3) Trigger your first build
So you’ve configured the GitHub App integration, and added a .travis.yml file to your repository. All you need to do now is commit it to your local git history and git push it to GitHub. That’s all there is to it! Want to learn more? Read up on our docs.
-
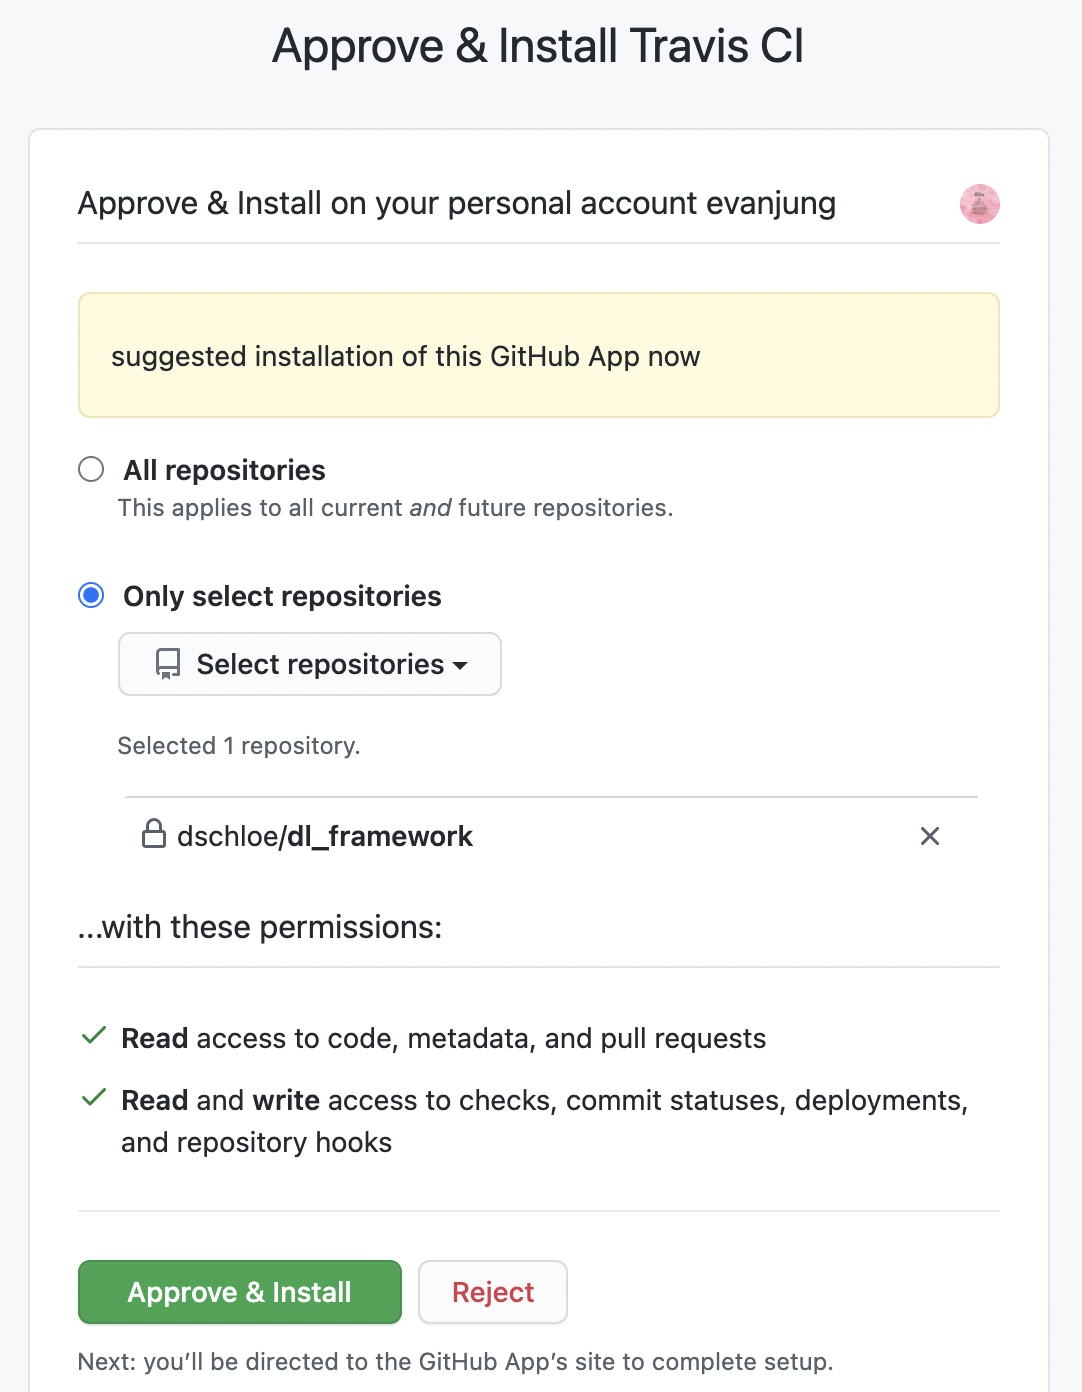
필자는 dl_framework만 활성화를 진행하였다.
-
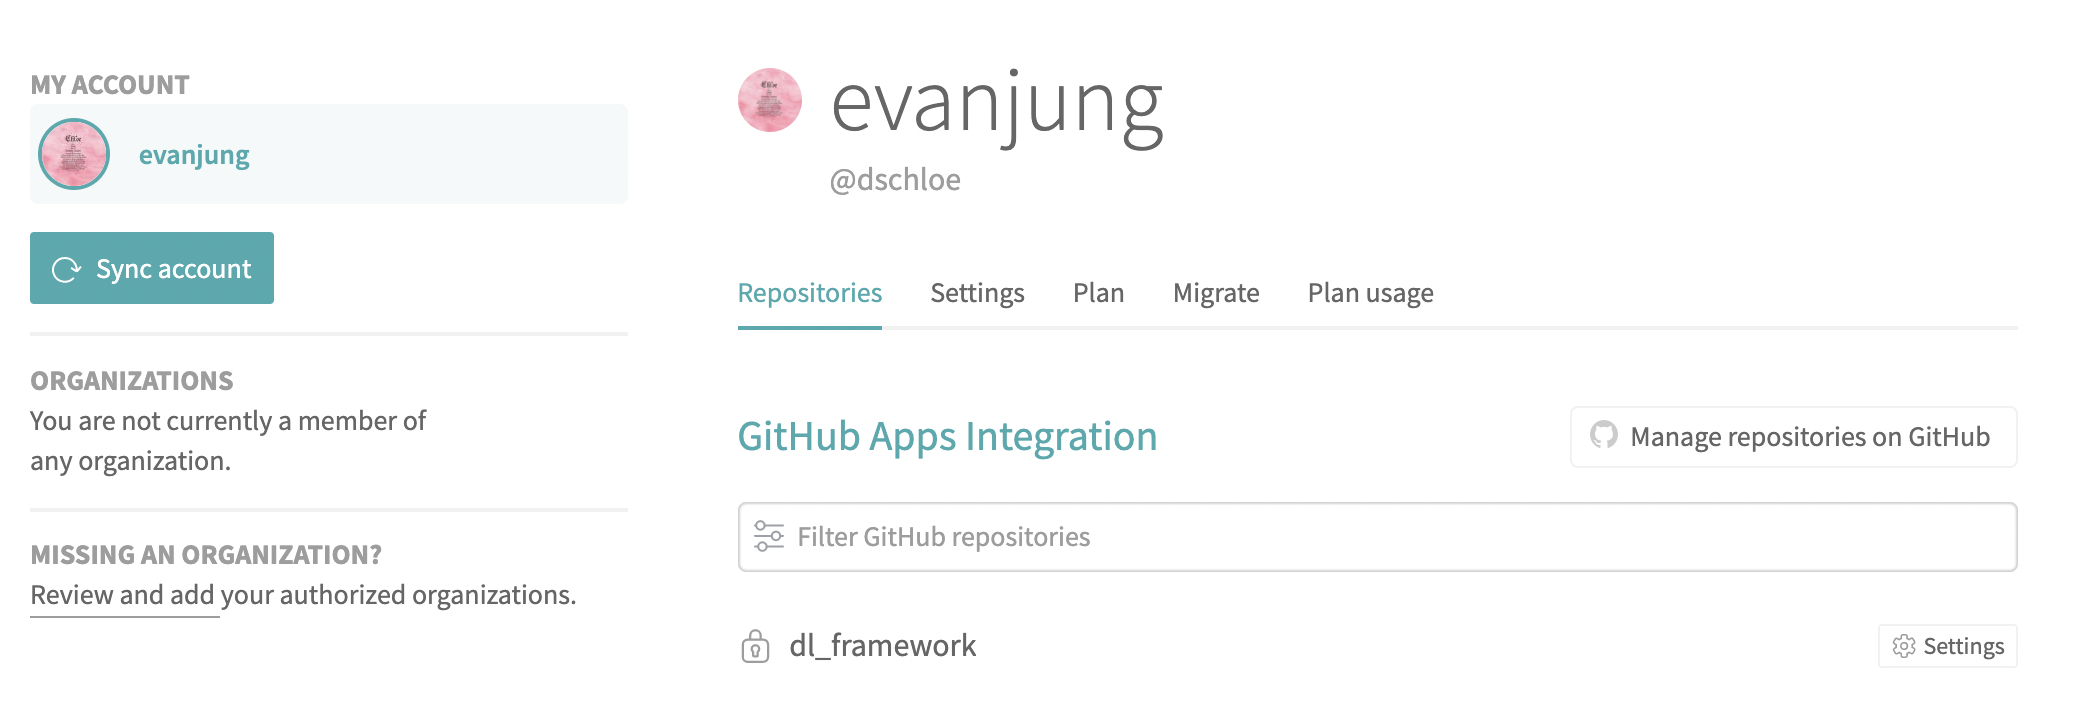
아래와 같이 확인 되면, 일단 여기에서는 더 이상 진행할 것이 없다.
Steps - Codecov Logins
- 내용적으로 큰 차이가 없기 때문에, 중간 내용은 생략한다.
Note: 이 때, 참조하려는 Repo가 Private으로 되어 있다면, 활성화가 되지 않기 때문에, Public으로 변환한다.

- 여기에서 매우 혼란스러울 수 있다. 그런데, 이 부분은 크게 신경을 쓰지 않아도 된다.
Steps - PyPI
-
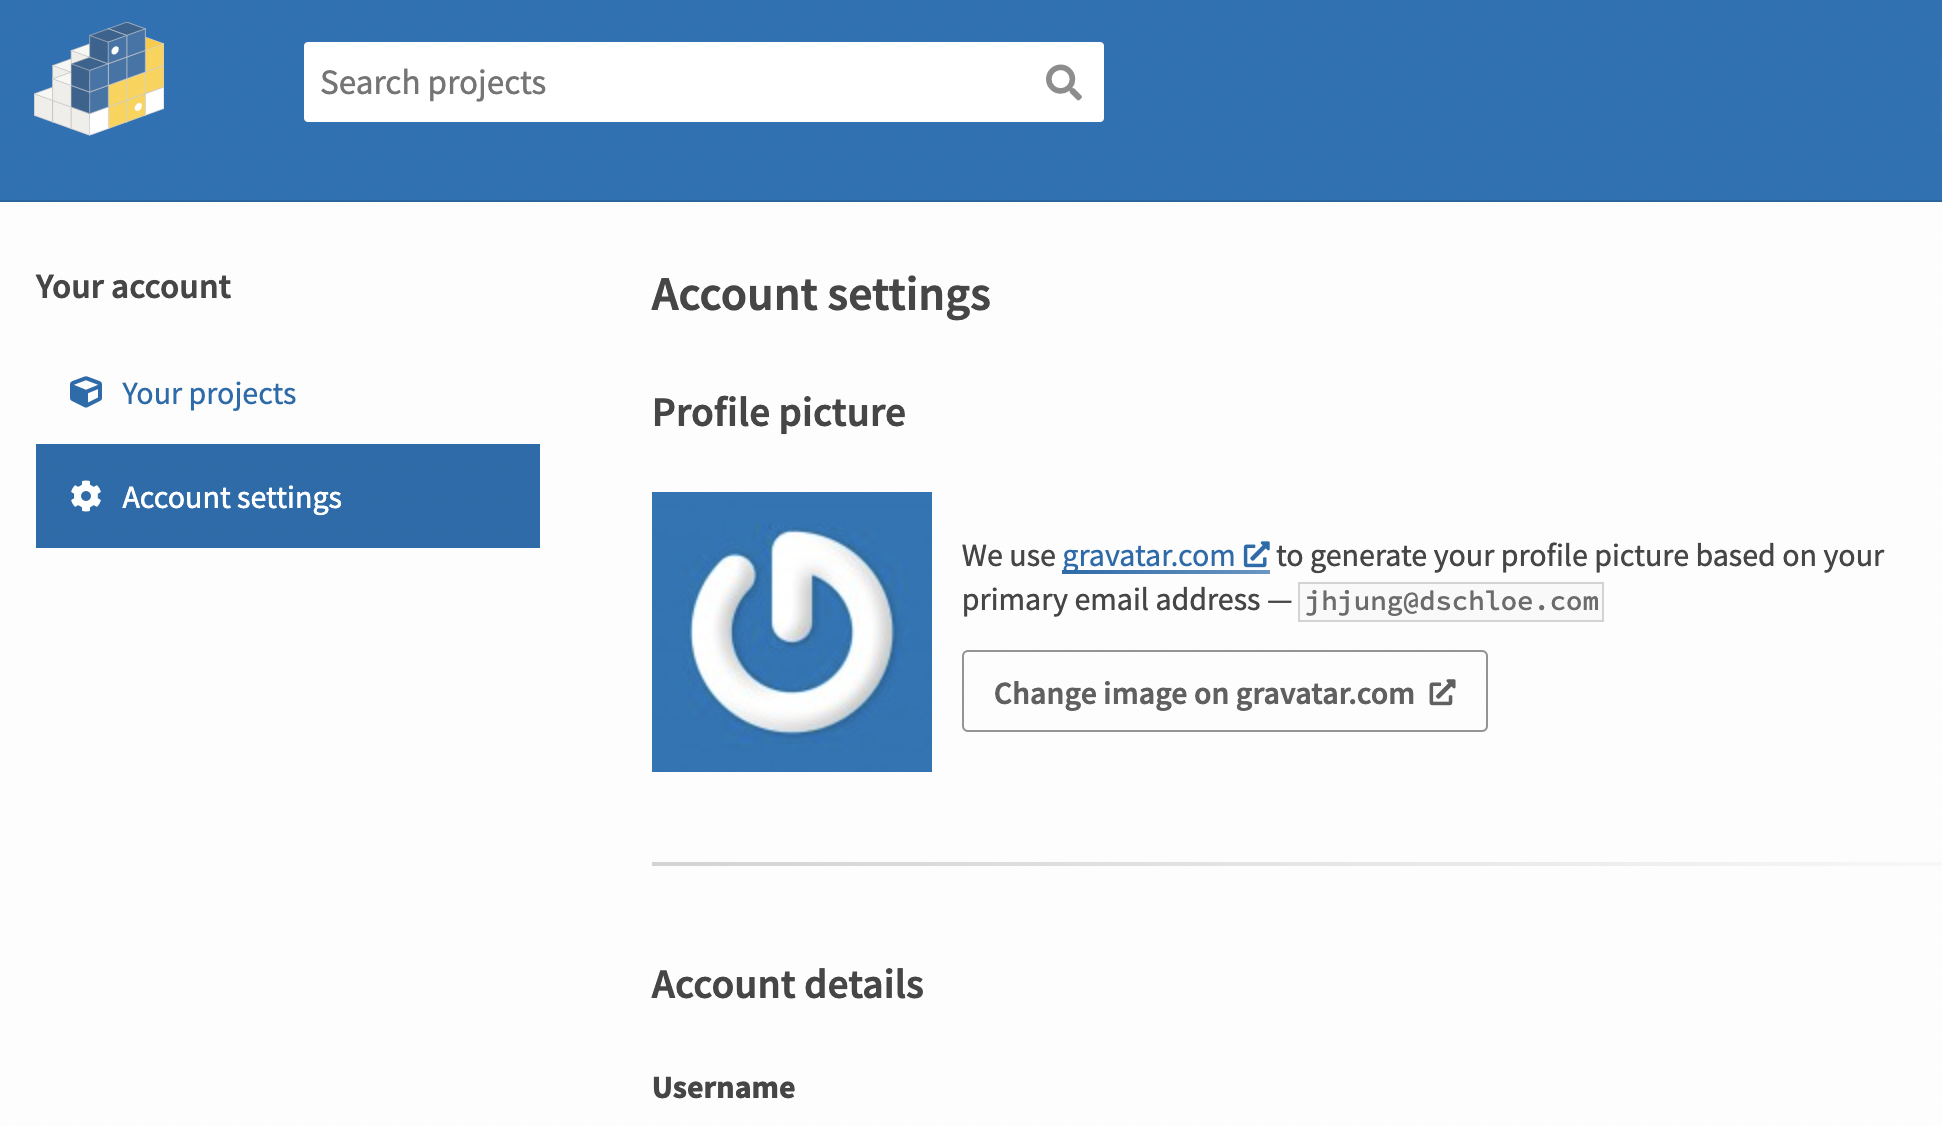
회원 가입 후, 메일인증을 완료하면 아래와 같은 화면이 나타날 것이다.
-
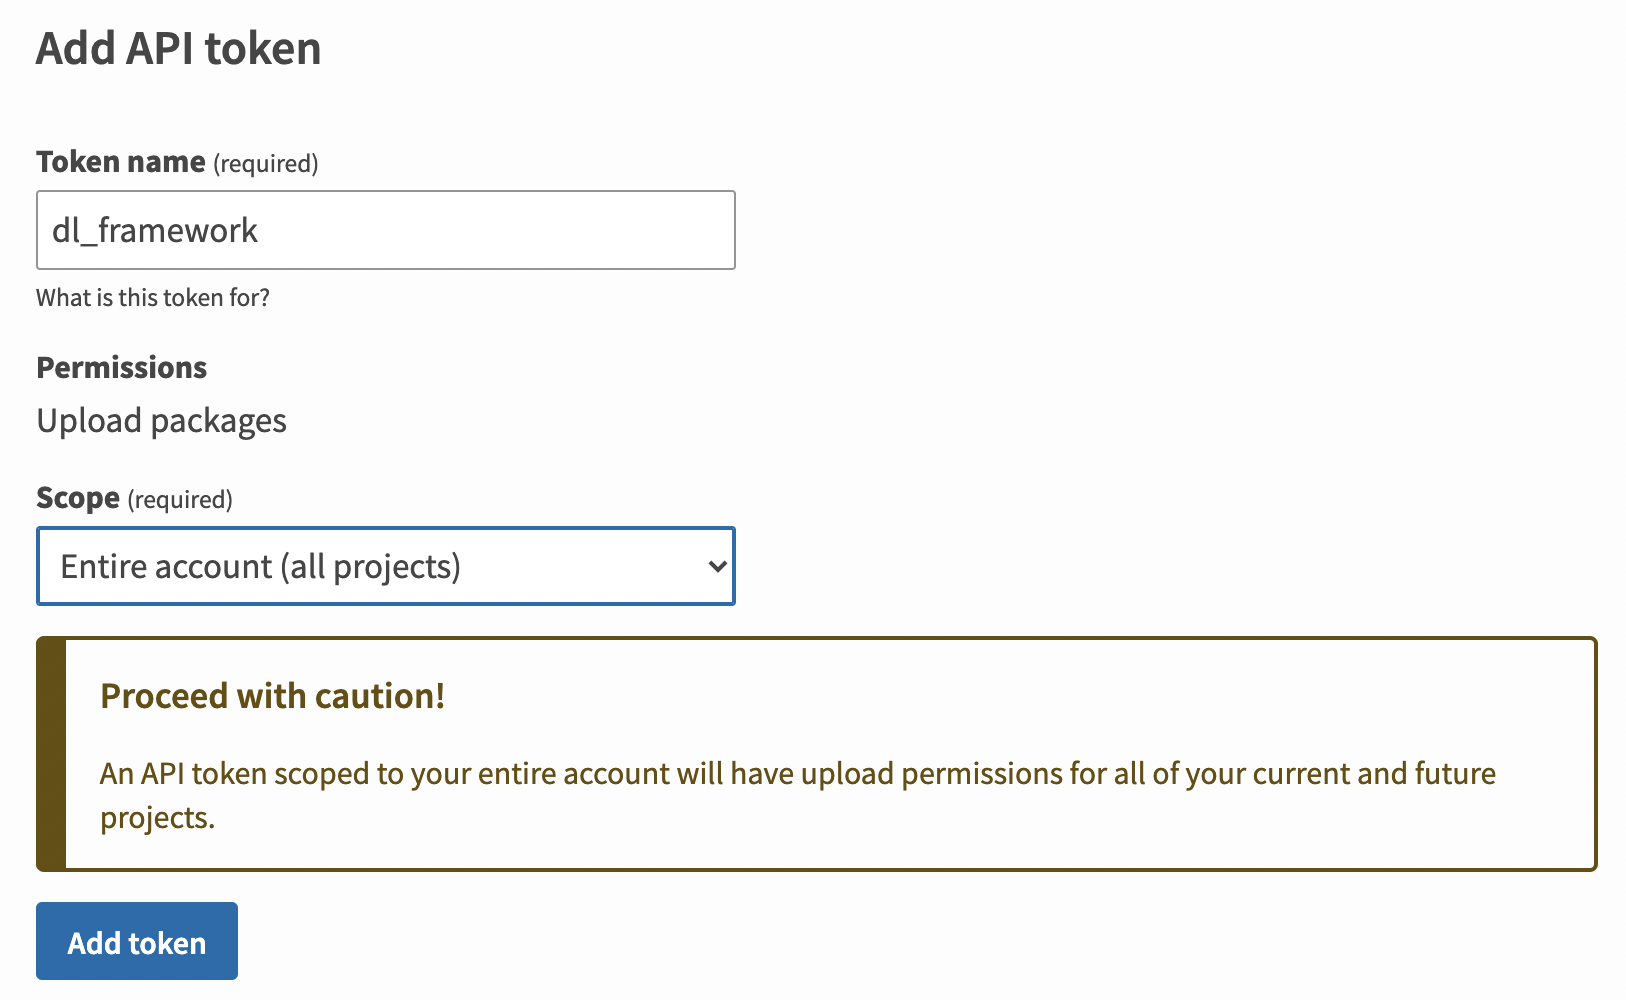
[Account Settings]-[API tokens]에서 토큰을 발급 받는다.
-
이 때 토큰을 복사해둔다.
Connections
-
첫번째, Travis-CI에서 [Profile Settings]를 클릭하면 아래와 같은 화면이 나오는지 확인한다.

-
dl_framework 오른쪽에 [Settings]를 클릭하면, [Environment Variables] 항목이 있다.
-
발급받은 PyPI 토큰을 Travis-CI에 복사하여 붙여넣기 한다.
- 아래와 같이 입력한 후 마무리 한다.

- 아래와 같이 입력한 후 마무리 한다.
필수 파일 설치
- 먼저,
setup.py을 작성한다. - 이 때, 주의해야 하는 것은 setup(name=??)인데, 해당 폴더명이 있어야 한다. 그리고, 해당 폴더명 안에 각종 프레임워크를 넣어야 한다.
import os
import io
from setuptools import find_packages, setup

# Utility Function to read the README file
# Used for the long_description. It's nice, because now 1) we have a top level
# README file and 2) it's easier to type in the README file than to put a raw
# string in below

# Read in the README for the long description on PyPI
def long_description():
    with io.open('README.rst', 'r', encoding='utf-8') as f:
        readme = f.read()
    return readme

setup(
    name='dschloe_dl_framework',
    version="0.0.1",
    author="DSChloe",
    author_email="jhjung@dschloe.com",
    description="Deep Neural Networks built from the book `Deep Learning from Scratch`",
    license='MIT',
    packages=find_packages(),
    keywords="Deep Learning",
    url="https://github.com/dschloe/dl_framework",
    classifiers=[
        'Programming Language :: Python :: 2.7',
        'Programming Language :: Python :: 3',
        'Programming Language :: Python :: 3.8',
    ],
    zip_safe=False
)
- 작성이 끝났으면 이번에는
requirements.txt파일에 관련 패키지를 설치한다.
pandas==1.2.3
numpy==1.19.2
scipy==1.6.1
matplotlib==3.3.4
tqdm==4.58.0
scikit_learn==0.24.1
tensorflow==2.4.1
- 마지막으로
.travis.yml에 아래 코드를 담는다.
language: python
python:
  - 3.7
  - 3.8
install:
  - pip install -r requirements.txt
  - pip install coverage
  - pip install codecov
  - pip install chainer
  - pip install Pillow
  - pip install pytest-cov
script:
  - coverage run -m unittest discover

after_success:
  - bash <(curl -s https://codecov.io/bash)

deploy:
  provider: pypi
  username: "__token__"
  password: $DL_FRAMEWORK_PYPI_TOKEN
  distributions: "sdist bdist_wheel" # Your distributions here
  skip_existing: true
  on:
    branch: staging
tests 폴더
- tests 폴더를 만든 후, steps10.py을 해당 경로에 넣어둔다.
import unittest
import numpy as np

class Variable:
    def __init__(self, data):
        if data is not None:
            if not isinstance(data, np.ndarray):
                raise TypeError('{} is not supported'.format(type(data)))

        self.data = data
        self.grad = None
        self.creator = None

    def set_creator(self, func):
        self.creator = func

    def backward(self):
        if self.grad is None:
            self.grad = np.ones_like(self.data)

        funcs = [self.creator]
        while funcs:
            f = funcs.pop()
            x, y = f.input, f.output
            x.grad = f.backward(y.grad)

            if x.creator is not None:
                funcs.append(x.creator)


def as_array(x):
    if np.isscalar(x):
        return np.array(x)
    return x


class Function:
    def __call__(self, input):
        x = input.data
        y = self.forward(x)
        output = Variable(as_array(y))
        output.set_creator(self)
        self.input = input
        self.output = output
        return output

    def forward(self, x):
        raise NotImplementedError()

    def backward(self, gy):
        raise NotImplementedError()


class Square(Function):
    def forward(self, x):
        y = x ** 2
        return y

    def backward(self, gy):
        x = self.input.data
        gx = 2 * x * gy
        return gx


def square(x):
    return Square()(x)


def numerical_diff(f, x, eps=1e-4):
    x0 = Variable(x.data - eps)
    x1 = Variable(x.data + eps)
    y0 = f(x0)
    y1 = f(x1)
    return (y1.data - y0.data) / (2 * eps)


class SquareTest(unittest.TestCase):
    def test_forward(self):
        x = Variable(np.array(2.0))
        y = square(x)
        expected = np.array(4.0)
        self.assertEqual(y.data, expected)

    def test_backward(self):
        x = Variable(np.array(3.0))
        y = square(x)
        y.backward()
        expected = np.array(6.0)
        self.assertEqual(x.grad, expected)

    def test_gradient_check(self):
        x = Variable(np.random.rand(1))
        y = square(x)
        y.backward()
        num_grad = numerical_diff(square, x)
        flg = np.allclose(x.grad, num_grad)
        self.assertTrue(flg)
- 성능 테스트가 완료가 되면, 프레임워크 성능 테스트는 끝이 난 것임.

패키지 배포
- 패키지 배포를 하려면 다음과 같은 작업이 필요한다.
setuptools 패키지
- 만약 설치가 되어 있지 않다면 설치 한다.
$ pip install setuptools
setup.cfg 파일
- 만약 README 파일이 마크다운이라면 아래와 같이 파일에 텍스트를 입력한다.
[metadata]
description-file = README.md
빌드하기
- 아래 명령어를 입력하여 빌드를 진행한다.
$ pip install wheel
$ python setup.py bdist_wheel
- 위 명령어를 입력하면 dist 폴더가 생긴다.
dist/
└── dl_framework-0.0.1-py3-none-any.whl
배포하기
- PyPi에 계정이 있어야 하며, 사용자 ID와 패스워드를 기억합니다.
# 배포할 빌드 파일명이 pyquibase-1.0-py3-none-any.whl 라는 가정하에
$ twine upload dist/dl_framework-0.0.1-py3-none-any.whl
- 배포가 완료가 되면, 아래와 같이 PyPI에서 확인할 수 있다.

