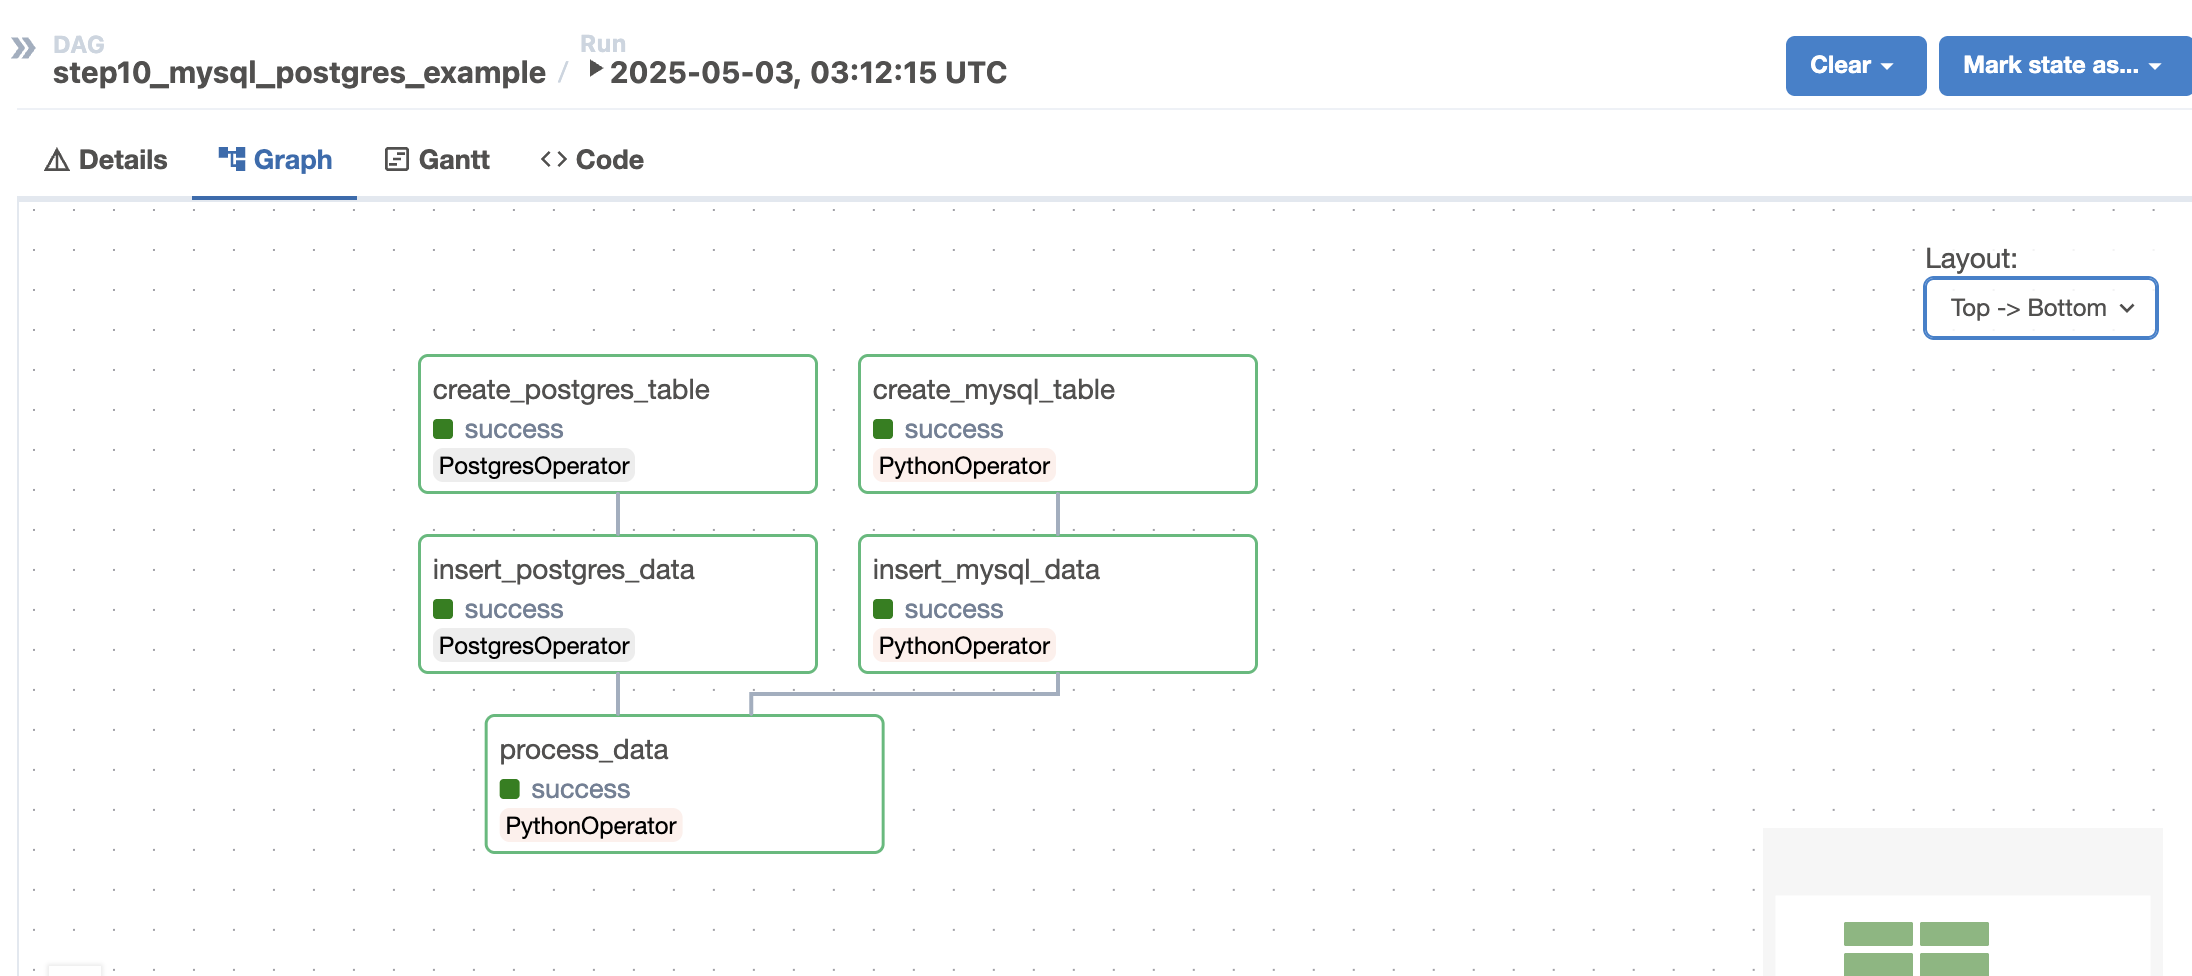
PostgreSQL 및 Python 연동 예제
- 다음 예제에서는 Python과 PostgreSQL이 연동되는 코드를 작성해본다.
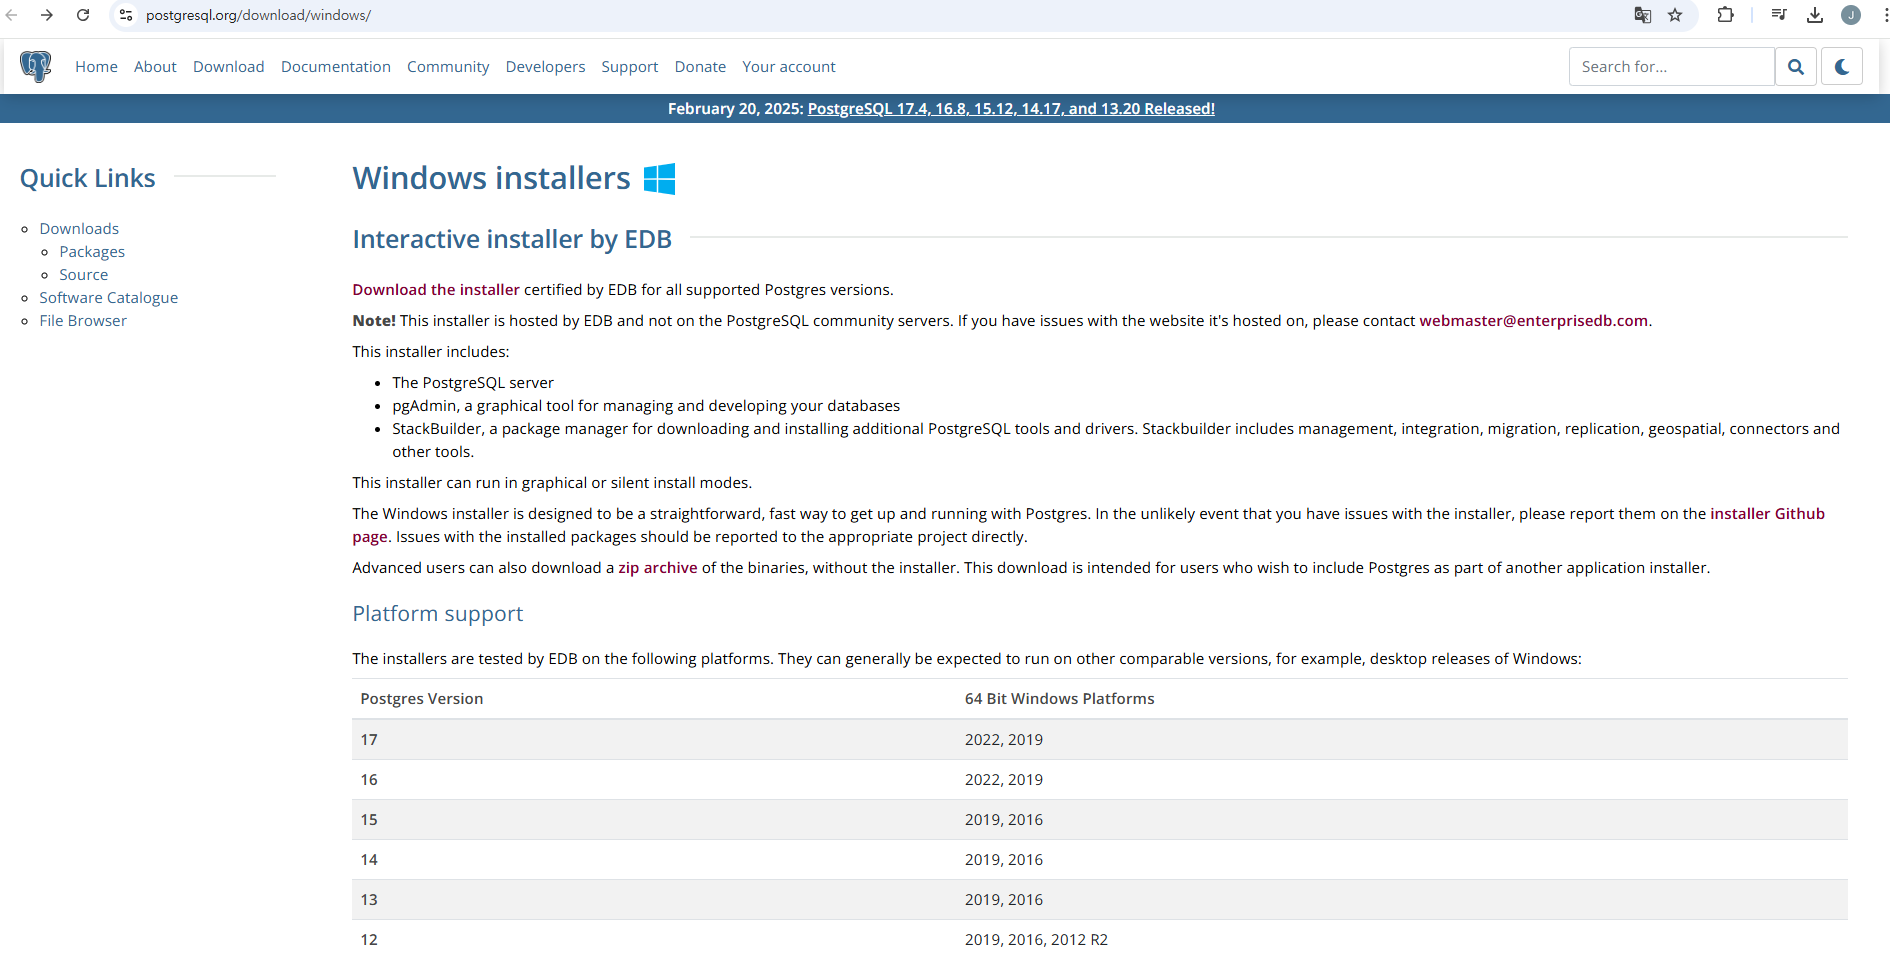
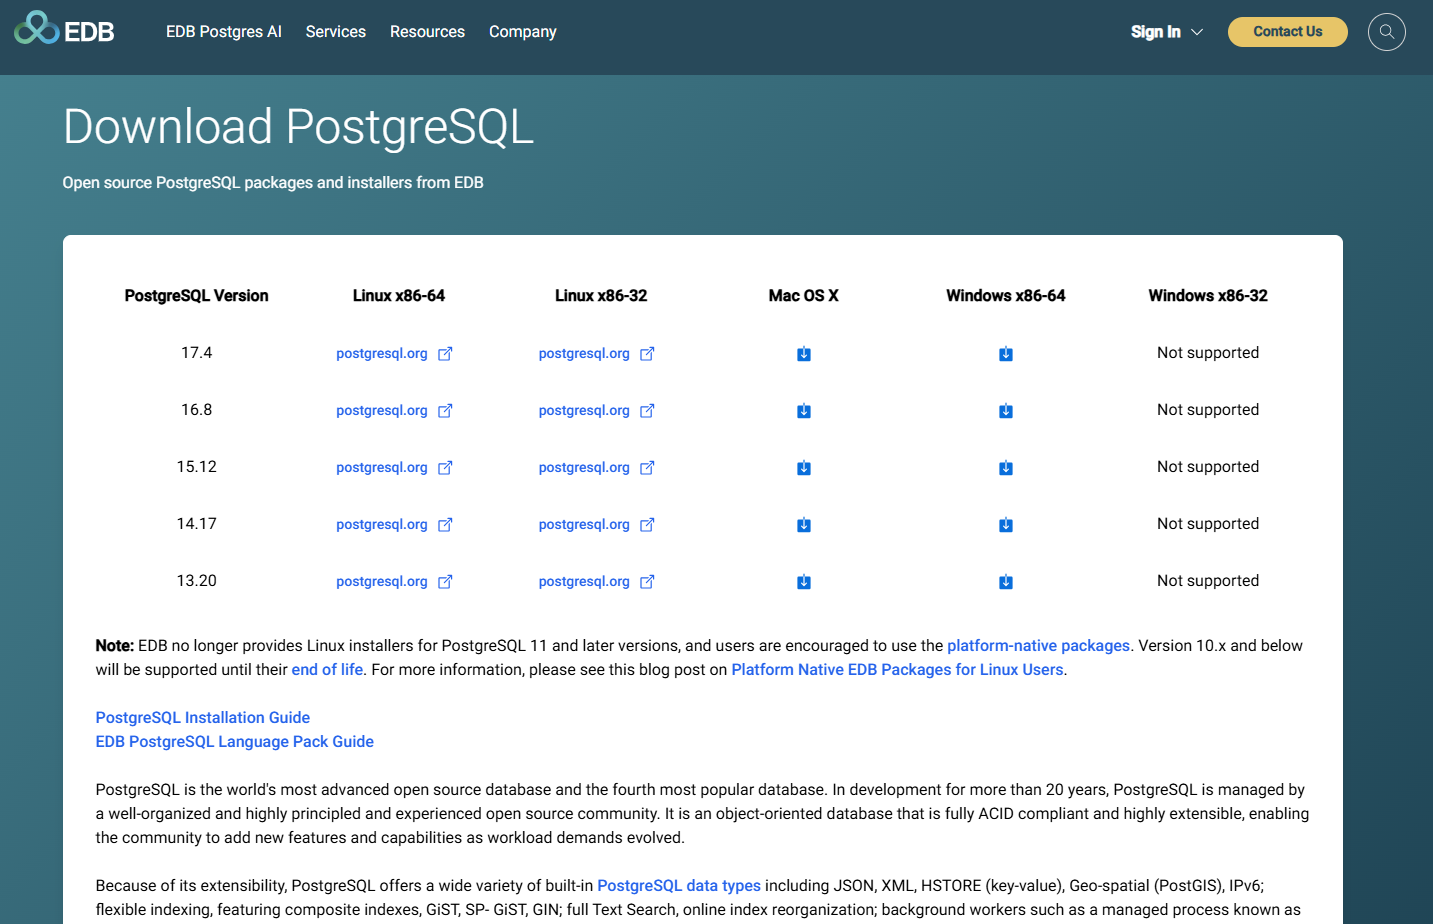
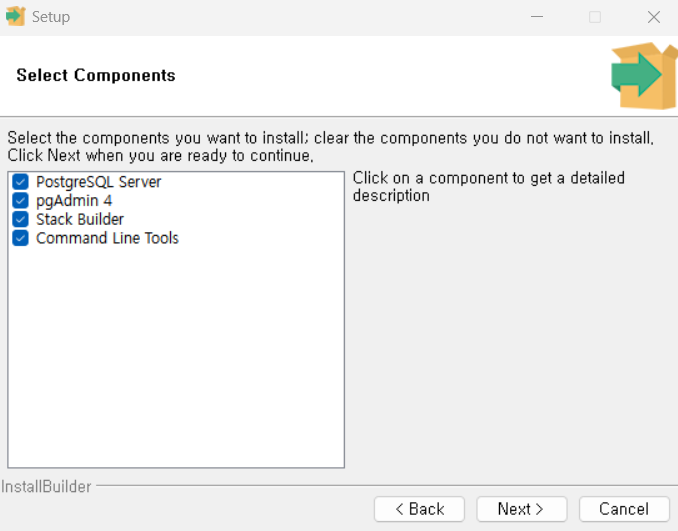
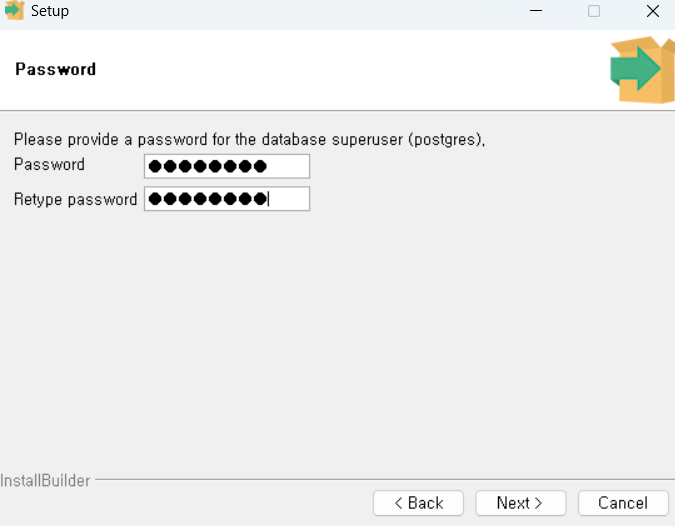
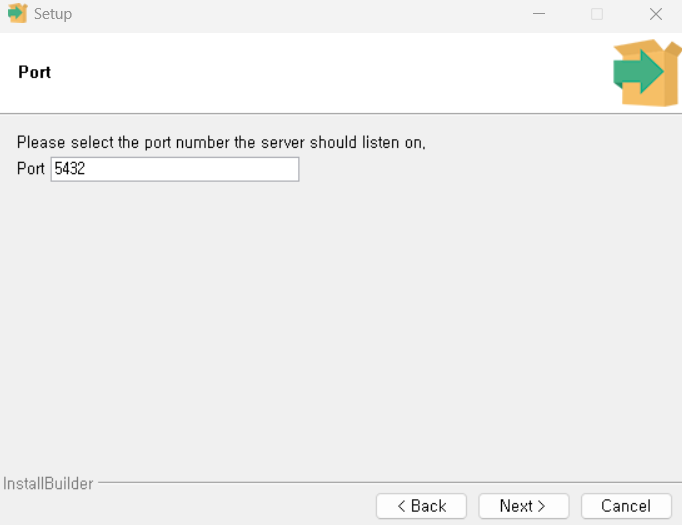
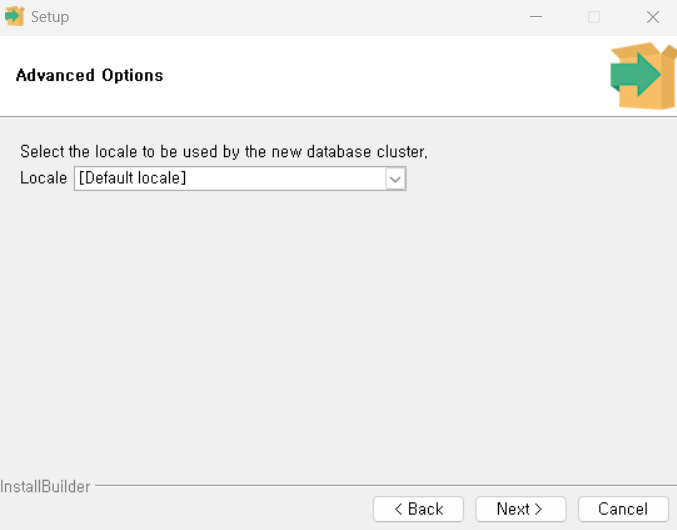
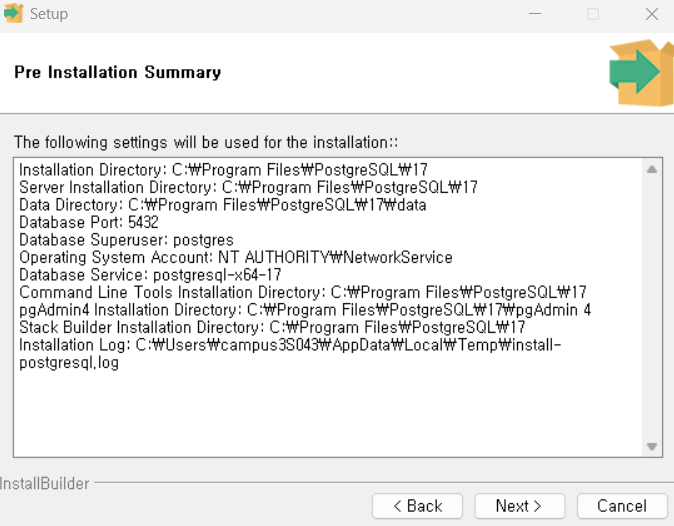
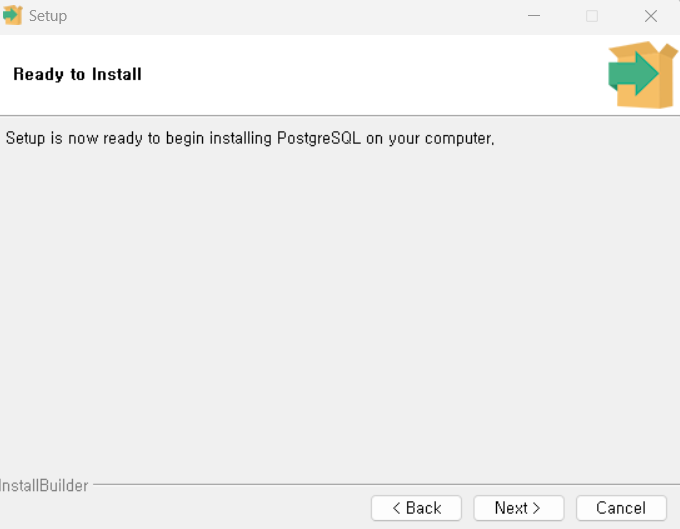
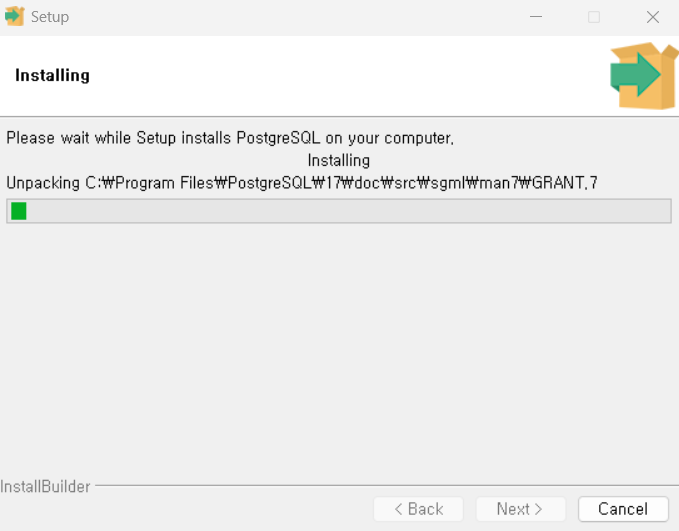
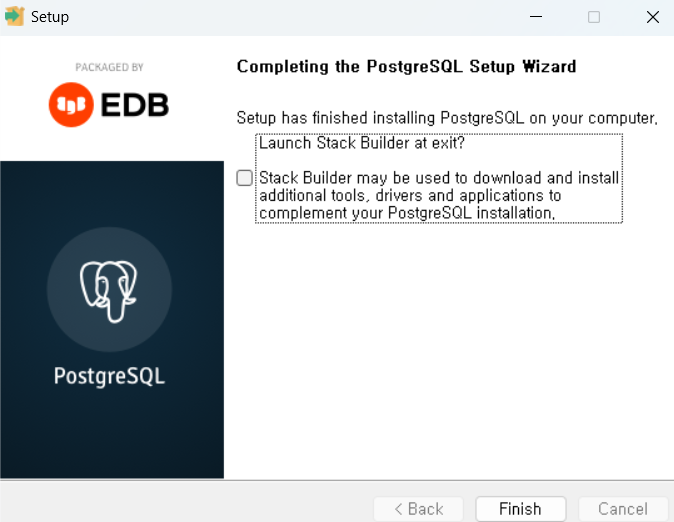
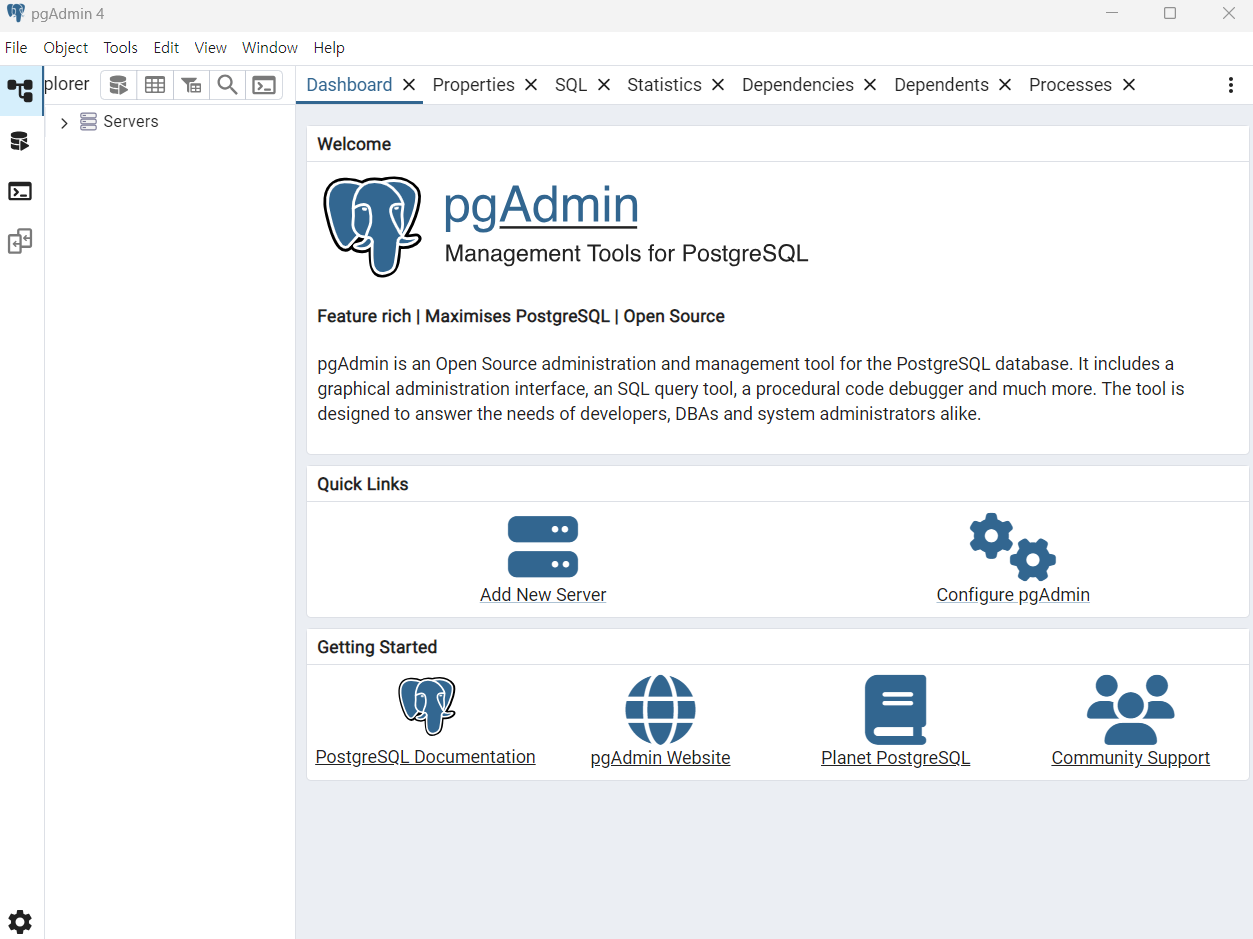
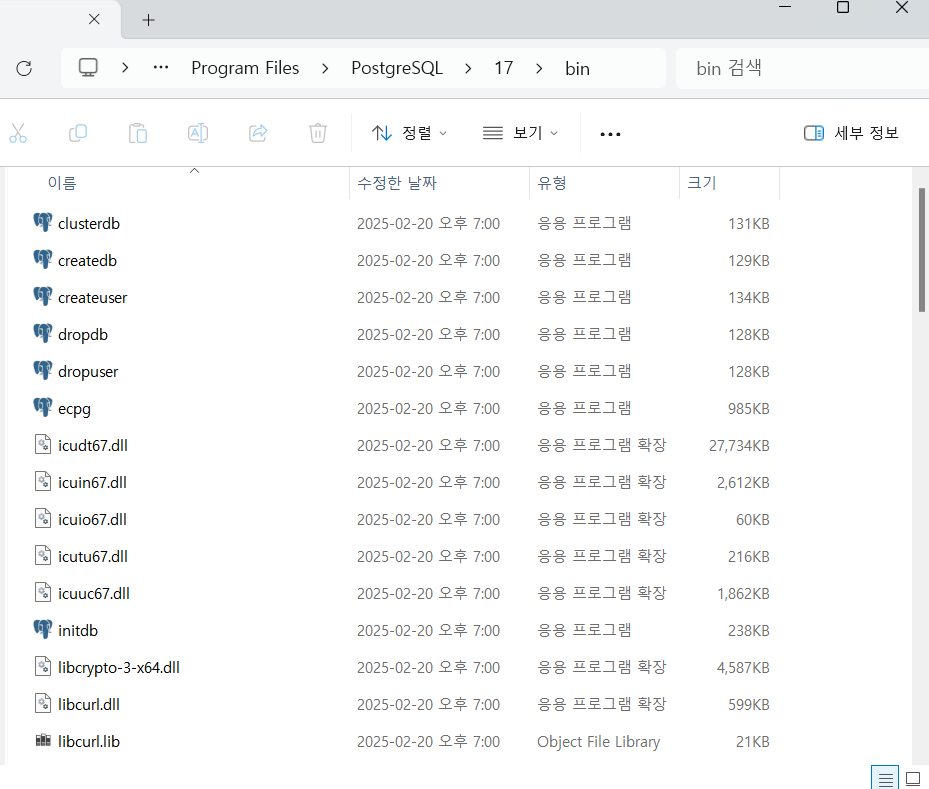
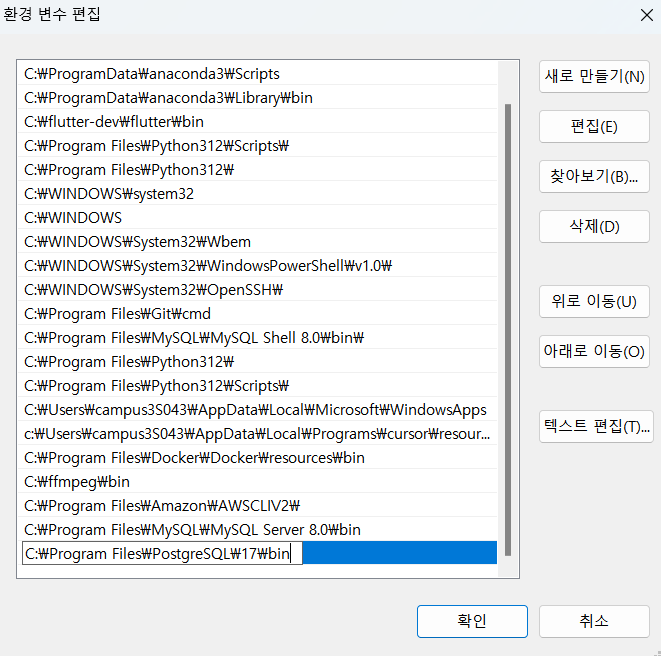
- PostgreSQL 설치 방법은 다음 자료를 확인한다.
라이브러리 설치
$ pip install psycopg2-binary
Downloading psycopg2_binary-2.9.2-cp310-cp310-win_amd64.whl (1.2 MB)
     |████████████████████████████████| 1.2 MB 6.4 MB/s
Installing collected packages: psycopg2-binary
Successfully installed psycopg2-binary-2.9.2
현재 Database 확인
- cmd 파일 창을 열고, 현재 DB 리스트를 확인한다.
\list or l: 전체 databases 리스트를 조회한다.
C:\Users\user>psql --username=postgres
postgres 사용자의 암호:
psql (13.5)
도움말을 보려면 "help"를 입력하십시오.
postgres=# \l
데이터베이스 목록
   이름    |  소유주  | 인코딩 |     Collate      |      Ctype       |      액세스 권한
-----------+----------+--------+------------------+------------------+-----------------------
 postgres  | postgres | UTF8   | Korean_Korea.949 | Korean_Korea.949 |
 template0 | postgres | UTF8   | Korean_Korea.949 | Korean_Korea.949 | =c/postgres          +
           |          |        |                  |                  | postgres=CTc/postgres
 template1 | postgres | UTF8   | Korean_Korea.949 | Korean_Korea.949 | =c/postgres          +
           |          |        |                  |                  | postgres=CTc/postgres
(3개 행)
Database 생성
# import the psycopg2 database adapter for PostgreSQL
from psycopg2 import connect, extensions

# connect
def createDB():
    conn = connect(
        database="postgres", user='postgres', password='your_password', host='127.0.0.1', port='5432'
    )

    # object type: psycopg2.extensions.connection
		# object type: conn 객체 유형을 확인한다.
    print("\ntype(conn):", type(conn))

    # 명령 처리 함수 구현
    cursor = conn.cursor()

    # Create Database Creation
		# 먼저 DB_NAME을 생성한다.

    DB_NAME = "testDB"

    # get the isolation leve for autocommit
		# autocommit을 설정한다.
    autocommit = extensions.ISOLATION_LEVEL_AUTOCOMMIT
    print("ISOLATION_LEVEL_AUTOCOMMIT:", extensions.ISOLATION_LEVEL_AUTOCOMMIT)

    # set the isolation level for the connection's cursors
    # will raise ActiveSqlTransaction exception otherwise
    conn.set_isolation_level(autocommit)

    # Create Database
    # instantiate a cursor object from the connection
    cursor = conn.cursor()

    # use the execute METHOD to make a SQL Request
    cursor.execute("CREATE DATABASE " + str(DB_NAME))
    print("Database created successfully...!")

    # close the cursor to avoid memory leaks
    cursor.close

    # Connection Closed to avoid memory leaks
    conn.close()

if __name__ == "__main__":
    createDB()
- DB 생성시 중요한 건, autocommit을 설정해줘야 한다는 것이다. 만약 해당 설정을 삭제하고 재 실행하면,
psycopg2.errors.ActiveSqlTransaction: CREATE DATABASE cannot run inside a transaction block 과 같은 에러 메시지가 나타나게 될 것이다.
현재 Database 확인
- cmd 파일 창을 열고, 현재 DB 리스트를 확인한다.
\list or l: 전체 databases 리스트를 조회한다.- testdb가 생성된 것을 확인할 수 있다.
postgres=# \l
                                      데이터베이스 목록
   이름    |  소유주  | 인코딩 |     Collate      |      Ctype       |      액세스 권한
-----------+----------+--------+------------------+------------------+-----------------------
 postgres  | postgres | UTF8   | Korean_Korea.949 | Korean_Korea.949 |
 template0 | postgres | UTF8   | Korean_Korea.949 | Korean_Korea.949 | =c/postgres          +
           |          |        |                  |                  | postgres=CTc/postgres
 template1 | postgres | UTF8   | Korean_Korea.949 | Korean_Korea.949 | =c/postgres          +
           |          |        |                  |                  | postgres=CTc/postgres
 testdb    | postgres | UTF8   | Korean_Korea.949 | Korean_Korea.949 |
(4개 행)
Database 삭제
- 이번에는
Database를 삭제하는 코드를 작성하고, 실행하여 testdb를 삭제하도록 한다.
# import the psycopg2 database adapter for PostgreSQL
from psycopg2 import connect, extensions

# delete
def deleteDB():
    conn = connect(
        database="postgres", user='postgres', password='your_password', host='127.0.0.1', port='5432'
    )

    # object type: psycopg2.extensions.connection
    print("\ntype(conn):", type(conn))

    # SQL Query
    DB_NAME = "testDB"
    # get the isolation leve for autocommit
    autocommit = extensions.ISOLATION_LEVEL_AUTOCOMMIT
    print("ISOLATION_LEVEL_AUTOCOMMIT:", extensions.ISOLATION_LEVEL_AUTOCOMMIT)

    # set the isolation level for the connection's cursors
    # will raise ActiveSqlTransaction exception otherwise
    conn.set_isolation_level(autocommit)

    # Create Database
    # instantiate a cursor object from the connection
    # 명령 처리 함수 구현
    cursor = conn.cursor()

    # use the execute METHOD to make a SQL Request
    cursor.execute("DROP DATABASE " + str(DB_NAME))
    print("Database Drop successfully...!")

    # close the cursor to avoid memory leaks
    cursor.close()

    # Connection Closed to avoid memory leaks
    conn.close()

if __name__ == "__main__":
    # createDB()
    deleteDB()
현재 Database 확인
- cmd 파일 창을 열고, 현재 DB 리스트를 확인한다.
\list or l: 전체 databases 리스트를 조회한다.testdb 가 삭제된 것을 확인할 수 있다.
C:\Users\user>psql --username=postgres
postgres 사용자의 암호:
psql (13.5)
도움말을 보려면 "help"를 입력하십시오.
postgres=# \l
데이터베이스 목록
   이름    |  소유주  | 인코딩 |     Collate      |      Ctype       |      액세스 권한
-----------+----------+--------+------------------+------------------+-----------------------
 postgres  | postgres | UTF8   | Korean_Korea.949 | Korean_Korea.949 |
 template0 | postgres | UTF8   | Korean_Korea.949 | Korean_Korea.949 | =c/postgres          +
           |          |        |                  |                  | postgres=CTc/postgres
 template1 | postgres | UTF8   | Korean_Korea.949 | Korean_Korea.949 | =c/postgres          +
           |          |        |                  |                  | postgres=CTc/postgres
(3개 행)
소결
- 해당 함수에서 불필요하게 재반복해서 사용하는 코드들이 있다.
- 이러한 재반복 코드는
Class로 정의해서 사용하면 훨씬 더 간결하게 작성할 수 있다. - 다음번에는
Class로 정의해서 코드를 작성하도록 한다.