Cursor AI 소개 및 설치
Page content
웹사이트

회원가입

Settings

가격정책(Pricing)

프로그램 설치 (Windows)
- 기존에 Visual Studio Code가 설치가 되어 있어야 한다.

- 실행 또는 (관리자 권한)으로 실행

- Continue 버튼 선택

- Use Extensions 선택

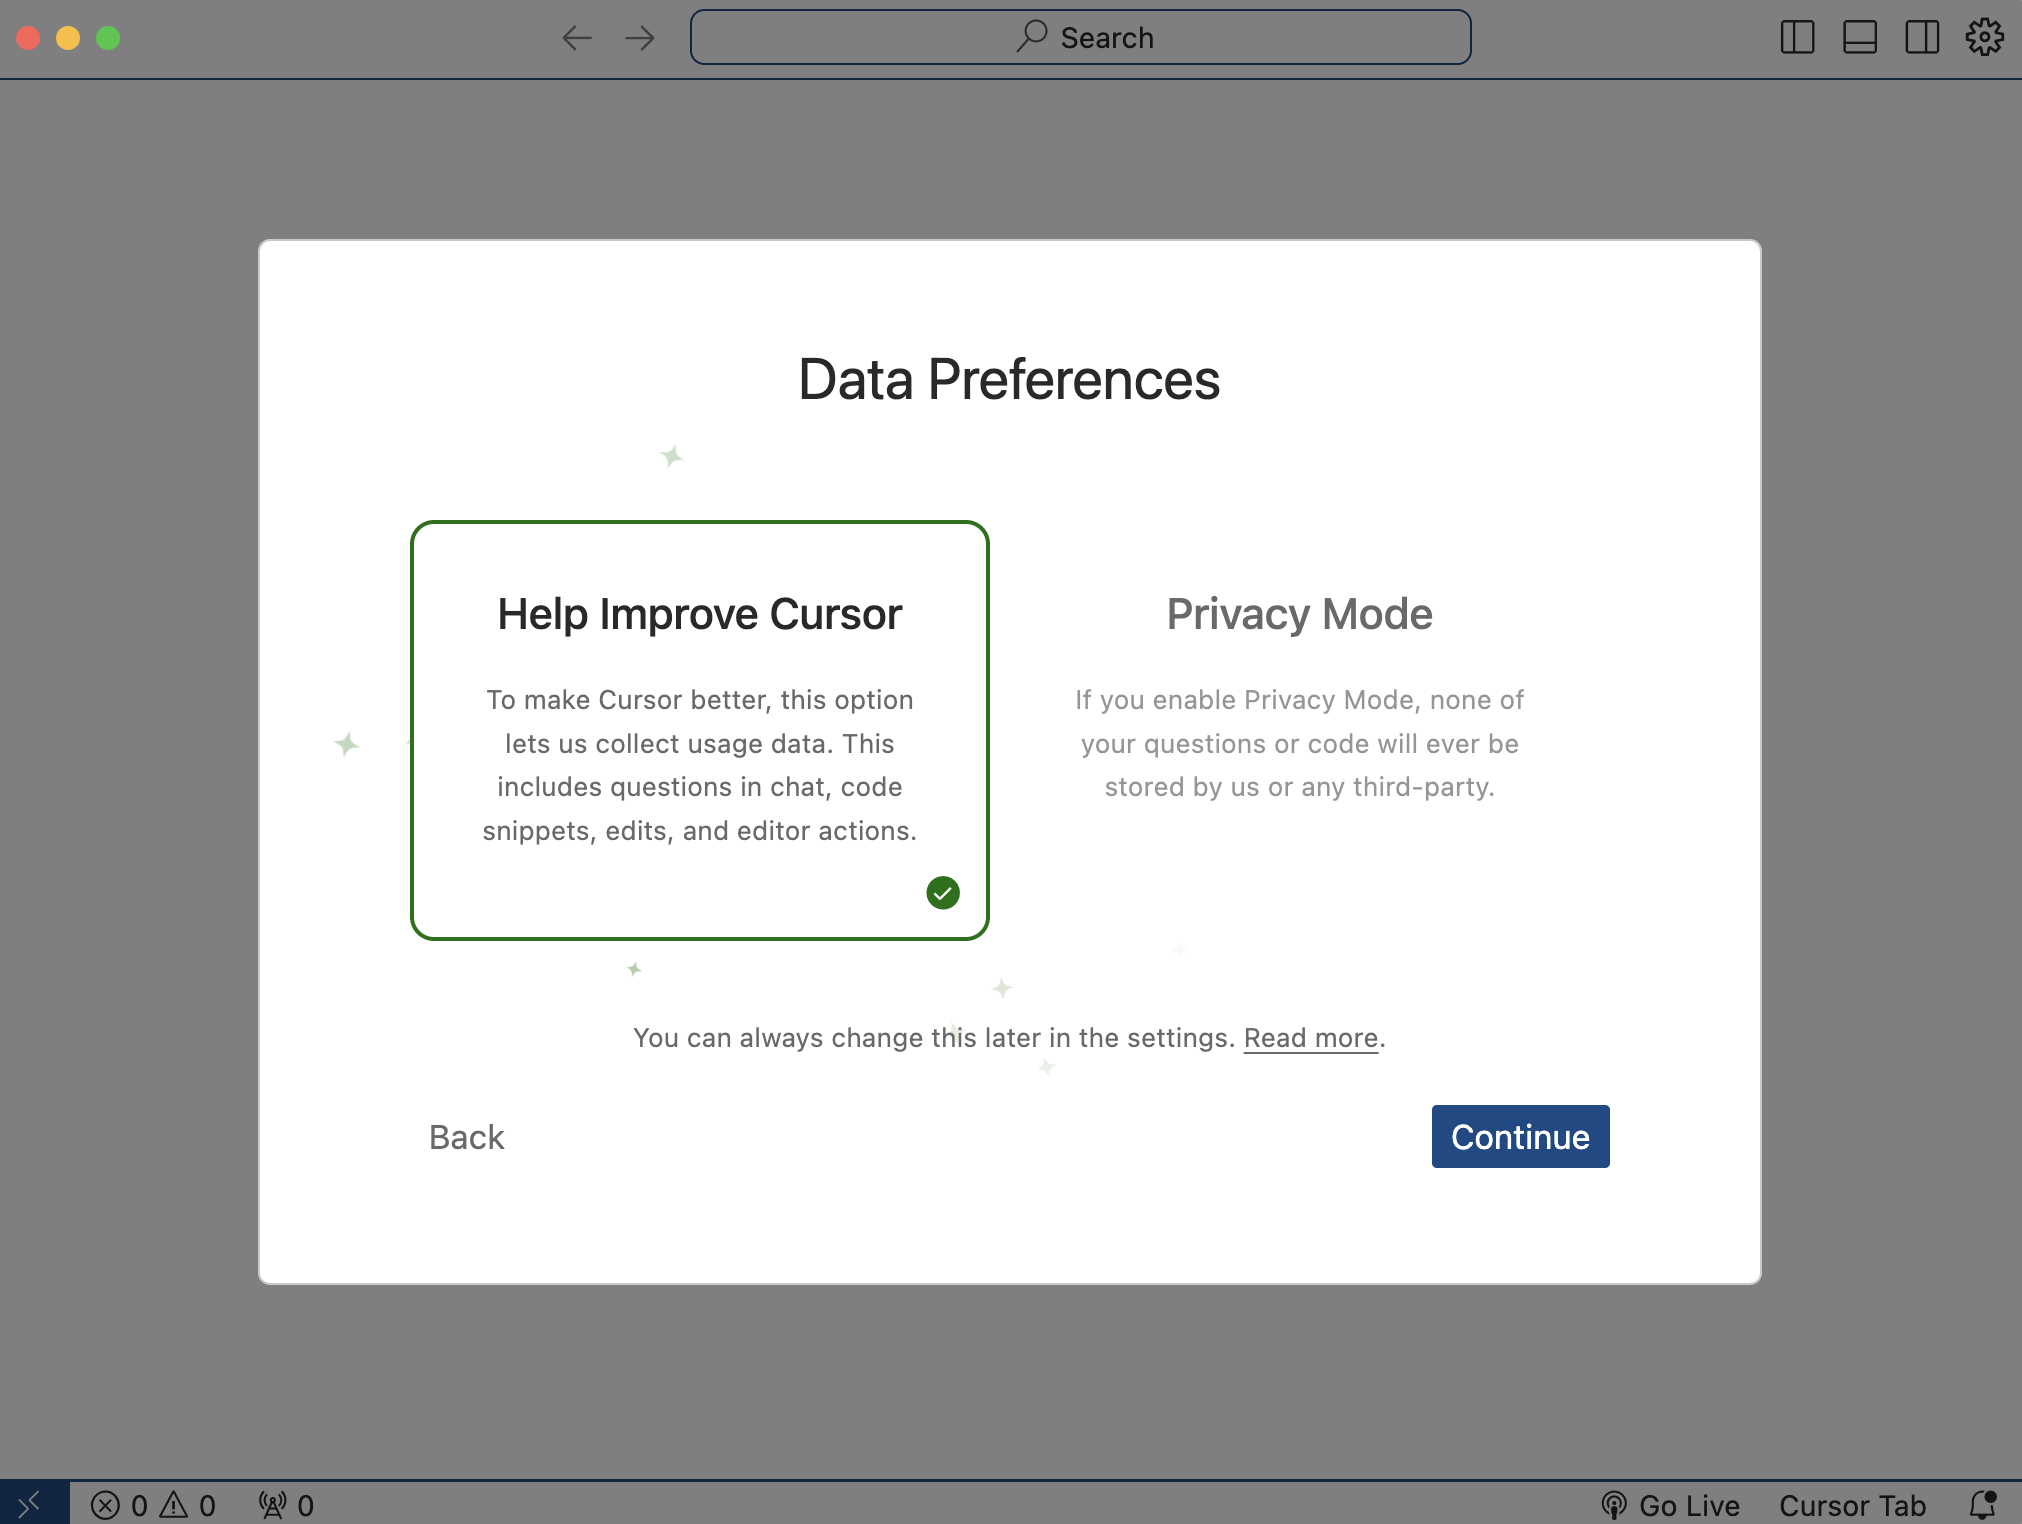
- Data Preferences는 독자 취향에 맞게 선택한다. 필자는 Help Improve Cursor를 선택한다.

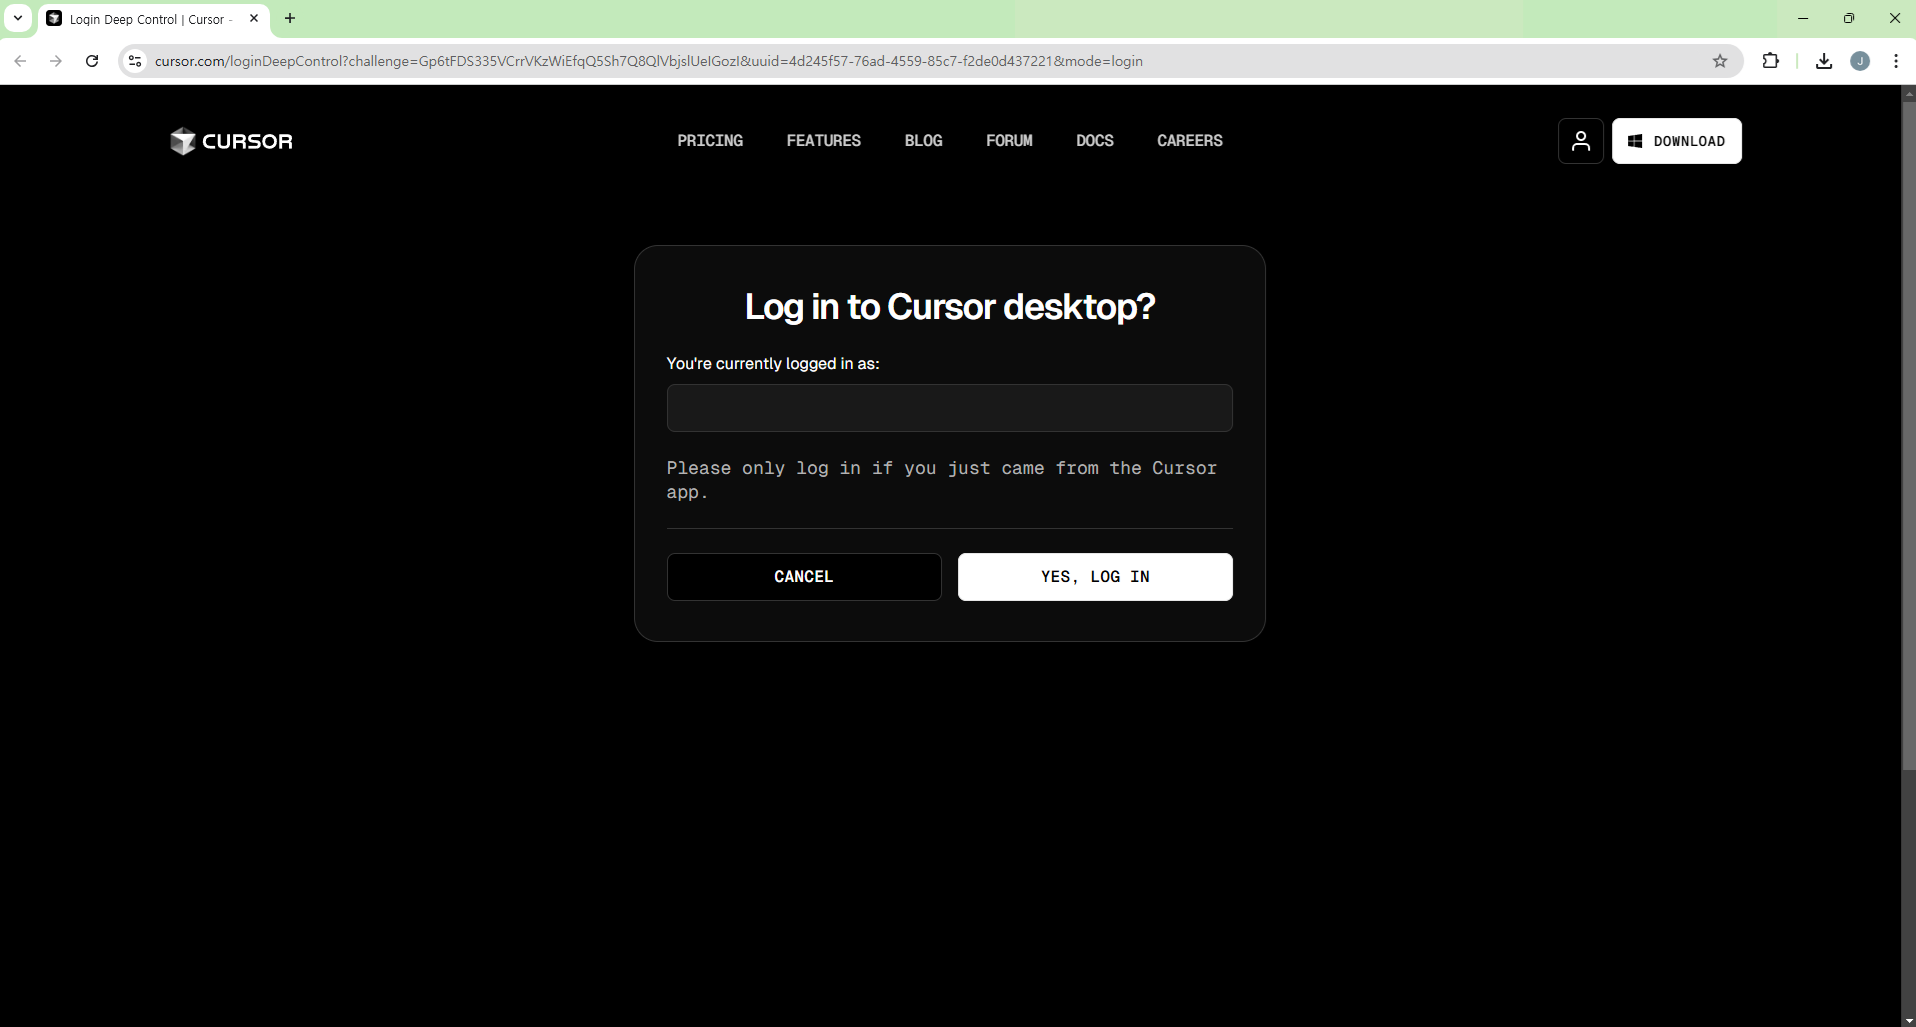
Login

- 개인 계정 확인 후, Yes, Log in 버튼 클릭

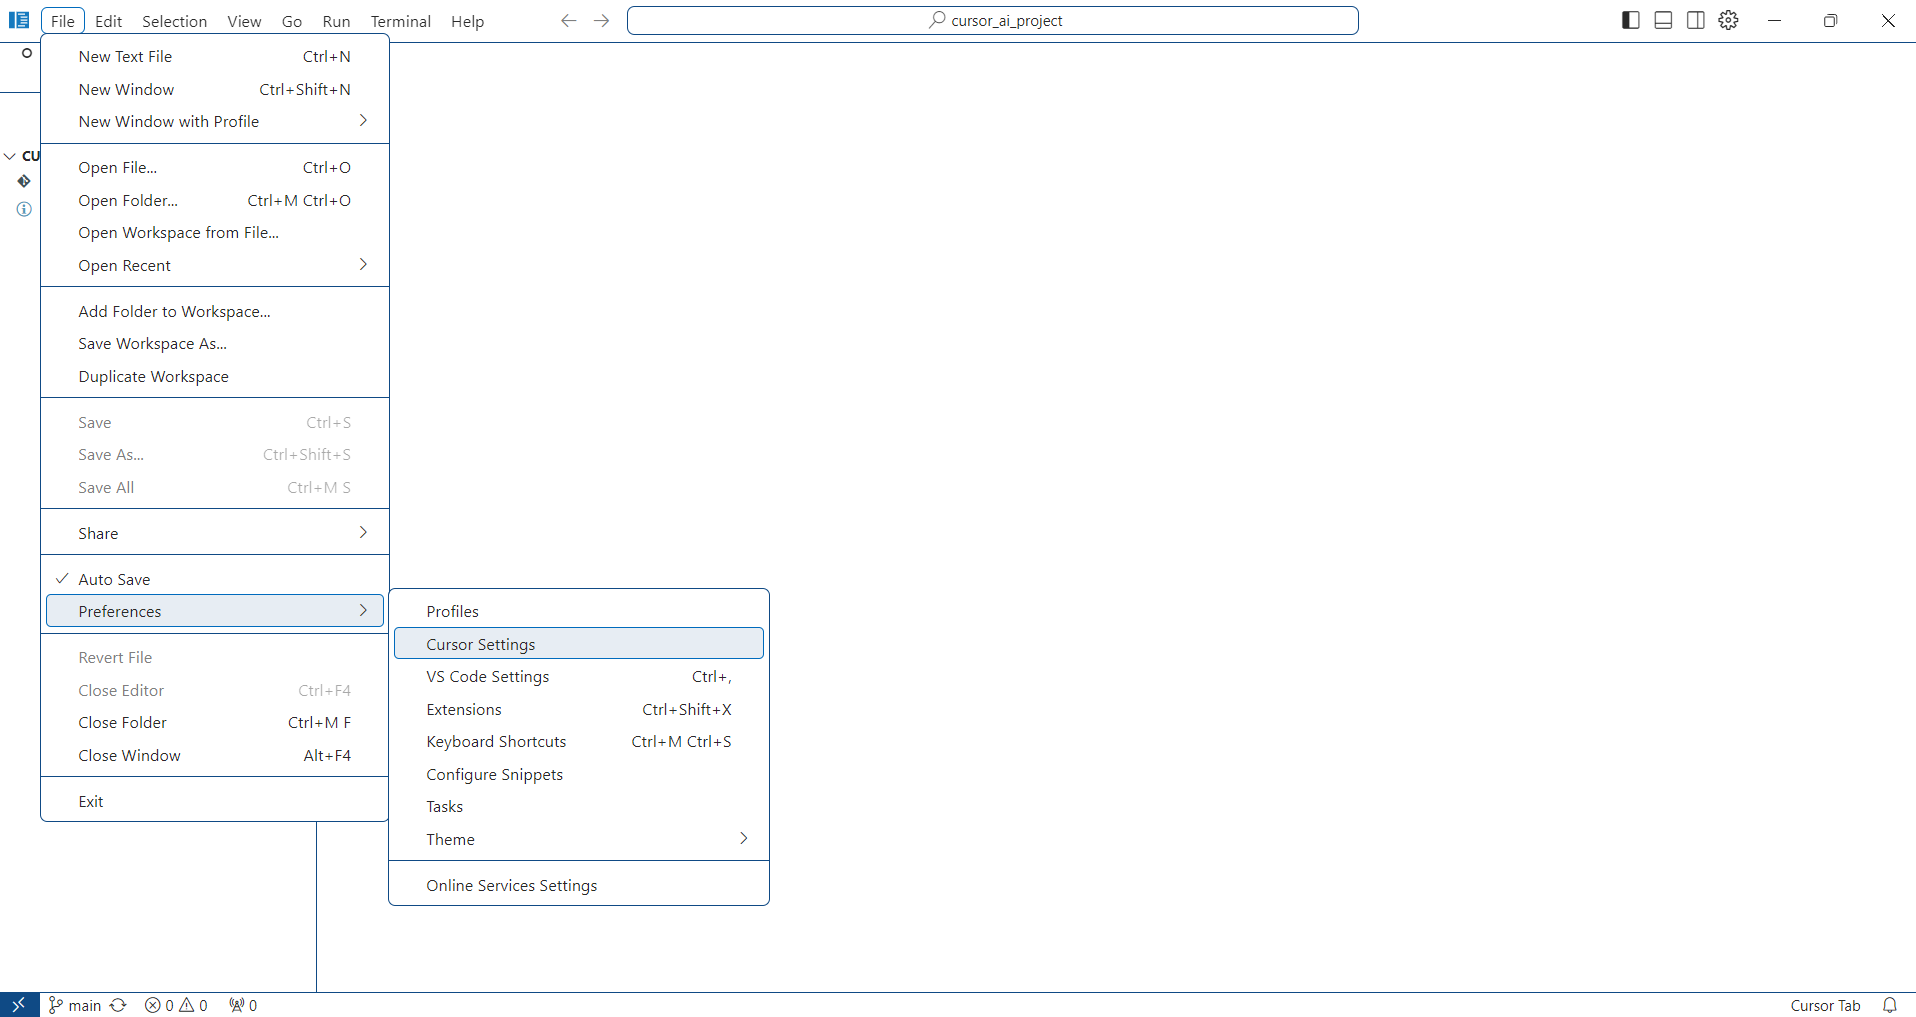
Visual Studio Code 확인
- 이제 Visual Studio Code에 Cursor AI가 업데이트가 되었는지 확인해본다.
- 그러기 위해서는, 먼저 Github에서 새로운 Repository를 하나 생성한다. 필자는 cursor_ai_project로 명명했다.
- 해당 Repo를 생성한 후, git clone으로 다운로드 받는다.
- Visual Studio Code에서 해당 Repository를 열면, 다음과 같은 화면이 나올 것이다.

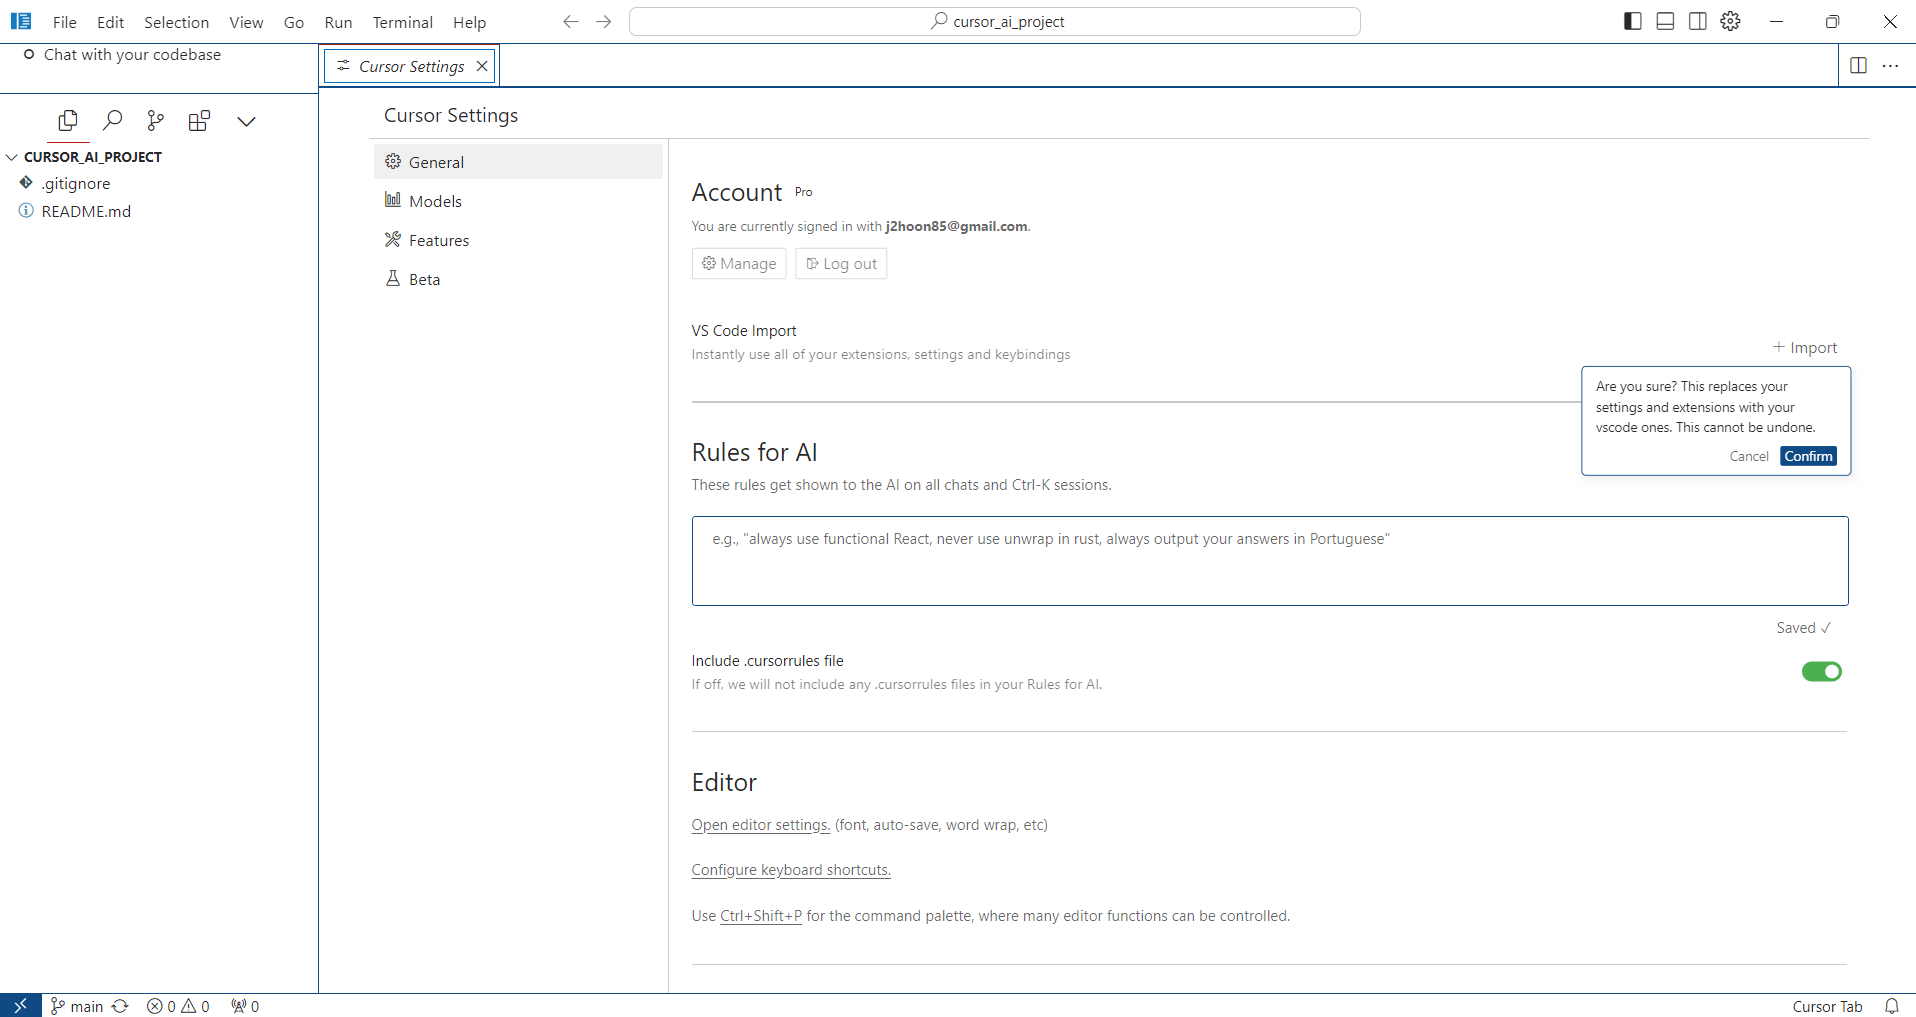
Migrate from VS Code
- VS Code에서 클릭 한번으로 관련 설정을 모두 가져올 수 있다.
File>Preferences>Cursor Settings>General>Account
- Import 버튼 선택 후, Confirm을 클릭한다.
사용 예제
requirements.txt 파일 설정
- 먼저 New Text File 선택하여 파일을 생성한다.
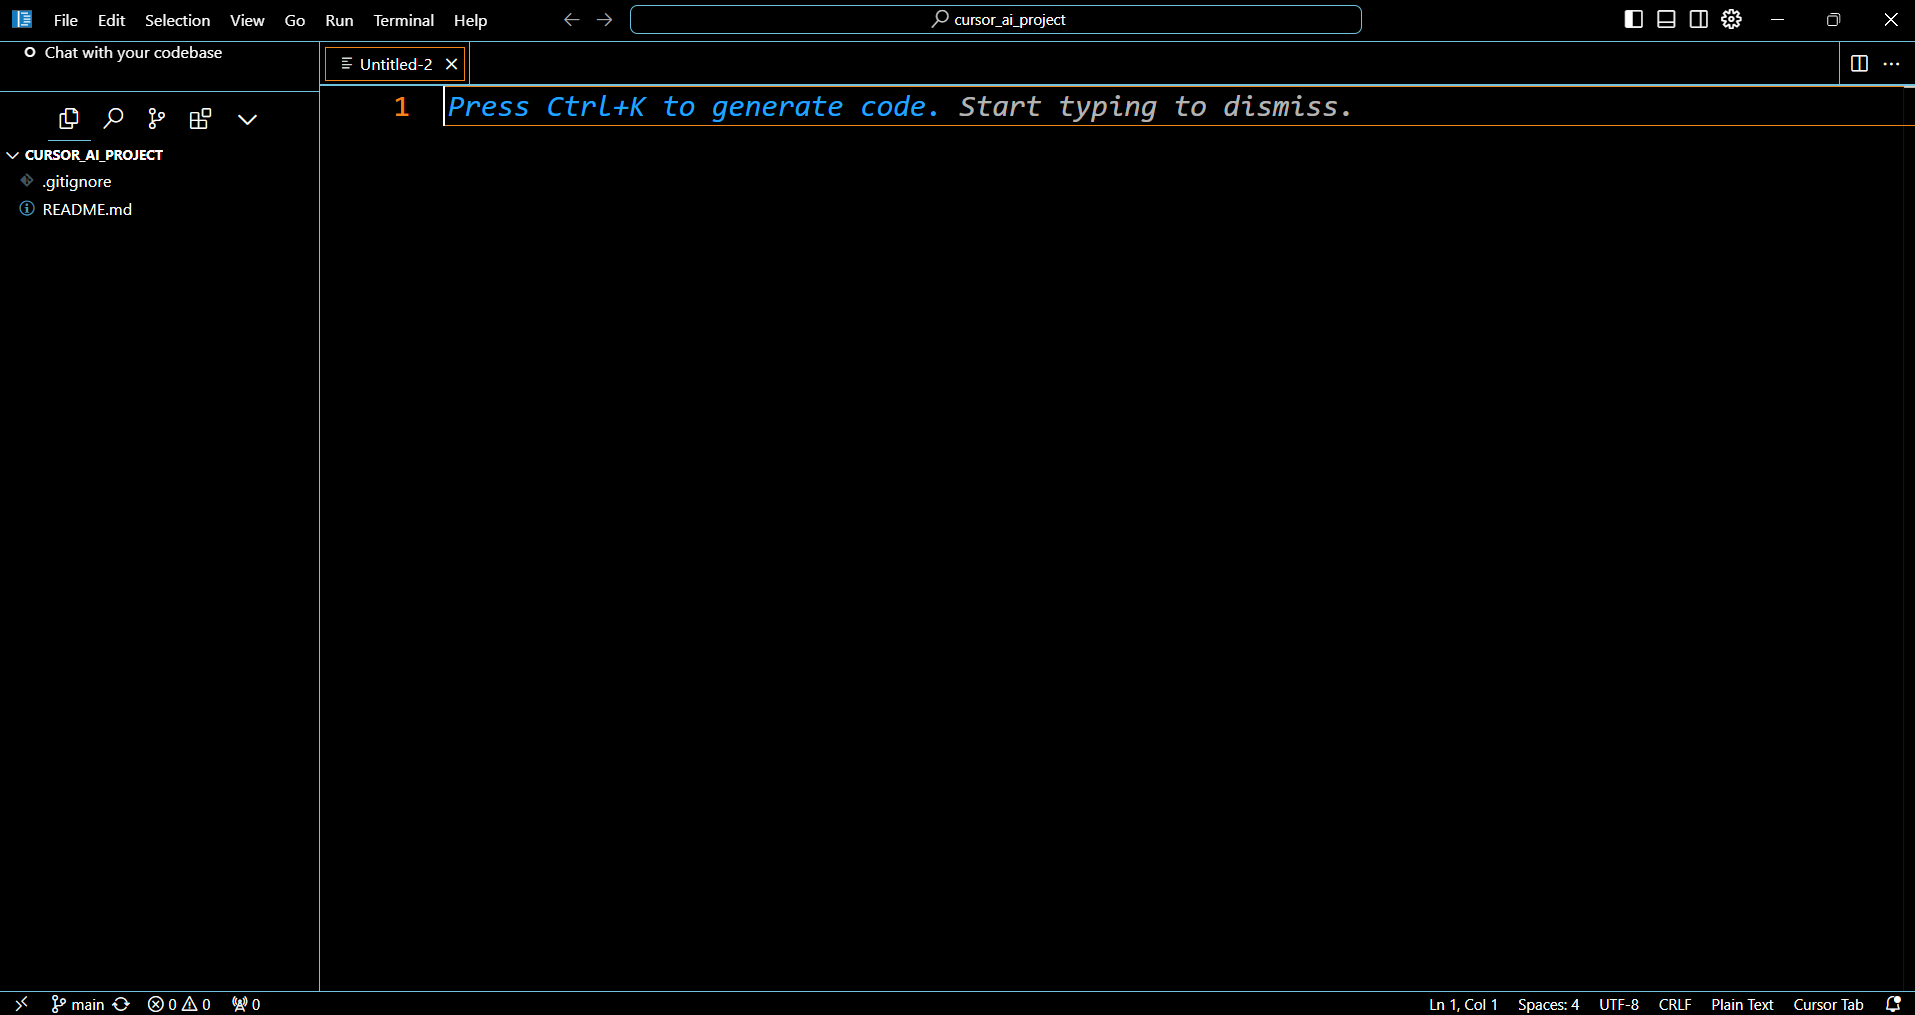
- 아래 화면에서 Ctrl + K를 실행한다.
- 유료 결제를 하면 원하는 LLM 모델을 선택 할 수 있다.
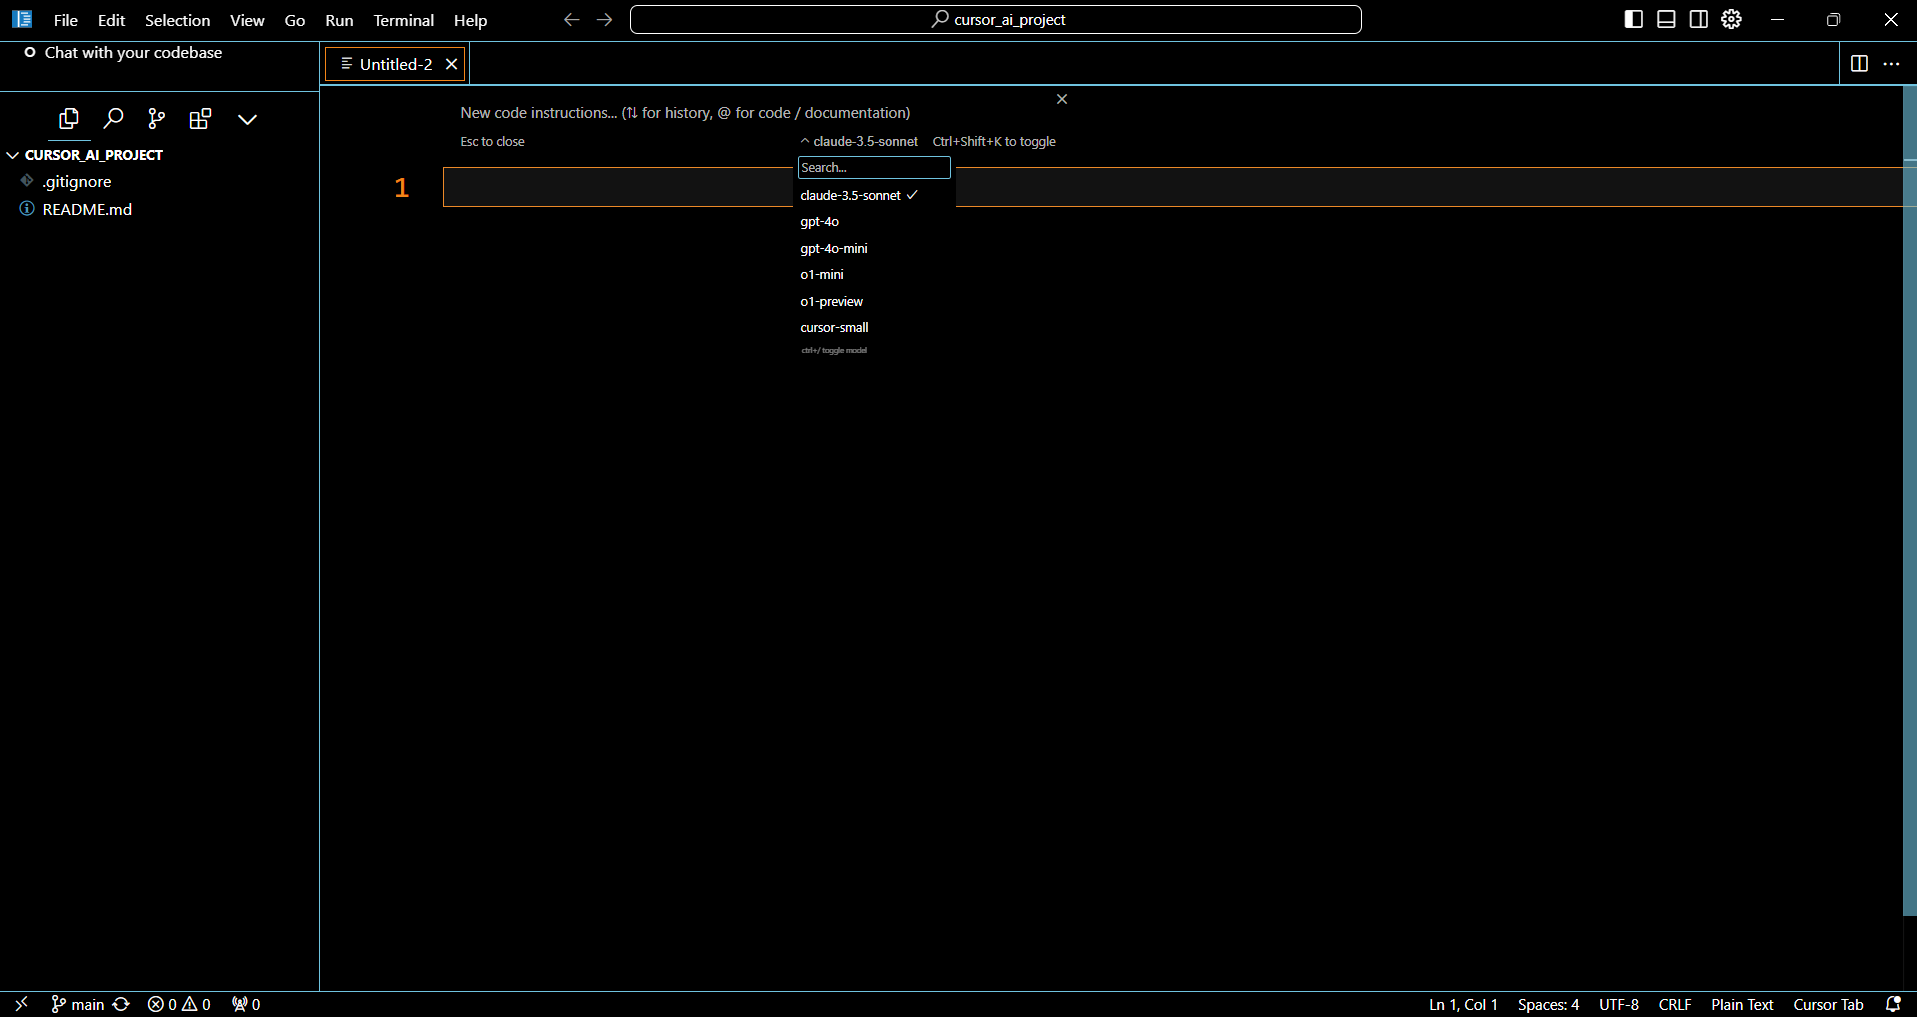
- 필자는 claude-3.5-sonnet 모델을 선택하였다. 먼저 Python 라이브러리 설치를 위해 다음과 같이 명령어 입력 후, Enter 버튼을 실행한다.
- 파일 저장은 Ctrl + S를 통해서 진행한다.
Streamlit + 머신러닝을 위한 필수 라이브러리를 알려줘요, requirements.txt 파일 양식
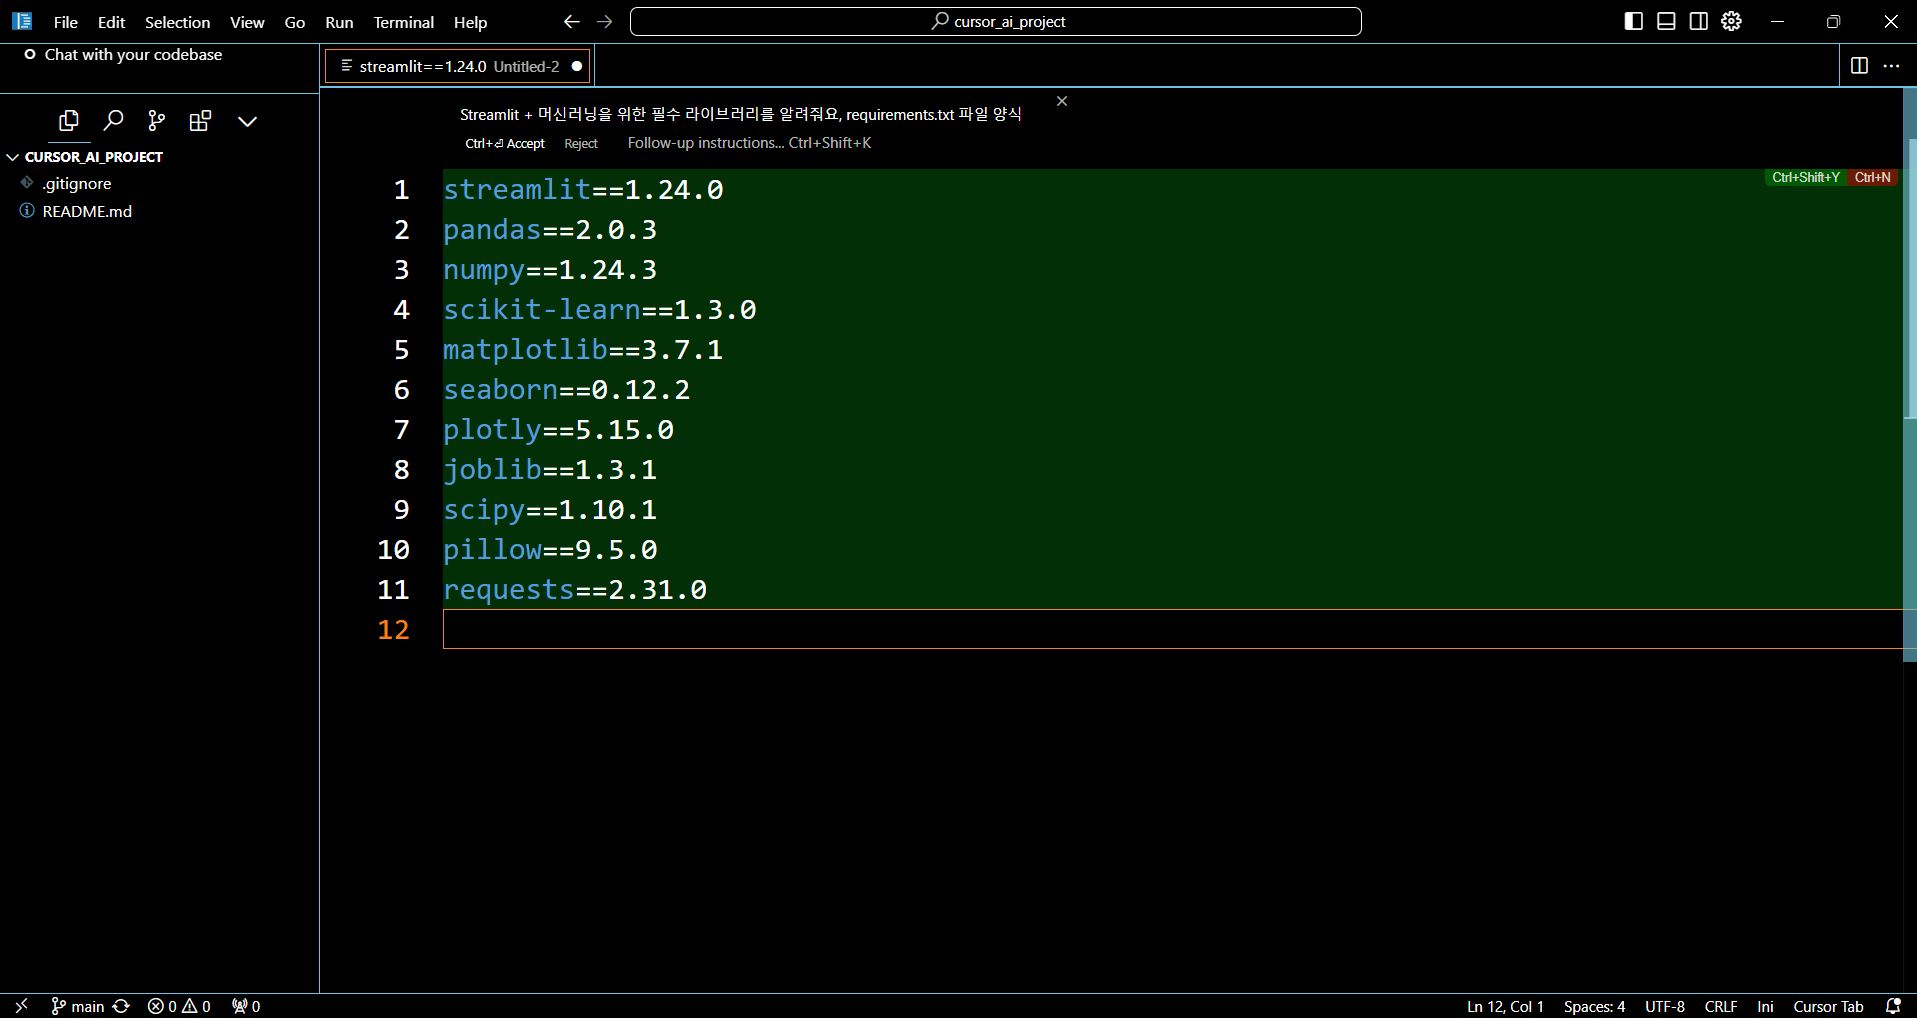
- 그러나 실제로는 버전 충돌의 우려가 있기 때문에 버전은 제거하는
app.py 파일 예제
- 이번에는 새로운 파일을 만들고 간단하게 모델을 만들고 app 대시보드 구현을 하는 코드를 진행해본다.
seaborn에서 tips 데이터 활용해서 tip 예측하는 모델 만들고 streamlit에서 구현한다. 파일명 app.py
import streamlit as st
import seaborn as sns
import pandas as pd
from sklearn.model_selection import train_test_split
from sklearn.linear_model import LinearRegression
from sklearn.metrics import mean_squared_error, r2_score

# Page config
st.set_page_config(page_title="Tip Prediction App", layout="wide")

# Title
st.title("Restaurant Tip Prediction")
st.write("This app predicts the tip amount based on various features using the tips dataset.")

# Load and prepare data
tips = sns.load_dataset('tips')

# Feature selection
X = tips[['total_bill', 'size']]
y = tips['tip']

# Split the data
X_train, X_test, y_train, y_test = train_test_split(X, y, test_size=0.2, random_state=42)

# Train the model
model = LinearRegression()
model.fit(X_train, y_train)

# Create input form
st.sidebar.header("Input Features")

total_bill = st.sidebar.number_input("Total Bill ($)", min_value=0.0, max_value=100.0, value=20.0)
size = st.sidebar.number_input("Party Size", min_value=1, max_value=10, value=2)

# Make prediction
if st.sidebar.button("Predict Tip"):
    prediction = model.predict([[total_bill, size]])

    st.success(f"Predicted Tip Amount: ${prediction[0]:.2f}")

    # Show model performance metrics
    st.subheader("Model Performance")
    y_pred = model.predict(X_test)
    col1, col2 = st.columns(2)
    with col1:
        st.metric("R² Score", f"{r2_score(y_test, y_pred):.3f}")
    with col2:
        st.metric("RMSE", f"{mean_squared_error(y_test, y_pred, squared=False):.3f}")

# Display data visualization
st.subheader("Data Visualization")
col1, col2 = st.columns(2)

with col1:
    st.write("Total Bill vs Tip")
    fig1 = sns.lmplot(data=tips, x='total_bill', y='tip')
    st.pyplot(fig1)

with col2:
    st.write("Party Size vs Tip")
    fig2 = sns.lmplot(data=tips, x='size', y='tip')
    st.pyplot(fig2)

# Show sample data
st.subheader("Sample Data")
st.dataframe(tips.head())
Streamlit 코드 실행 예제 (Chat 기능)
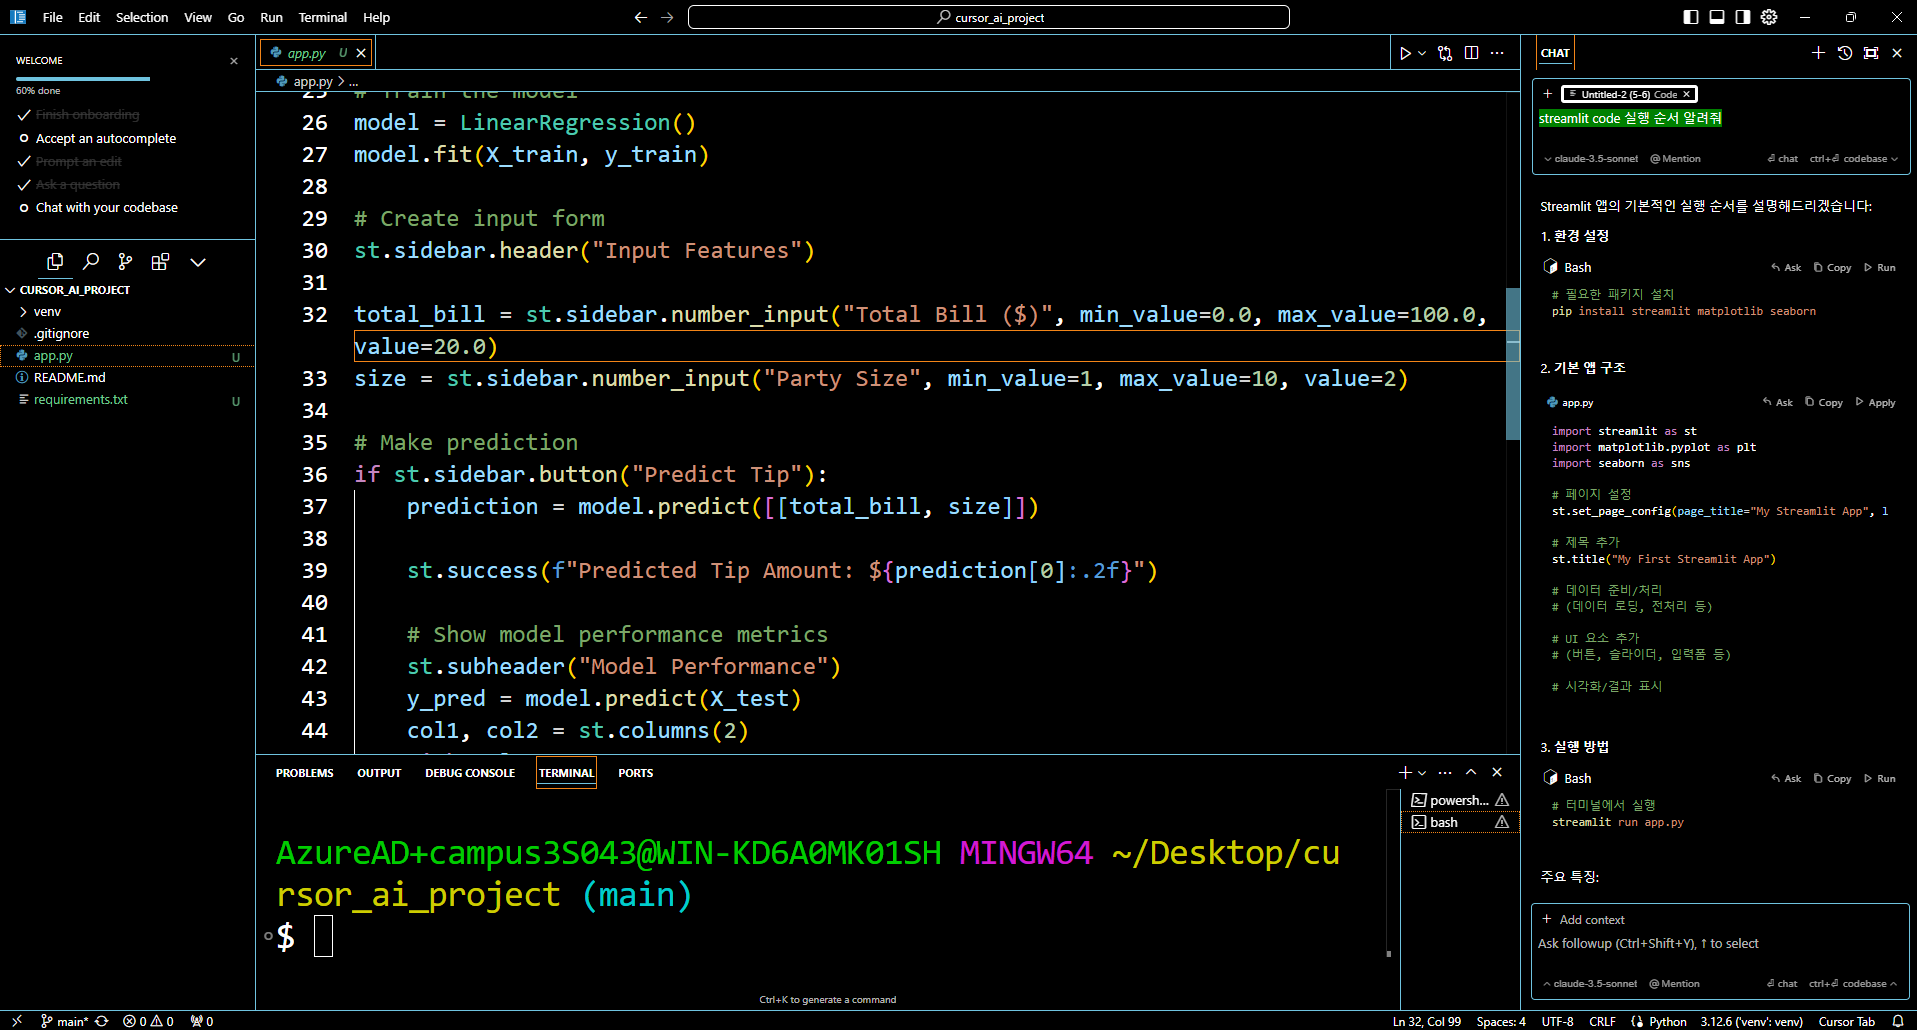
- Ctrl + L 버튼을 활용한다.
- 다음과 같이 streamlit code 실행 순서를 알려달라고 지정했다.
- 화면 오른쪽을 보면 실행
streamlit code 실행 순서 알려줘
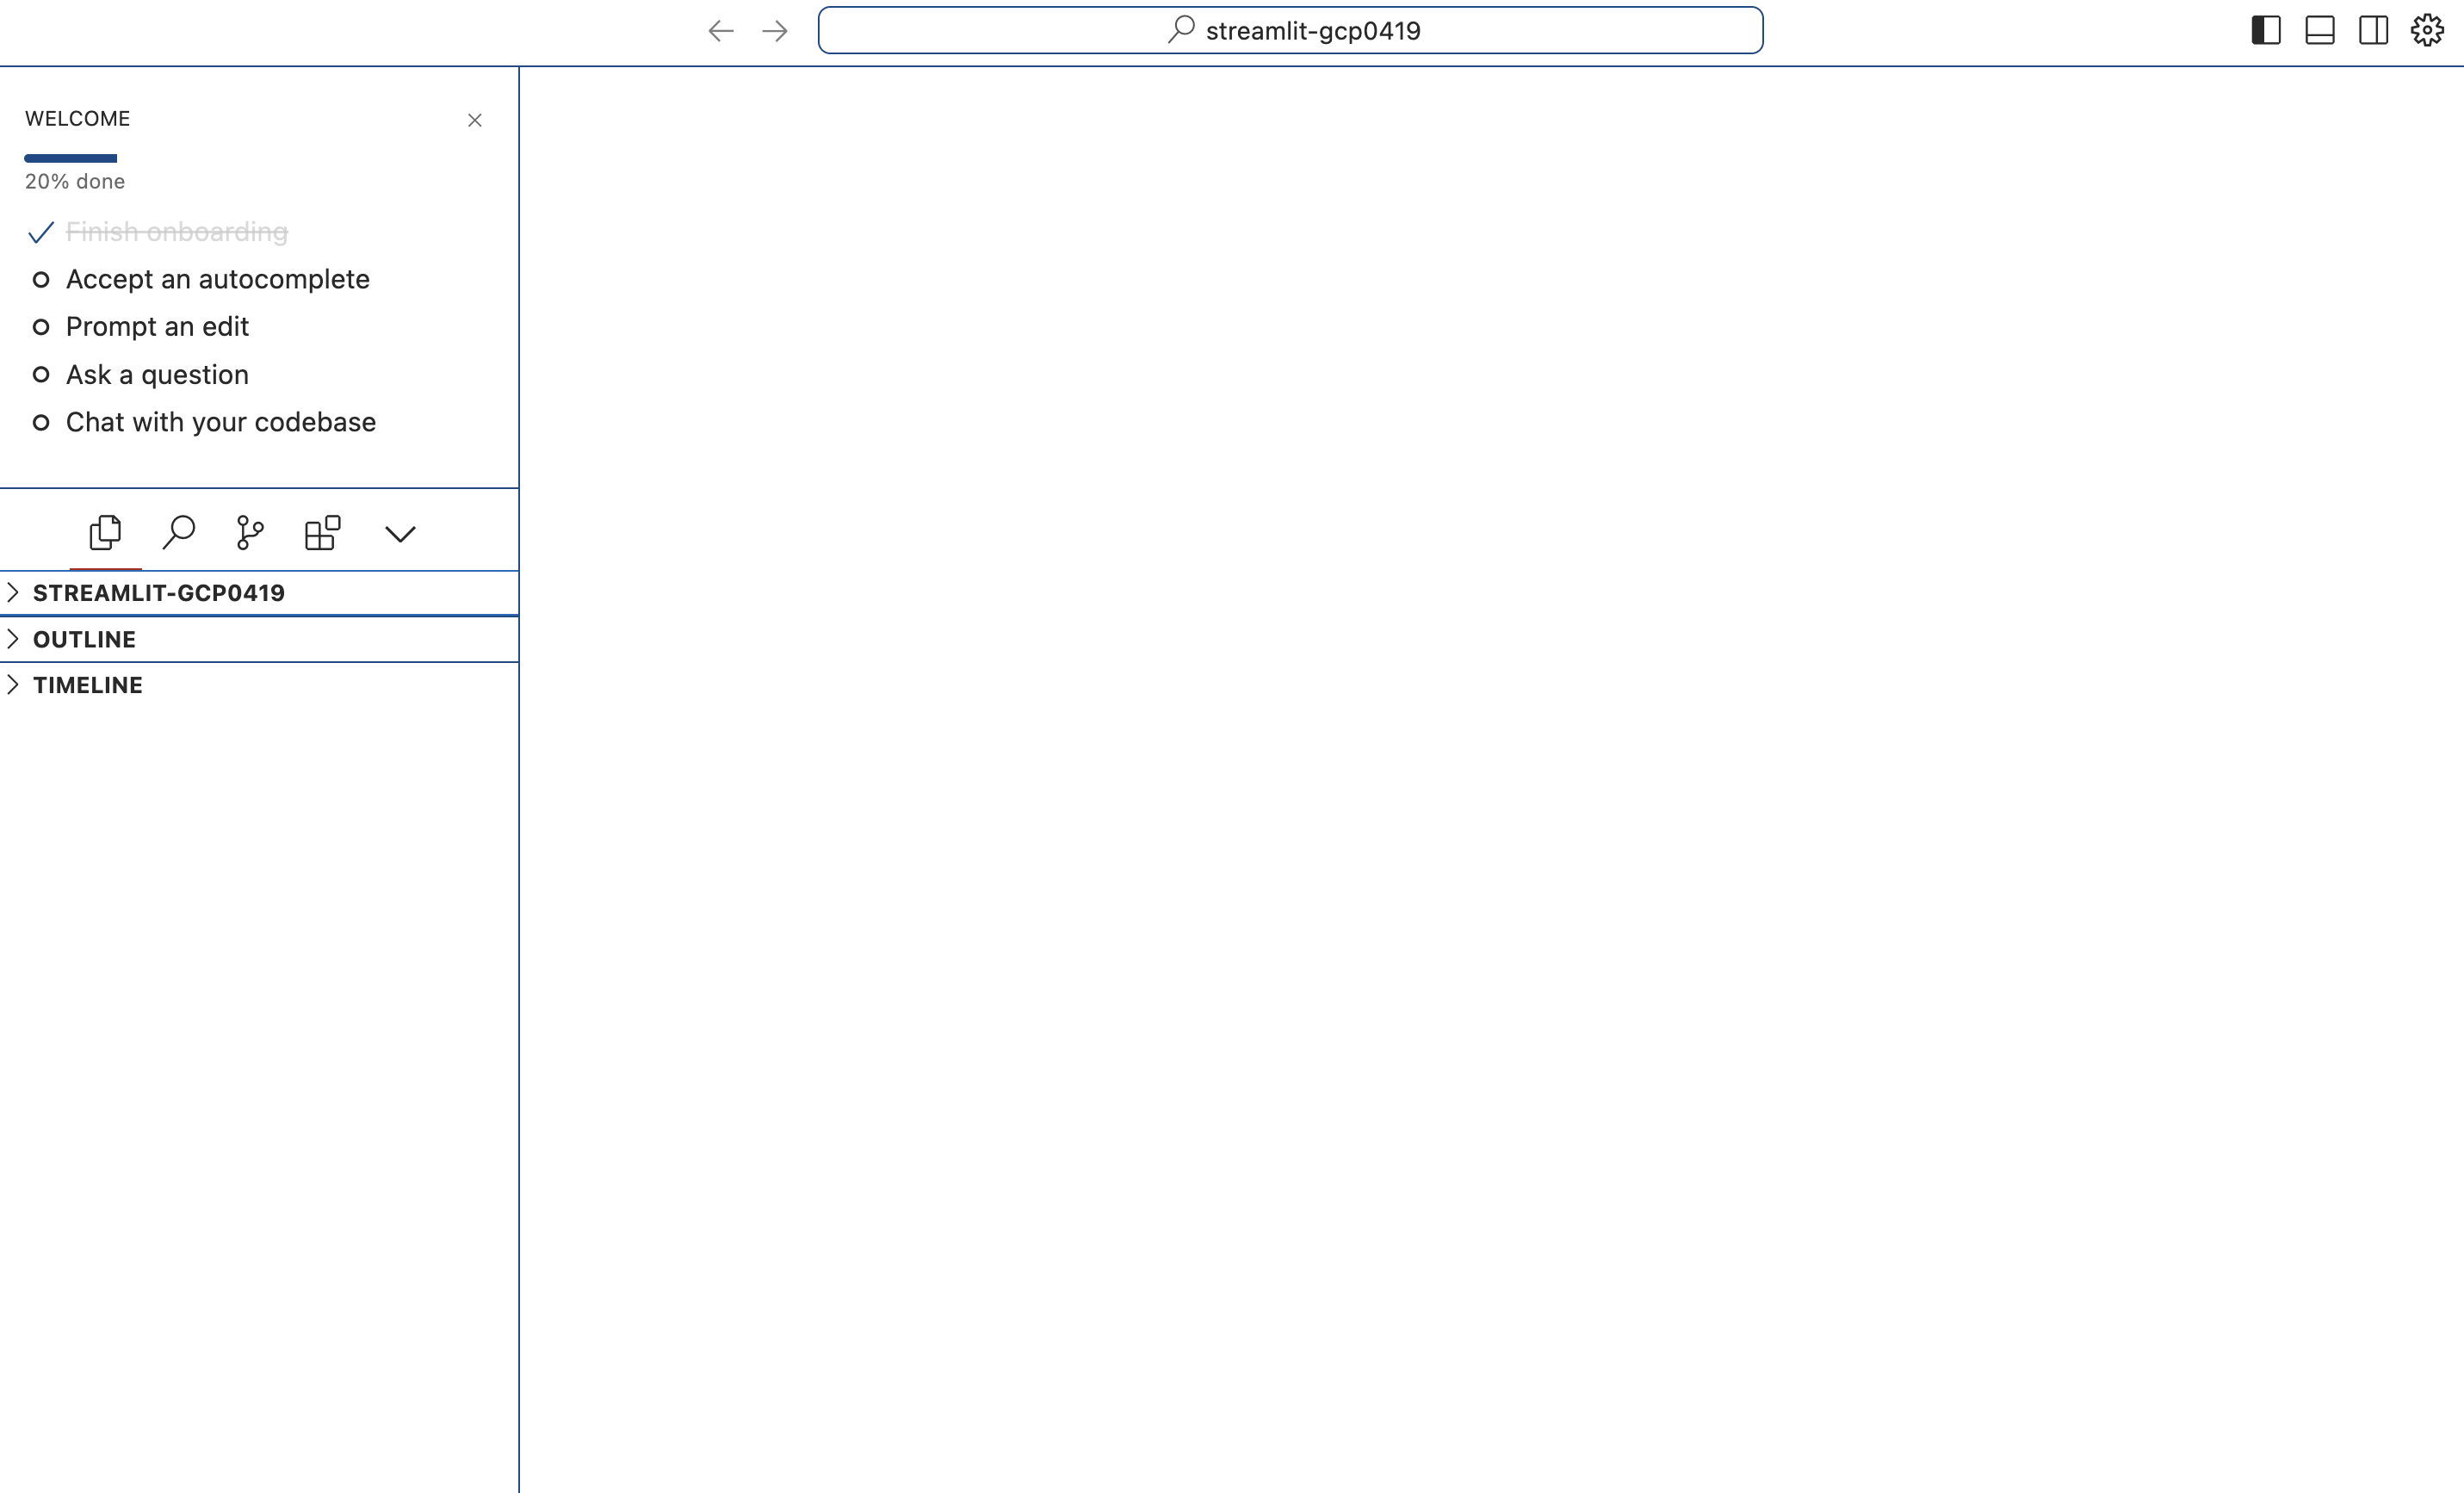
Mac에서 Cursor AI 설치
- 사전에 Visual Studio Code가 설치가 되어 있는 것을 전제로 한다.
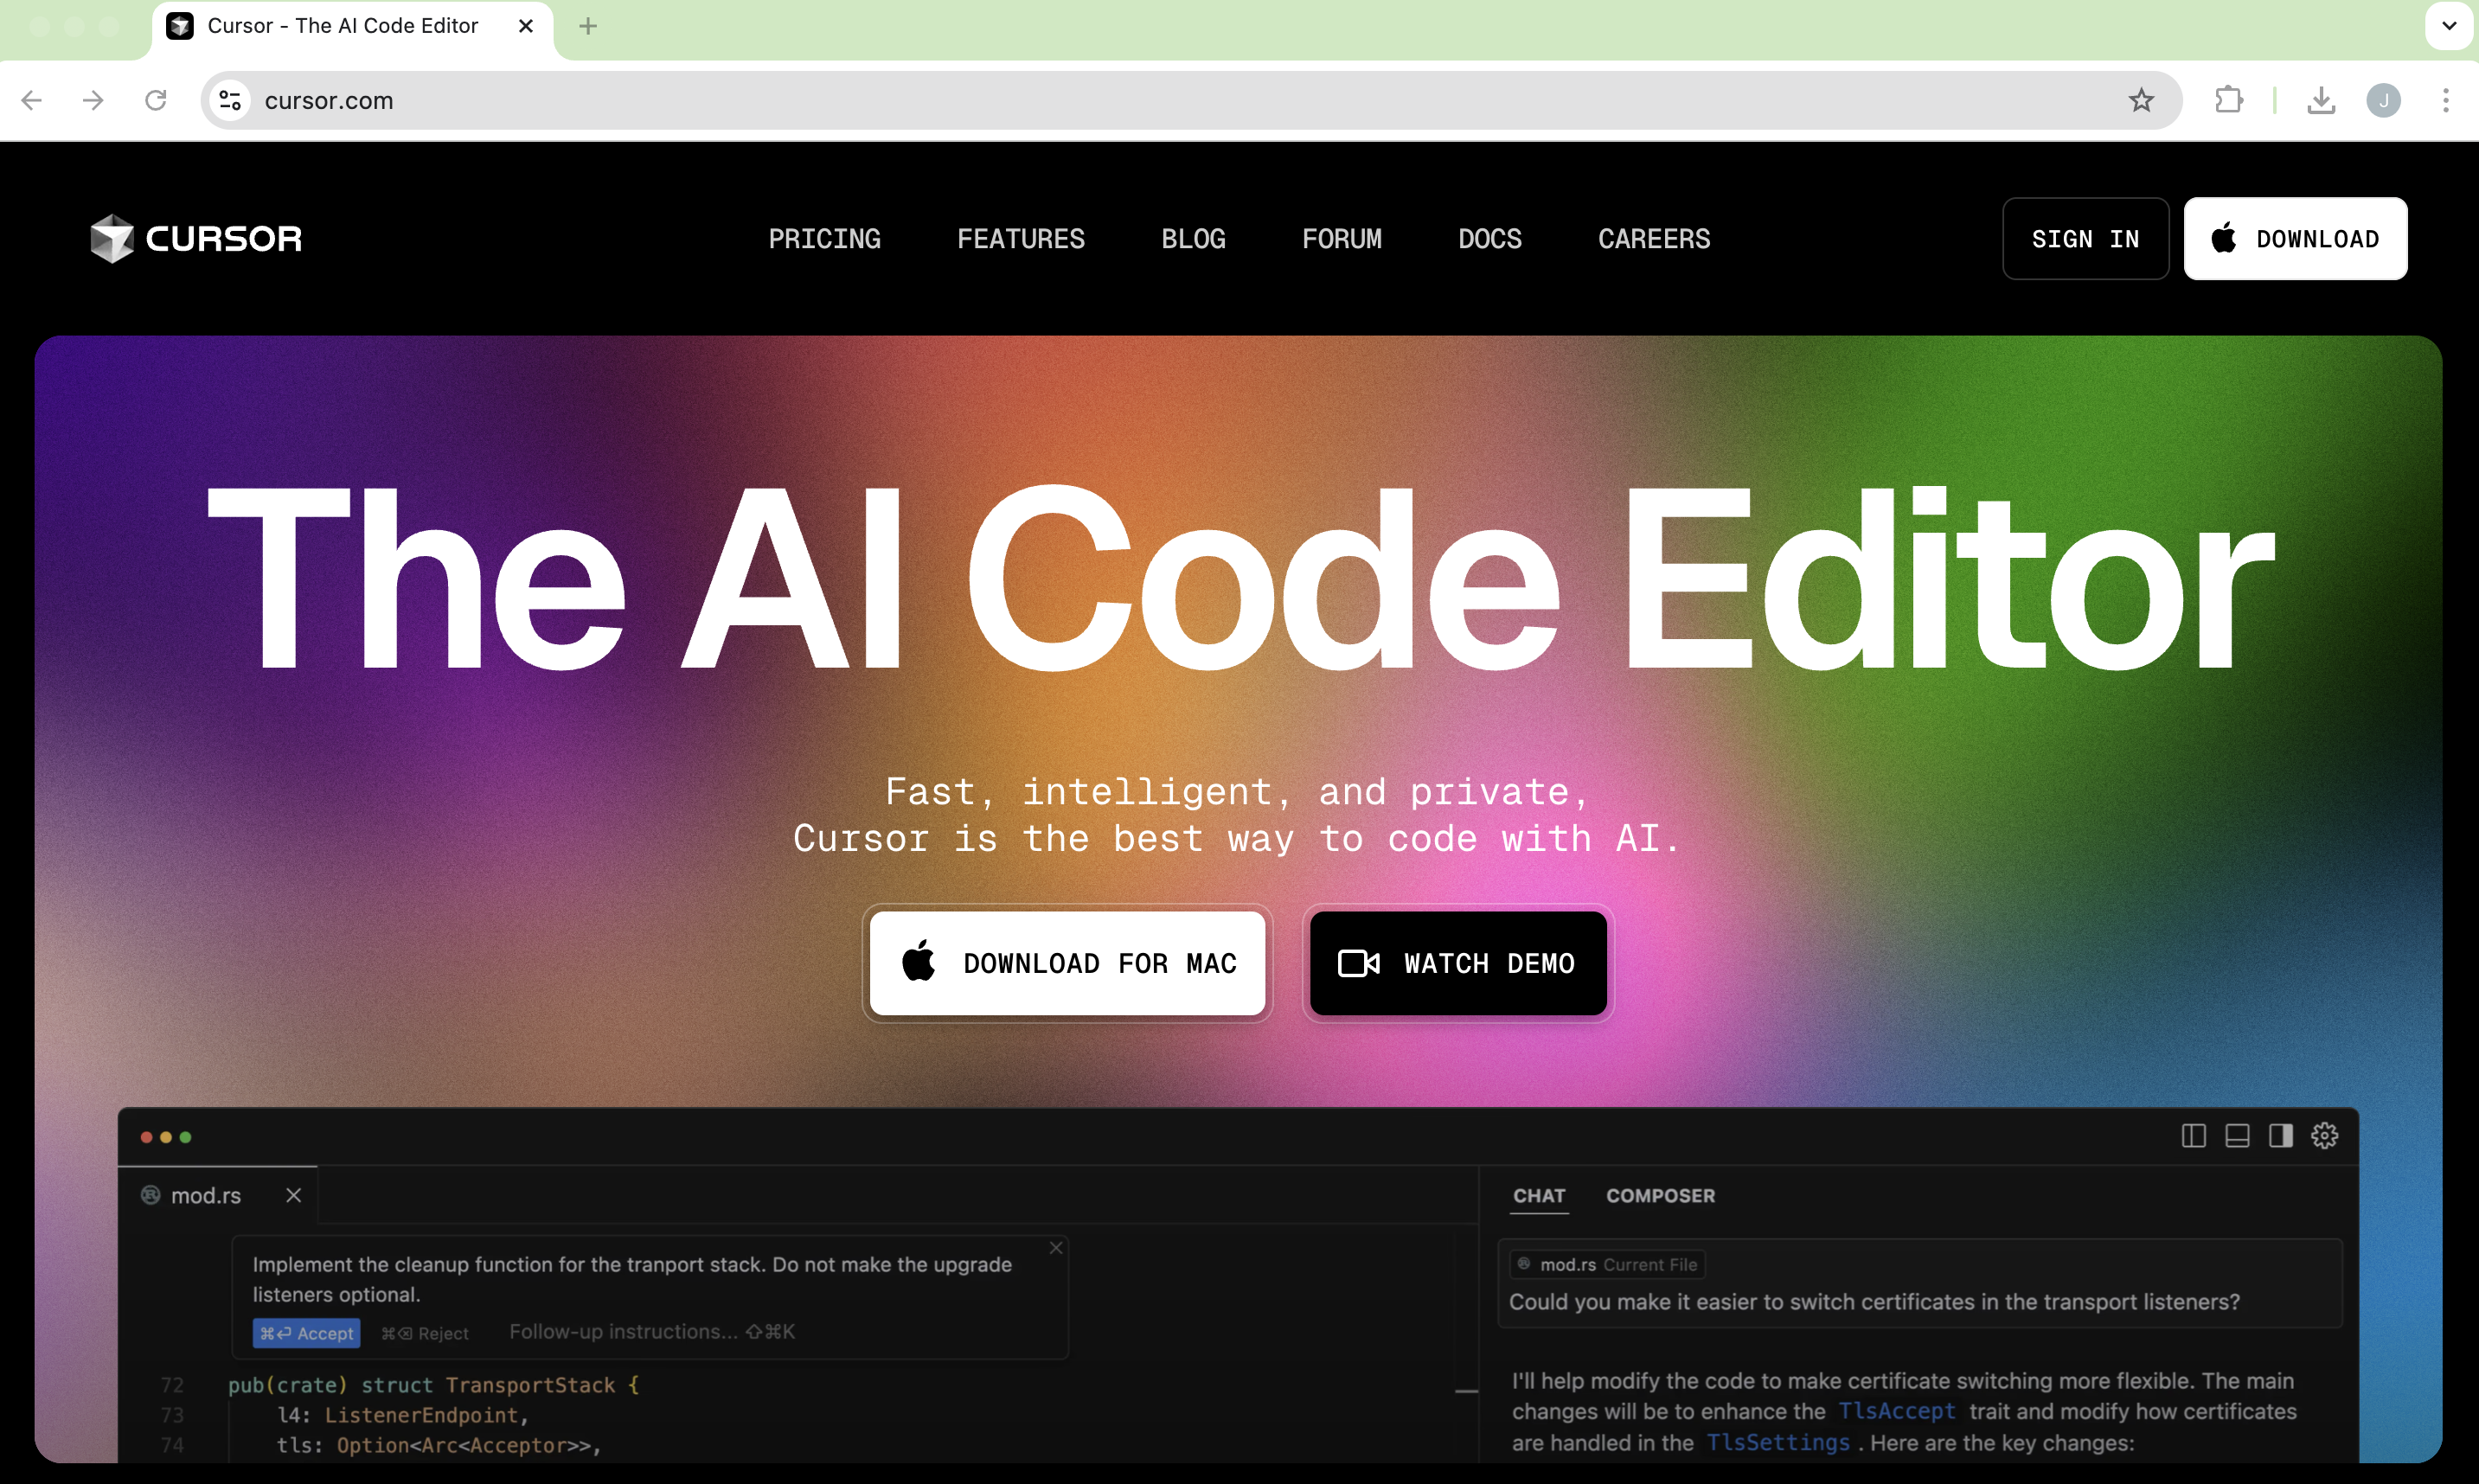
- Download for Mac 클릭
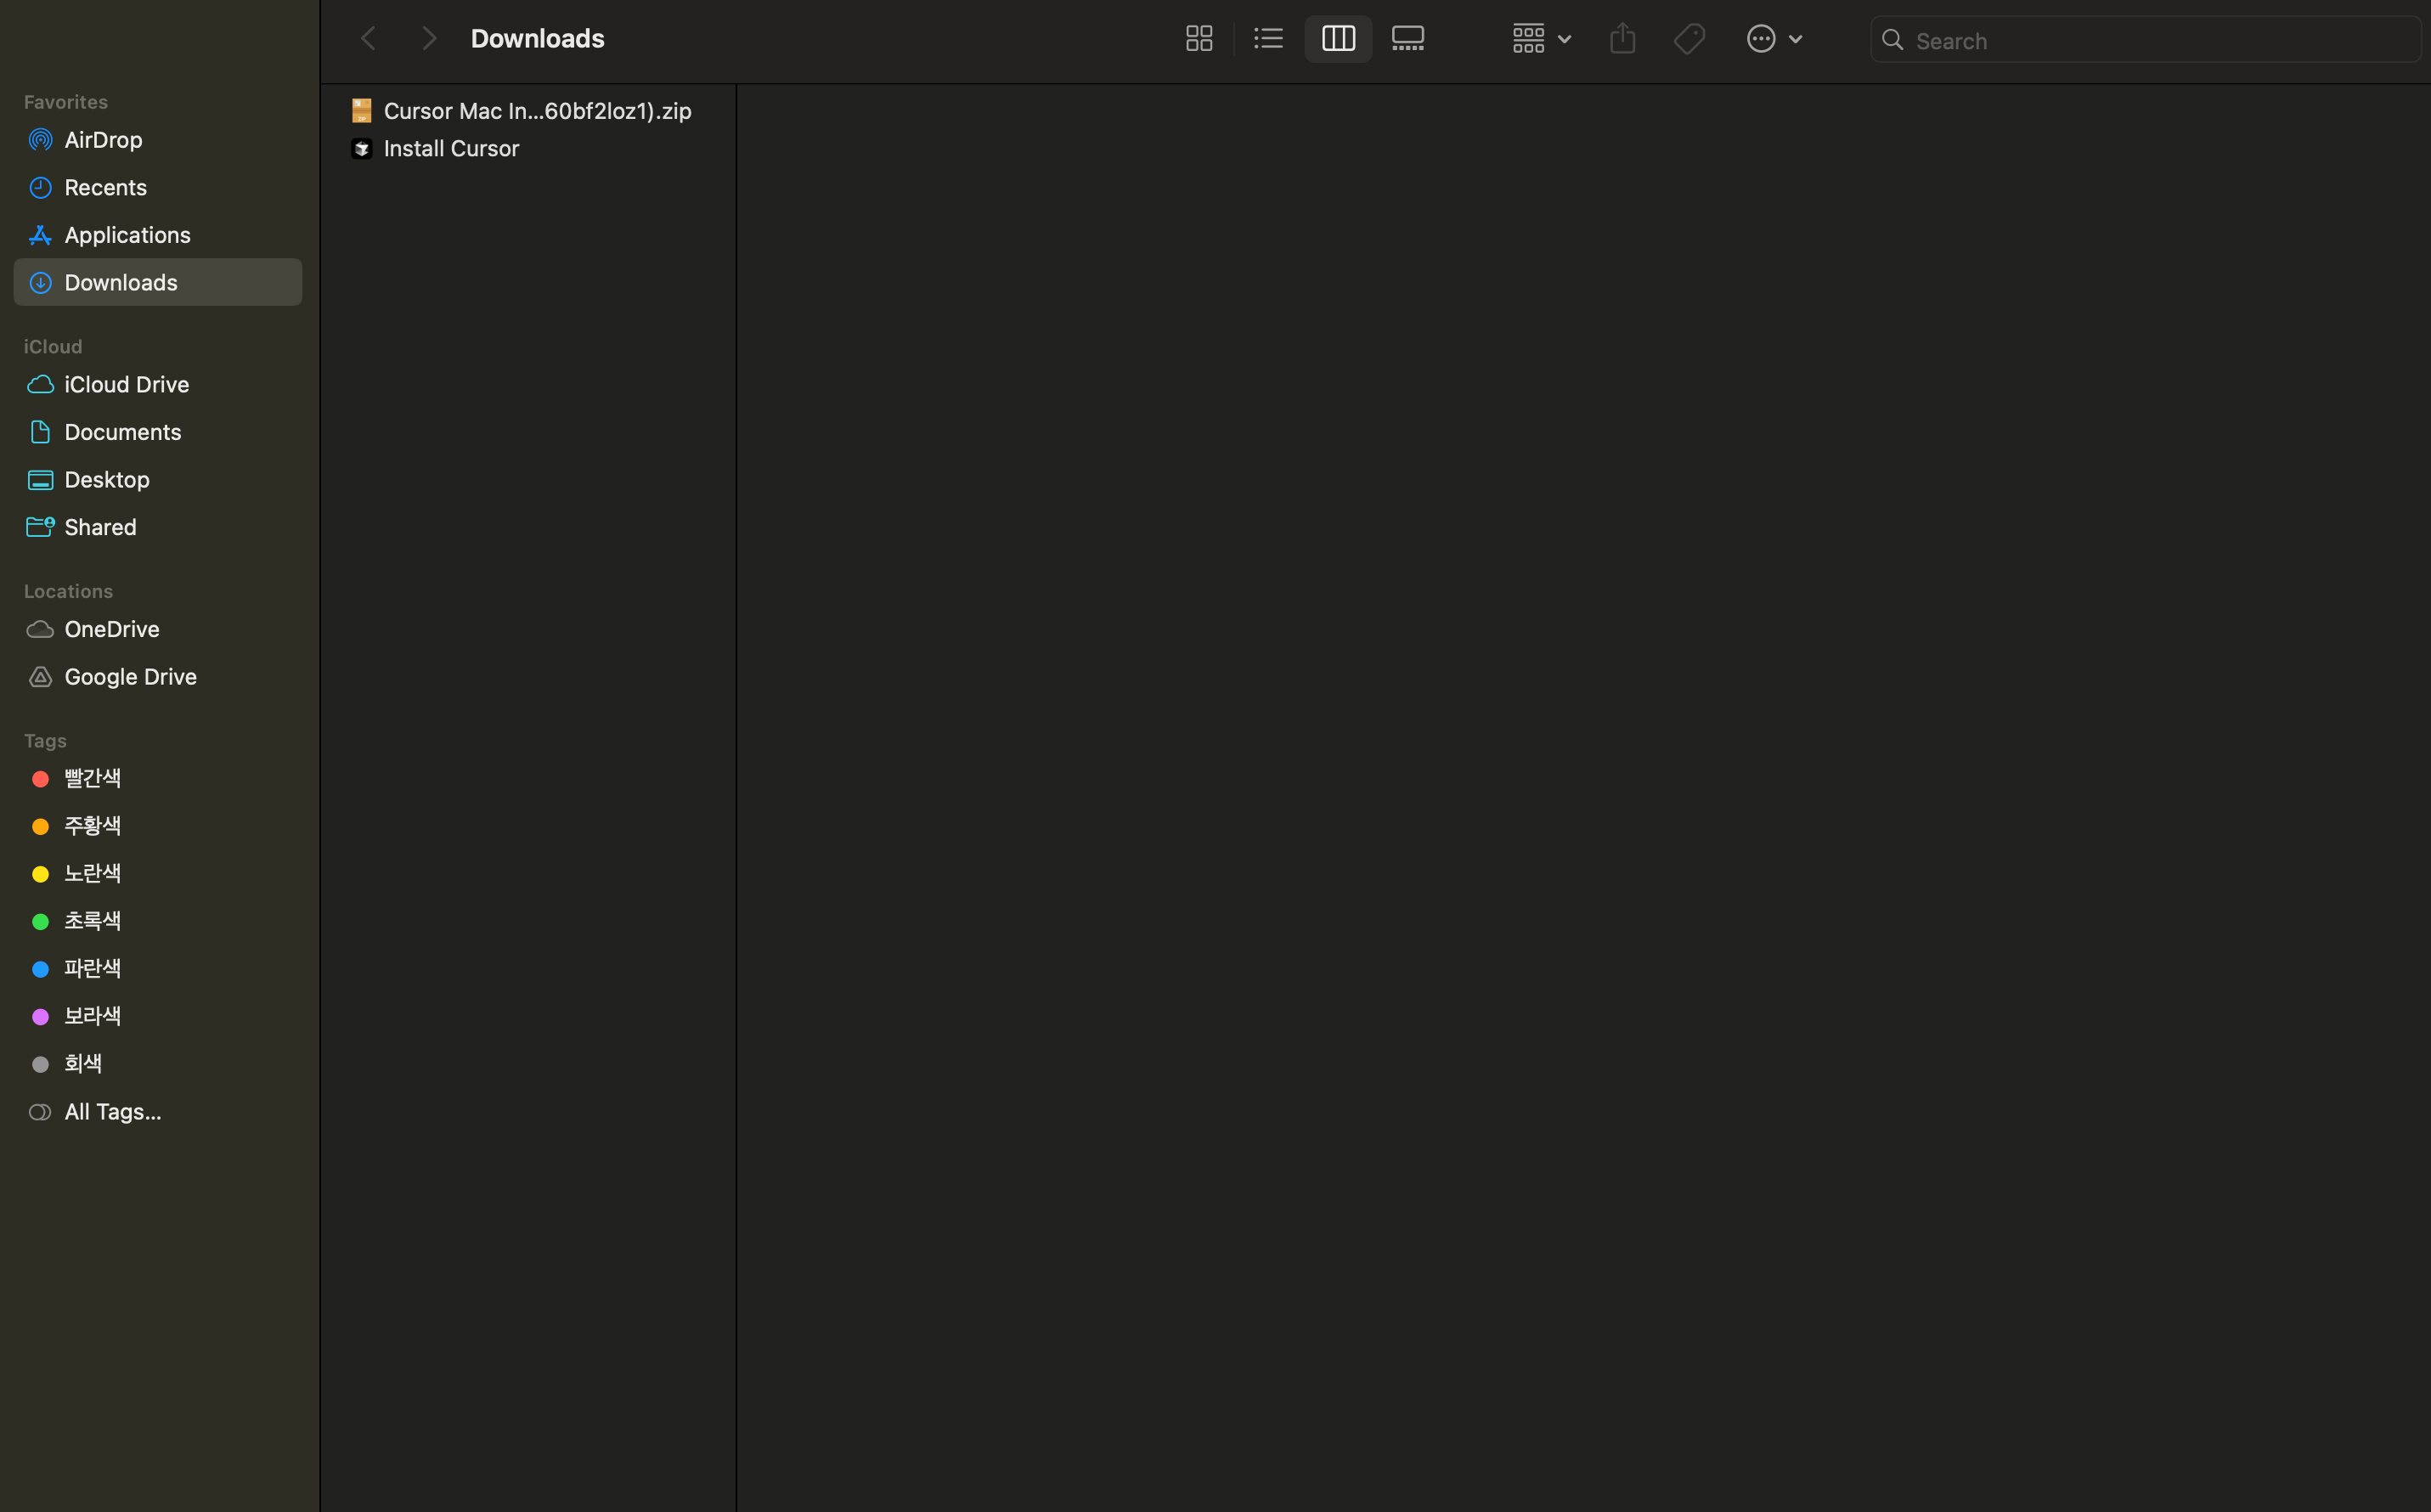
- 압축 파일을 푼 후, 프로그램 실행
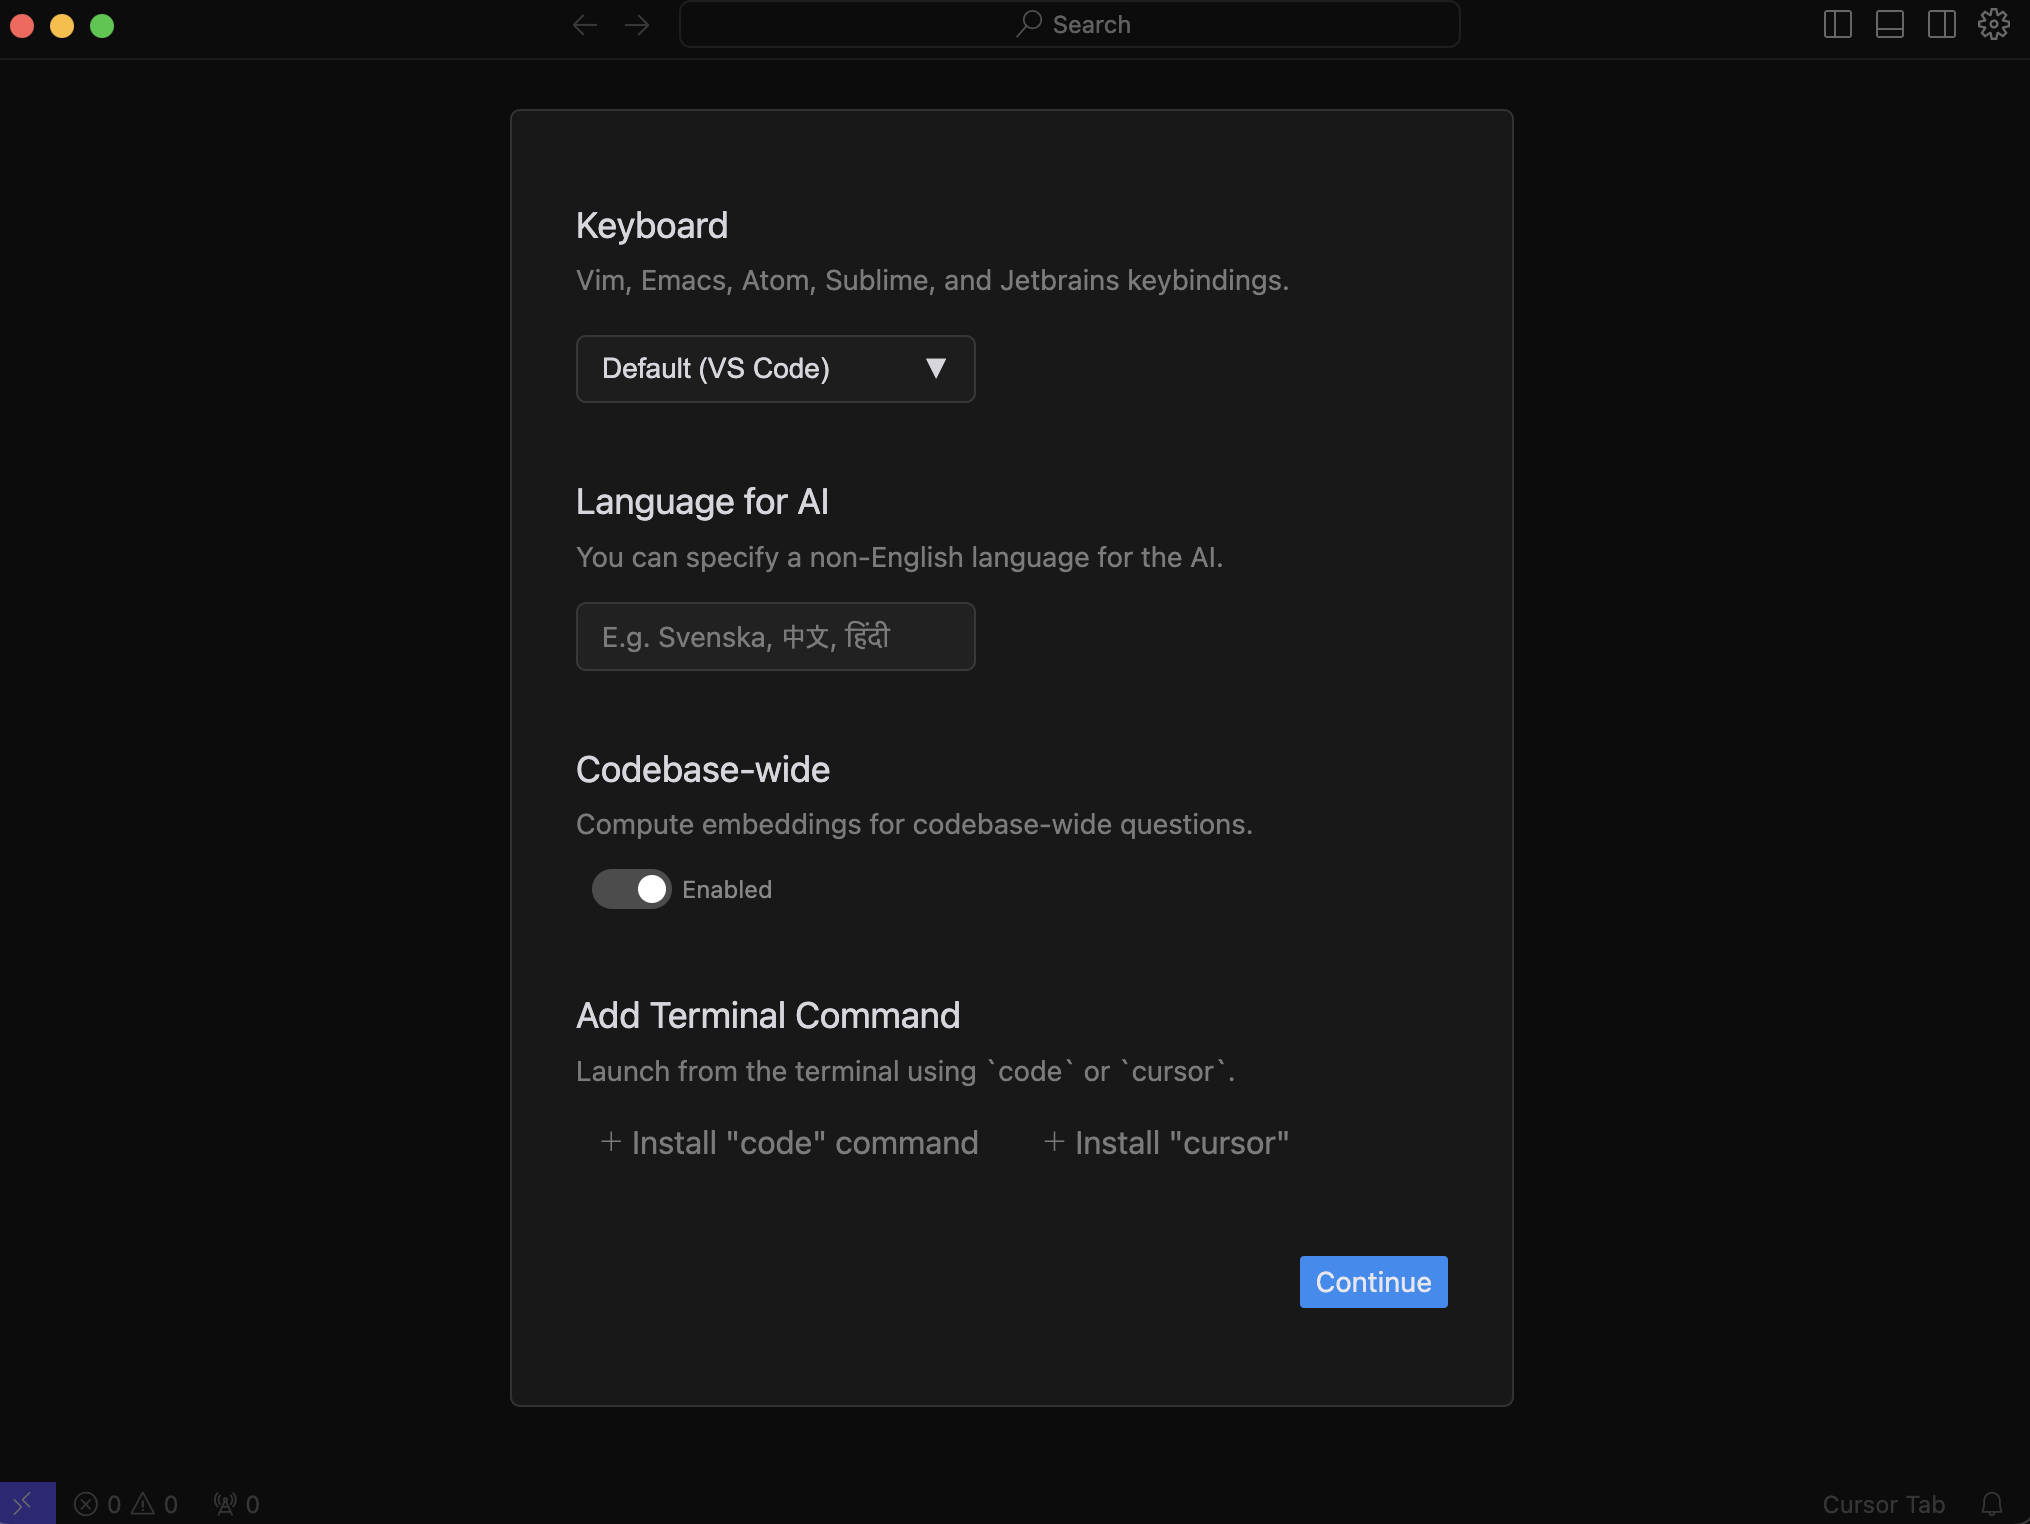
- Continue 버튼을 클릭한다.
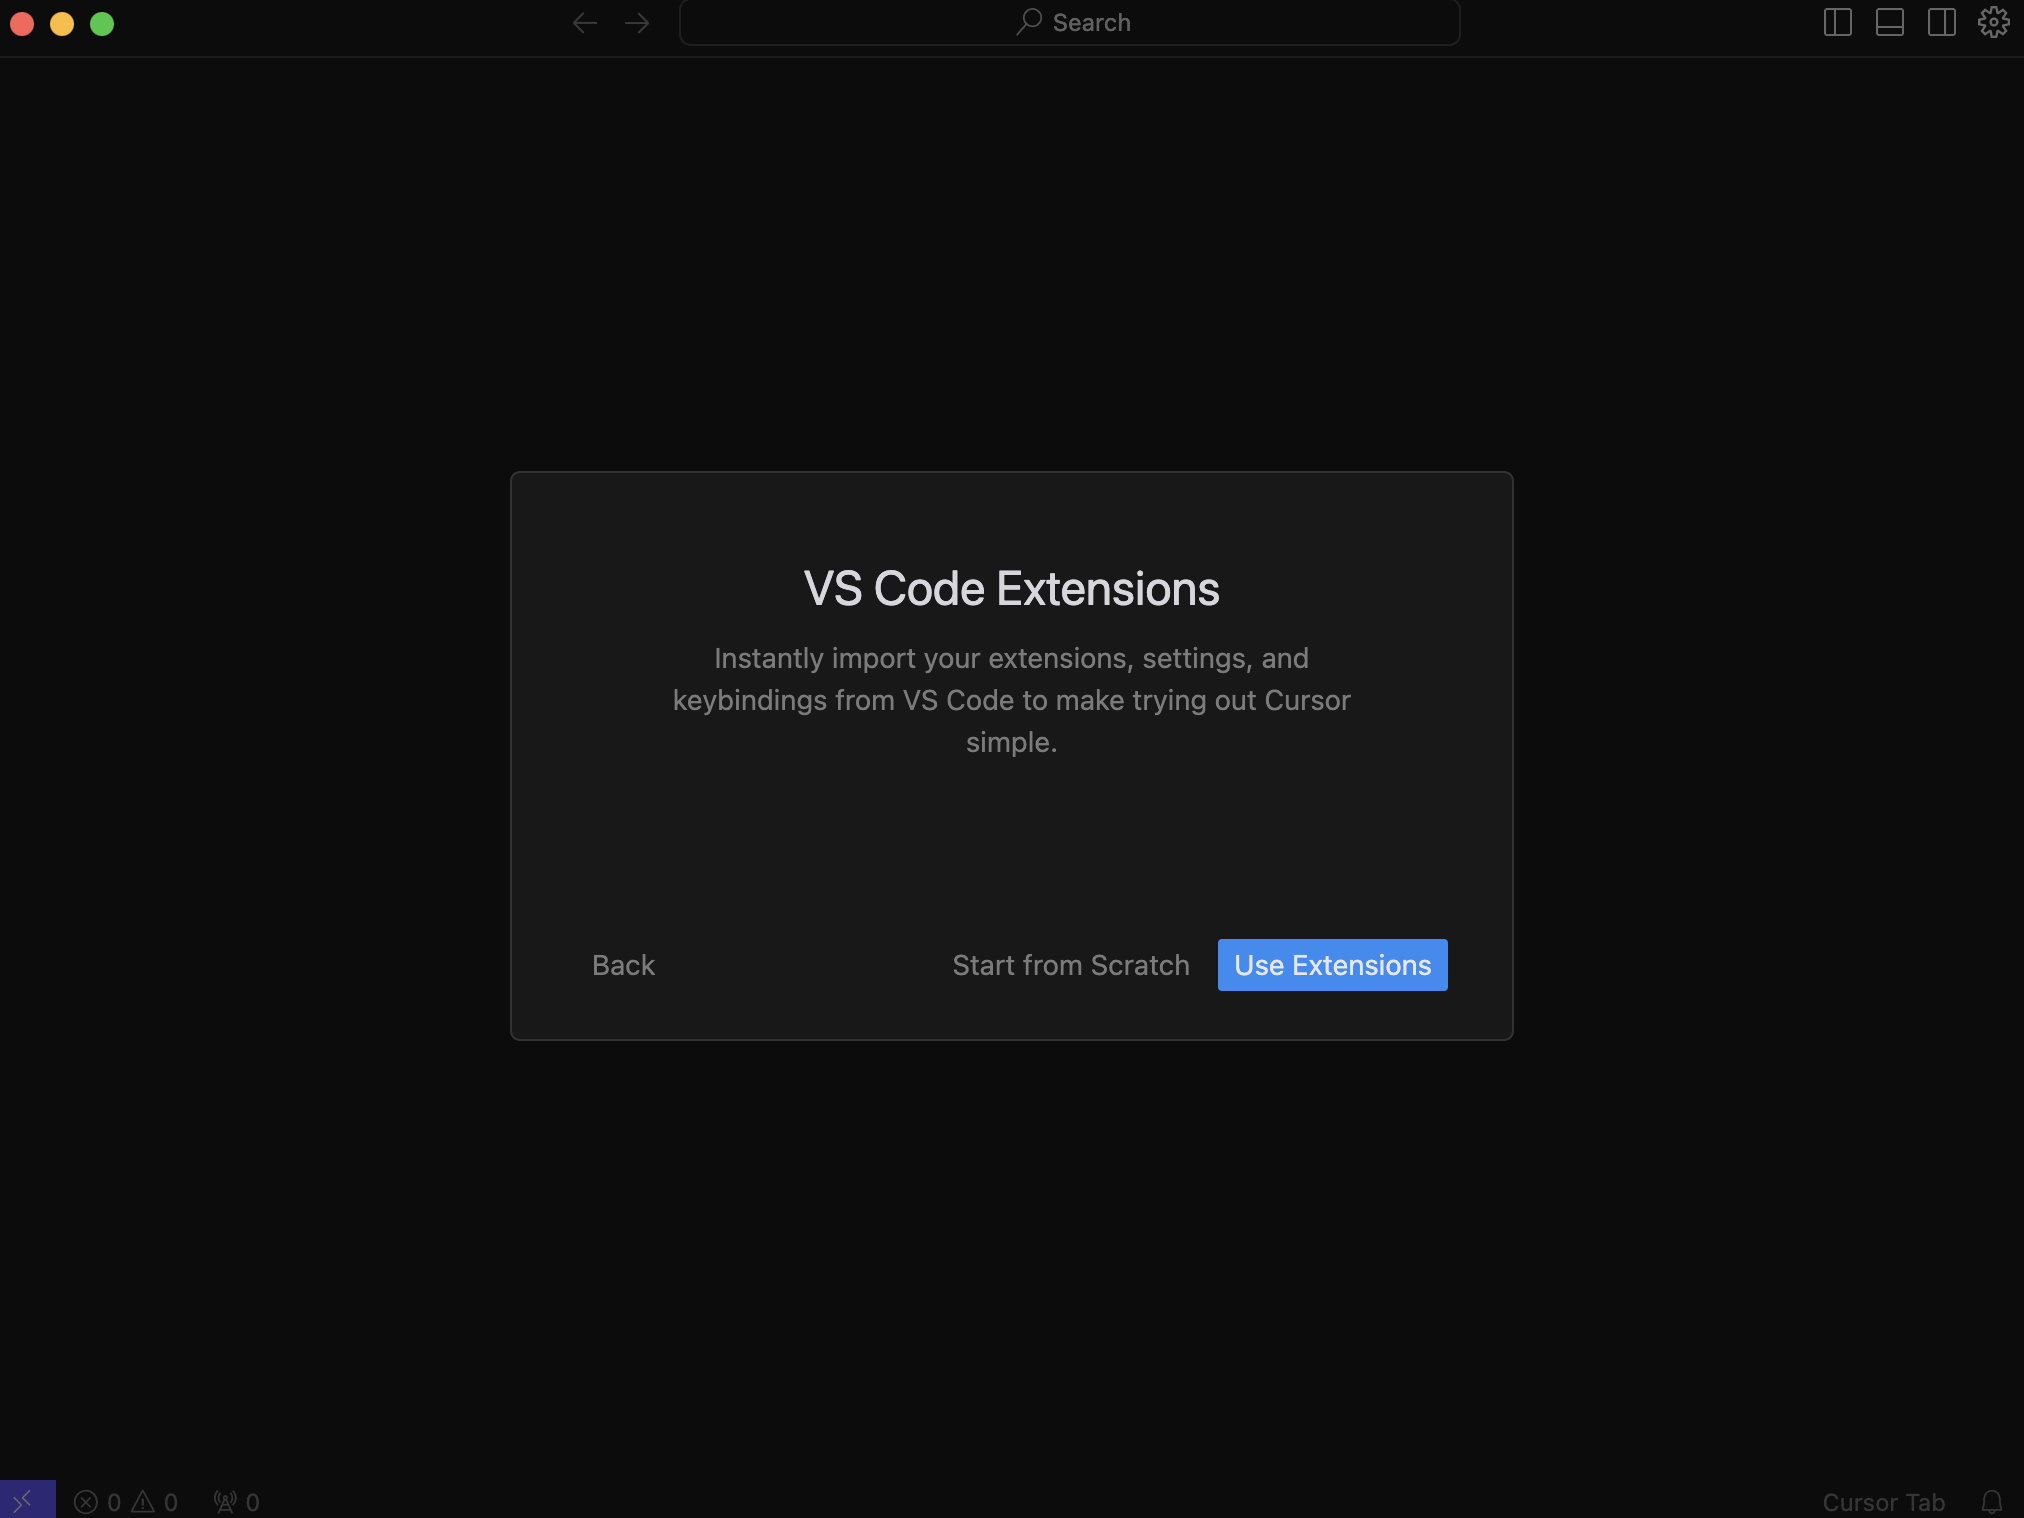
- Use Extensions을 선택한다.
- Continue 버튼을 클릭한다.
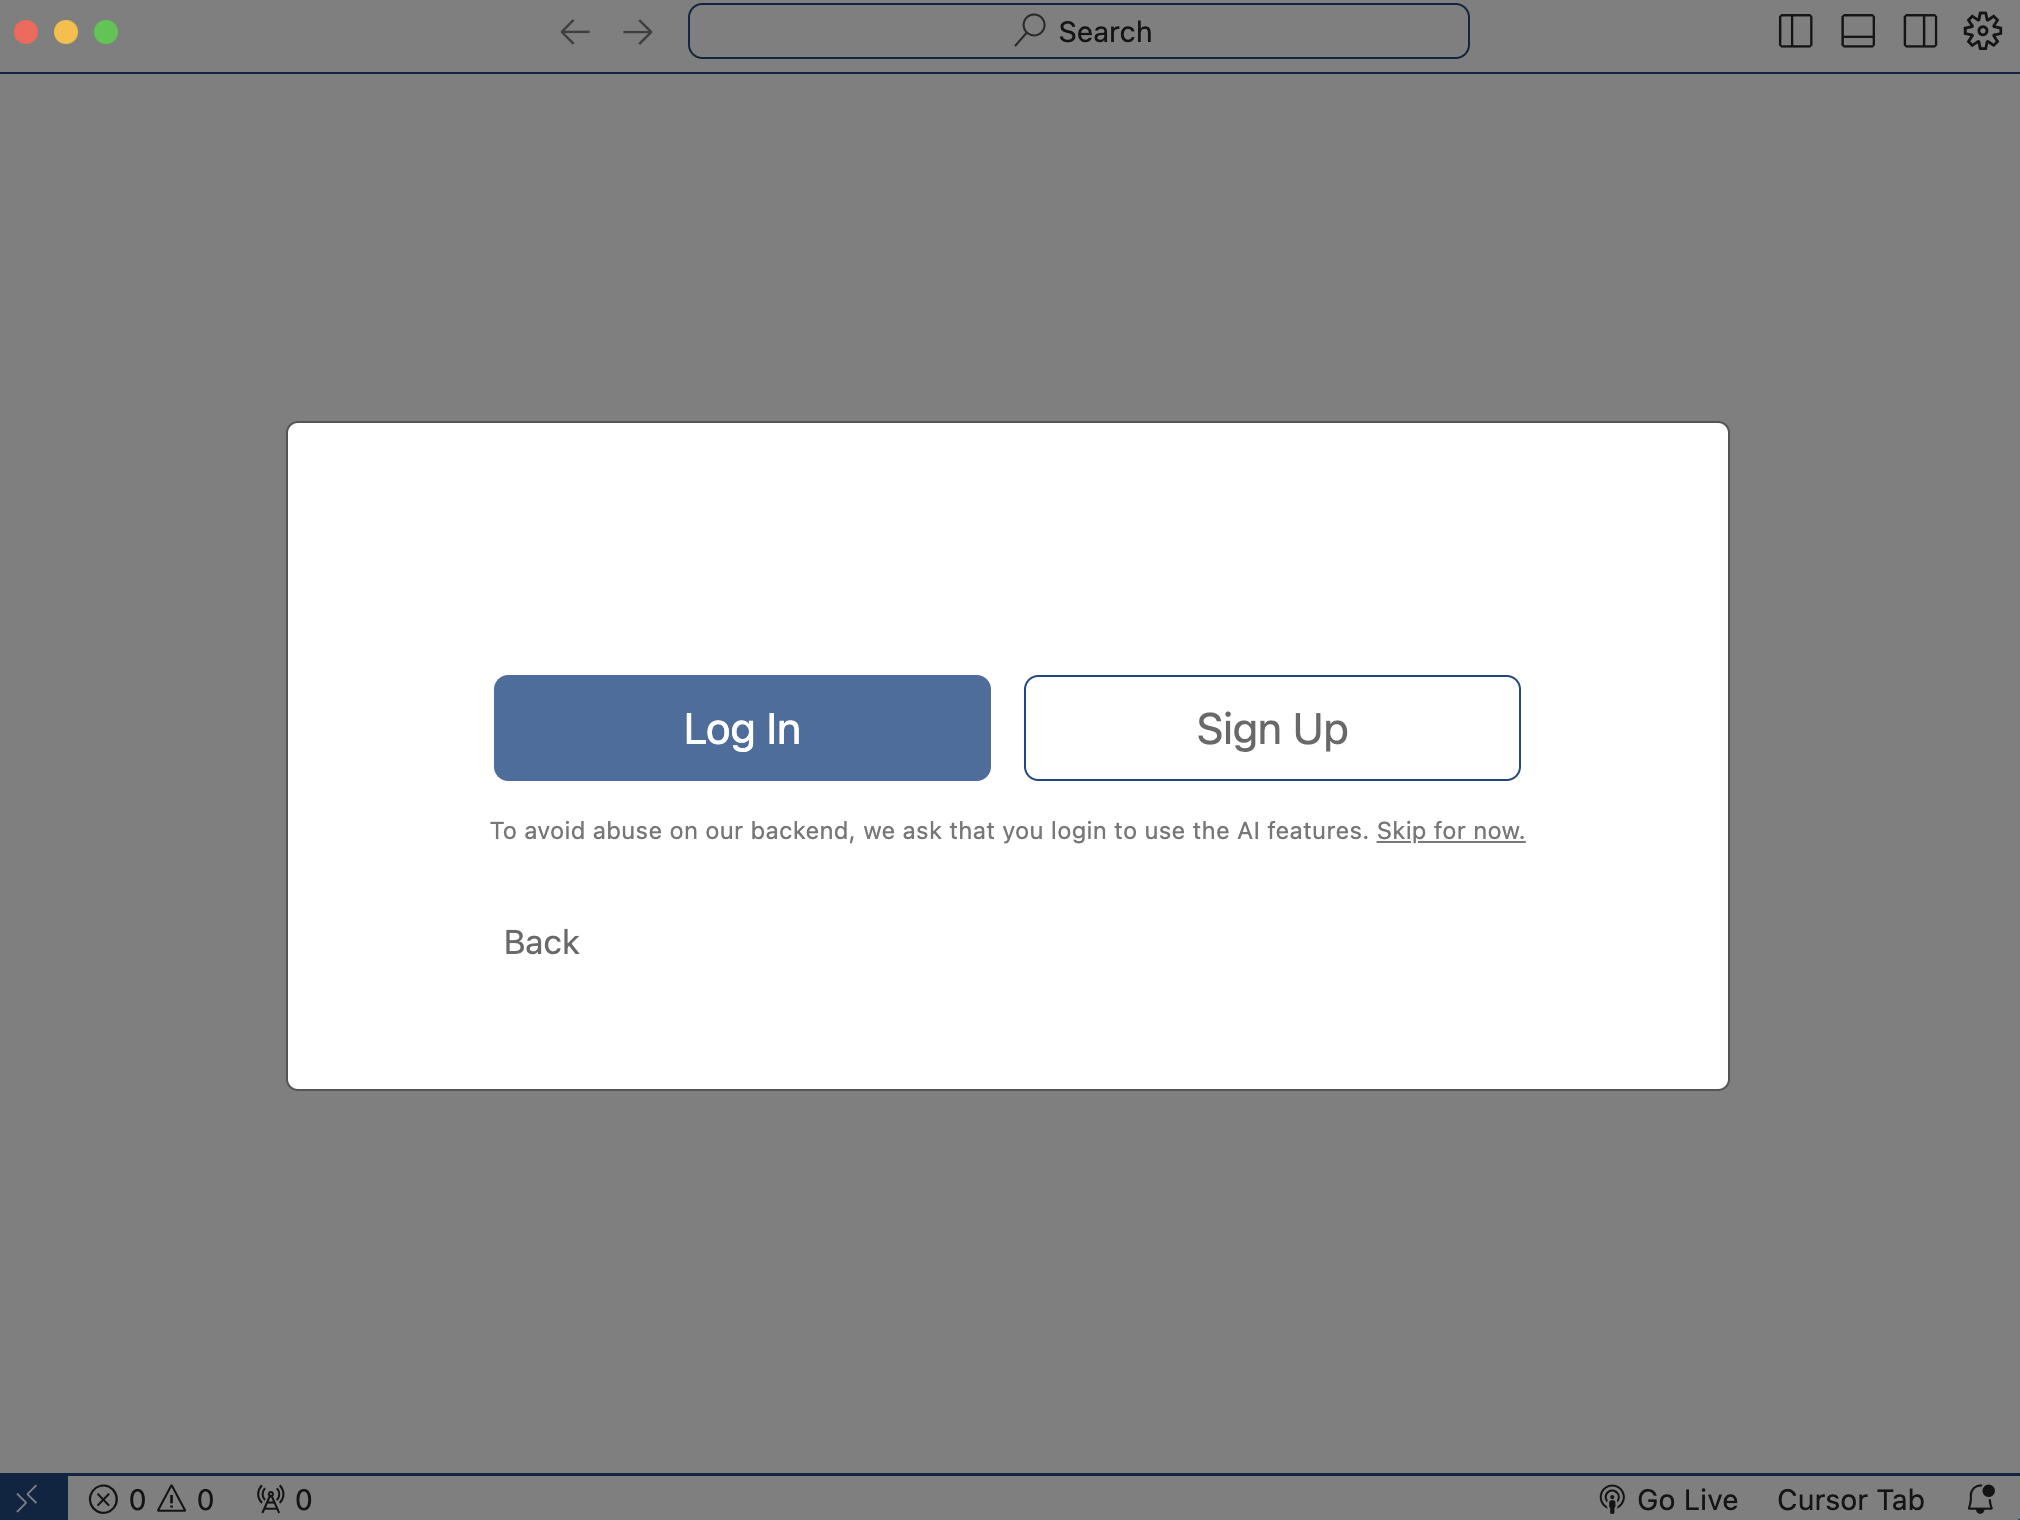
- Log In 버튼을 클릭한다.
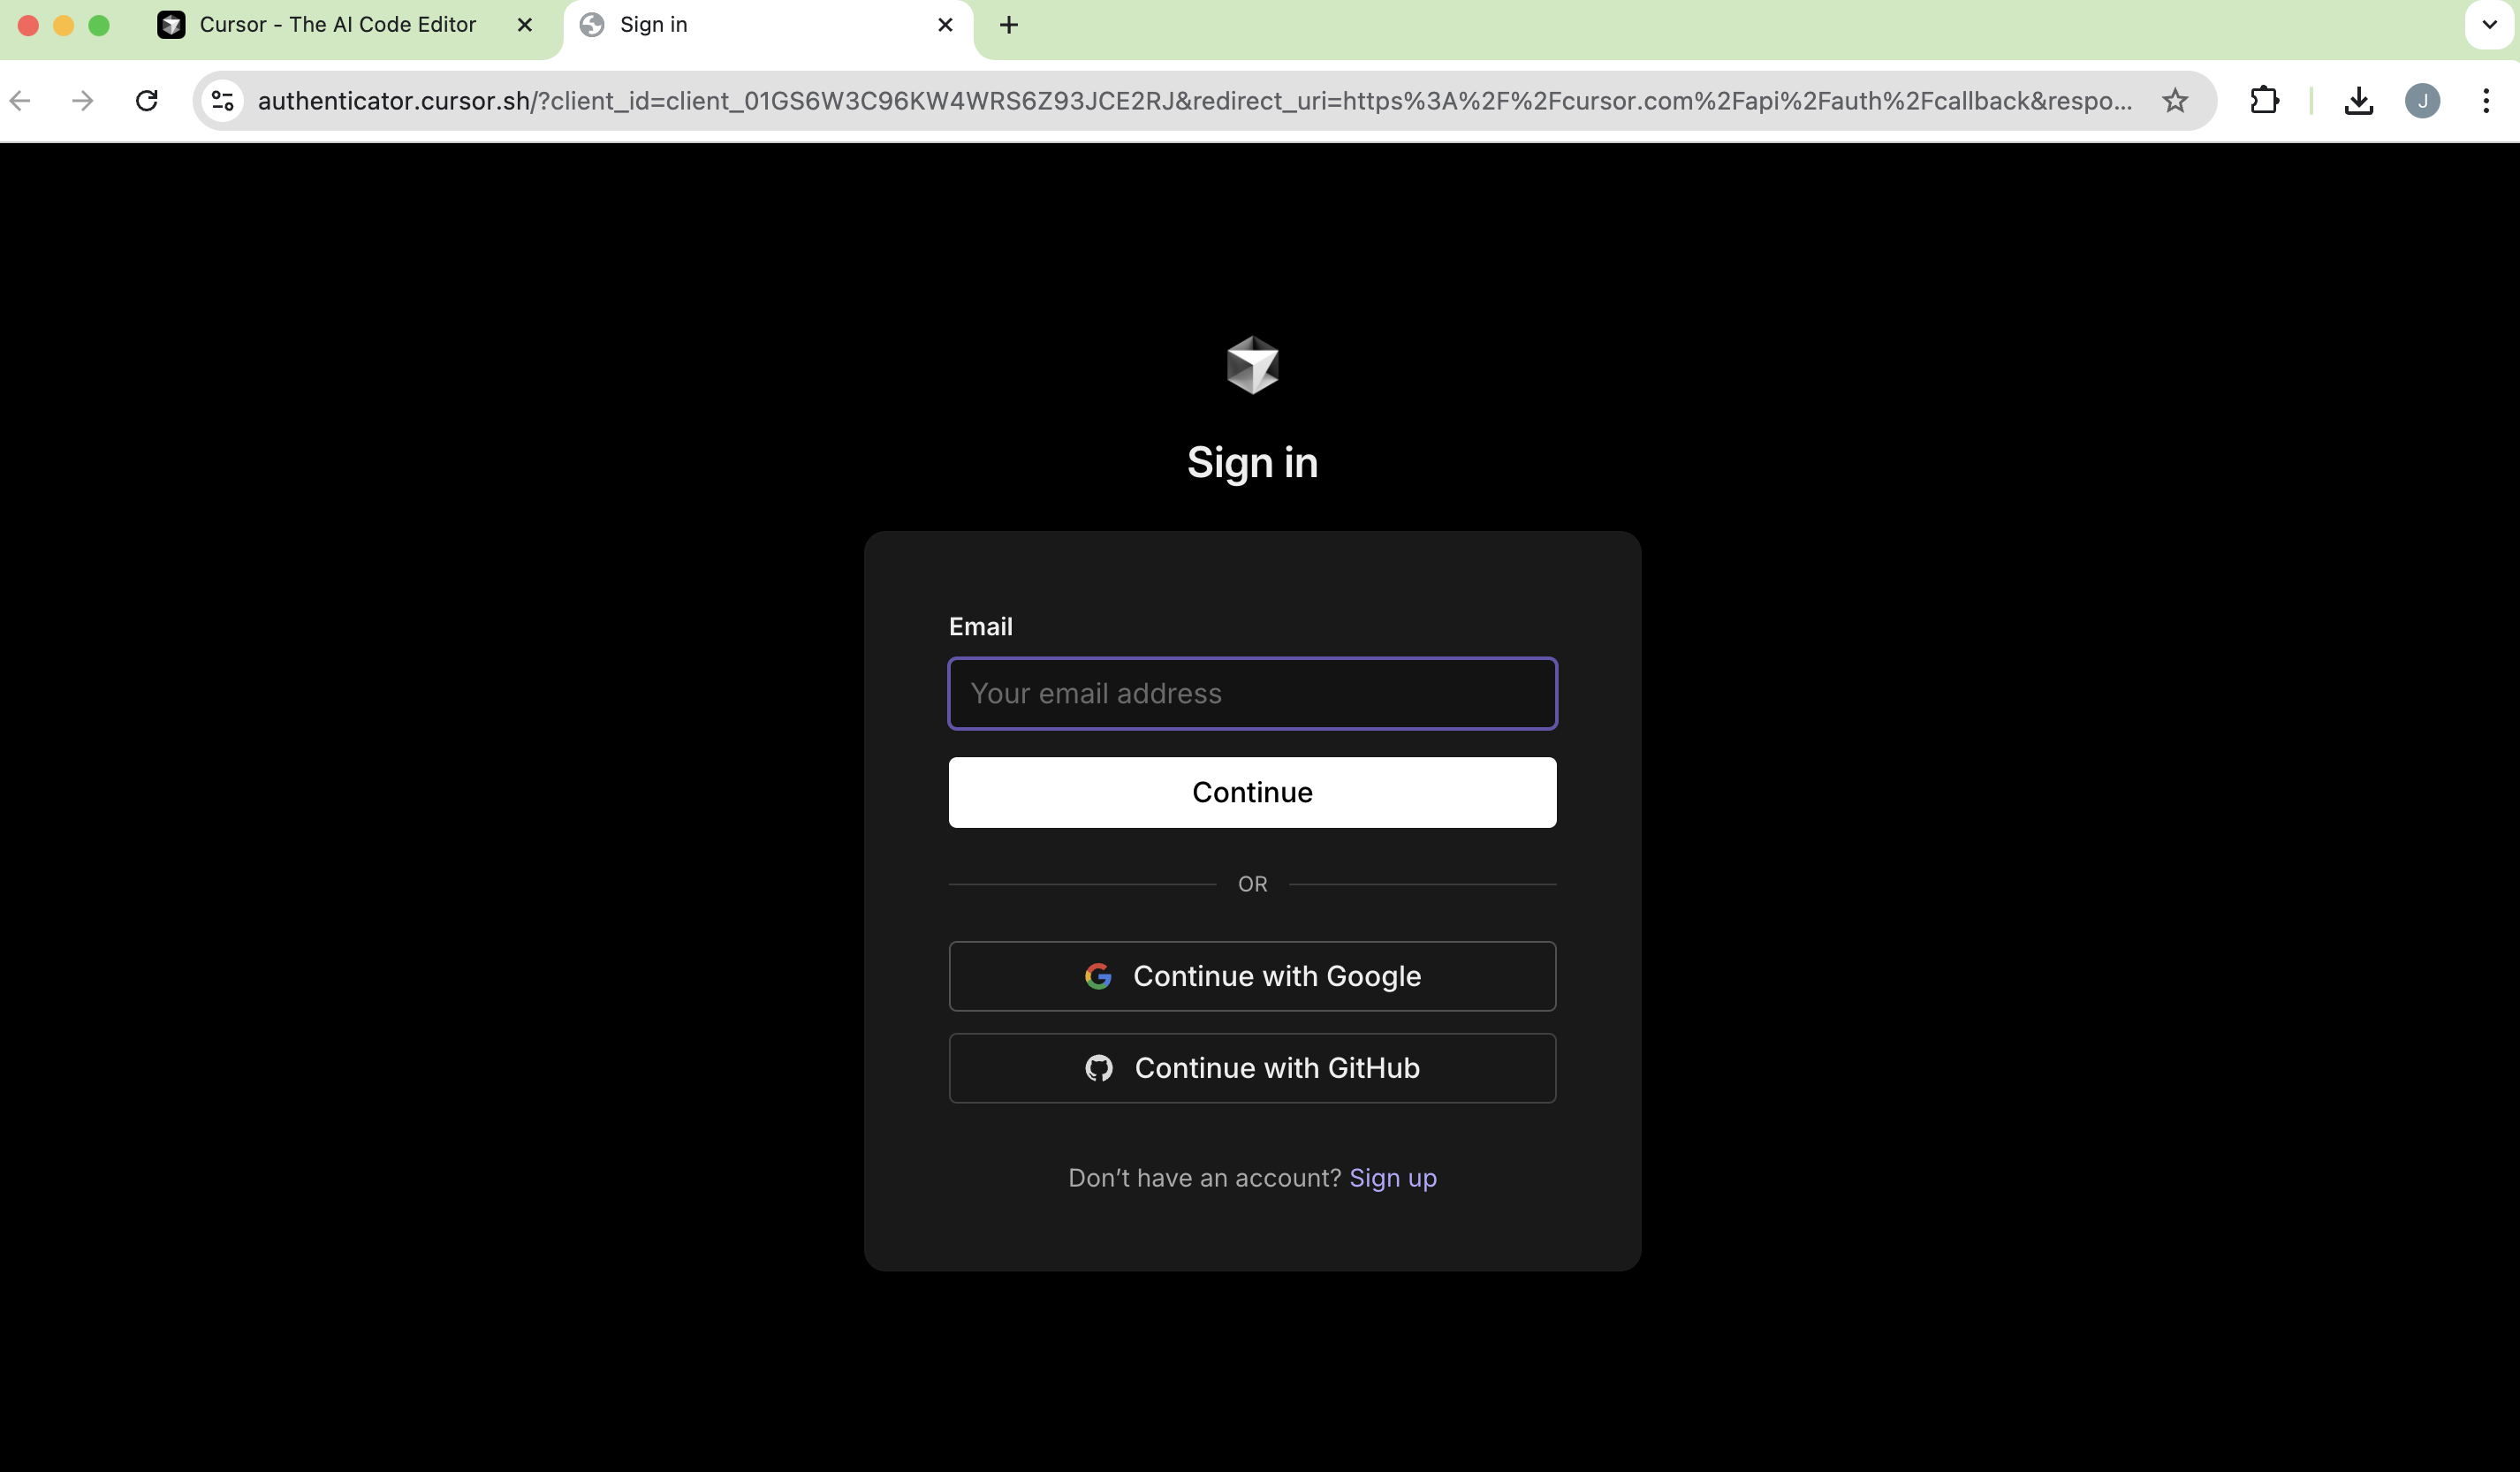
- 필자는 Github로 회원가입을 하였기 때문에 Continue with Github을 선택했다. 다음 화면에서 계정 확인 후, Yes, LOG IN 버튼을 클릭한다.
- 다음 팝업 메뉴에서 Open Cursor 버튼을 클릭한다.

- 현재 VS Code에서 작업중인 폴더로 이동하는 것을 확인할 수 있다.
