Convert Plotly Jupyterlab to HTML
Page content
개요
- jupyter notebook에서 plotly 기반의 시각화를 작성한다.
- jupyter notebook에서 html로 변환 시, plotly로 작성된 코드는 나타나지 않았다.
- 이 때 필수적으로 입력해야 할 코드를 작성한다.
필수 코드 적용 전 변환 시
- 간단한 시각화 코드를 작성 후, html로 변환한다.
import plotly.express as px

fig = px.line(x=["a","b","c"], y=[1,3,2], title="sample figure")
fig.show()
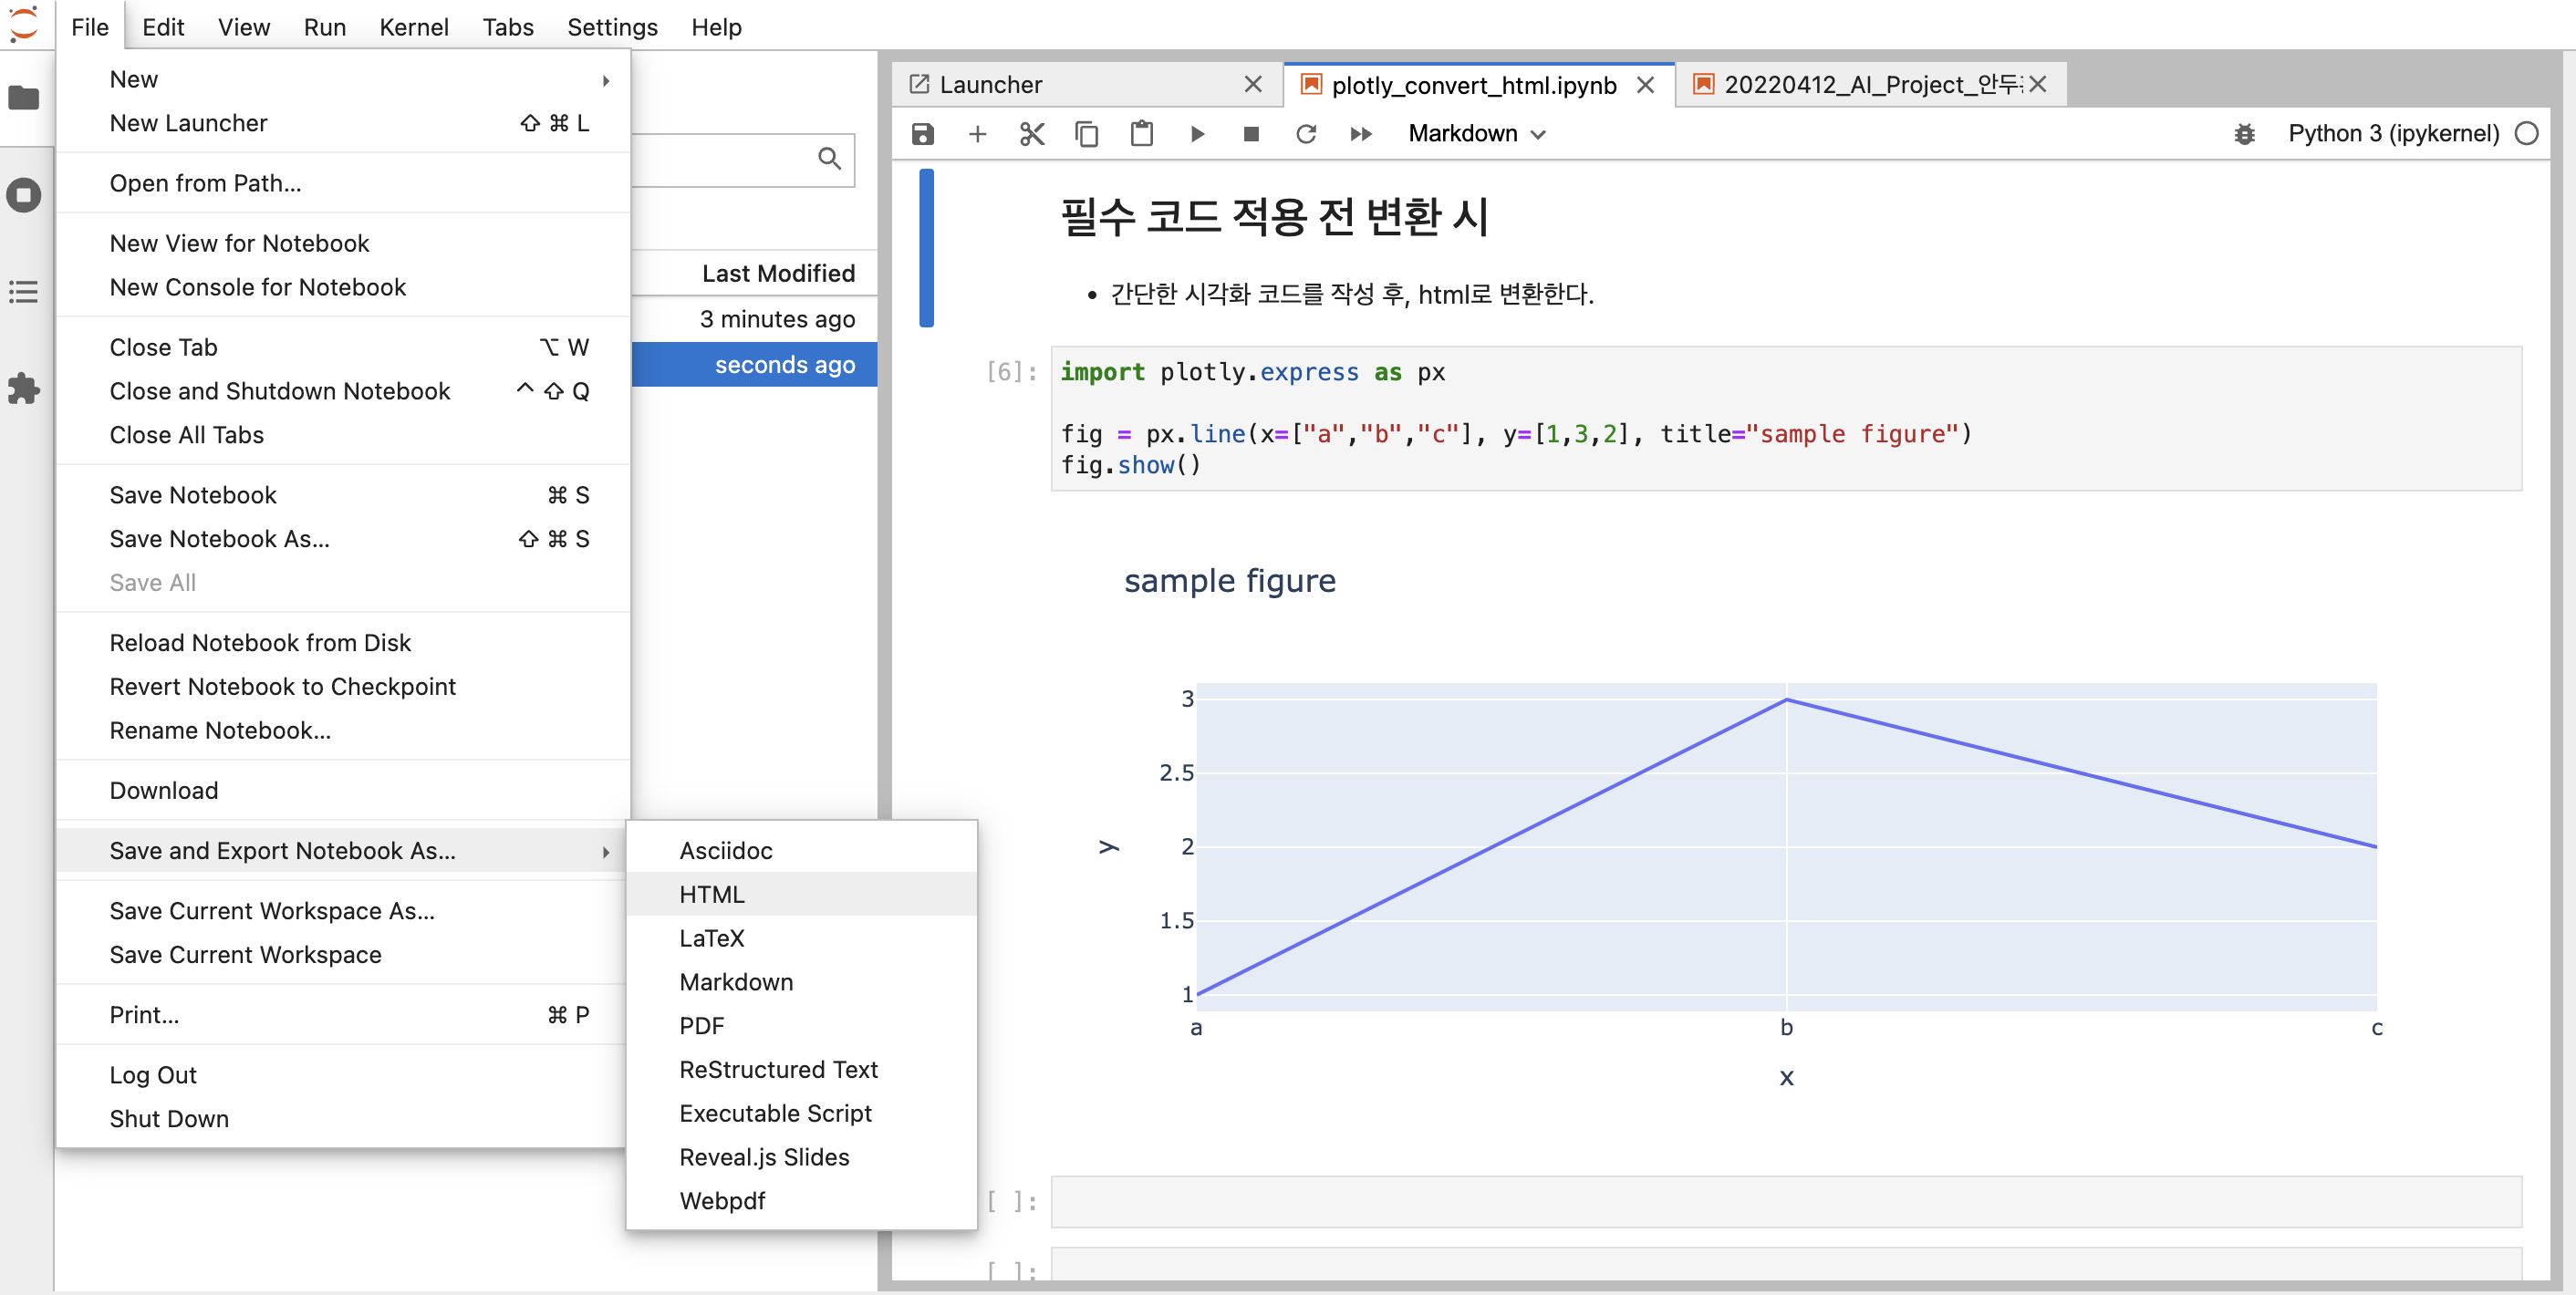
- 아래 그림은 일반적으로 JupyterLab 에디터에서 HTML로 변환하는 과정이다.
- File - Save and Export Notebook As… - HTML 순차적으로 클릭한다.
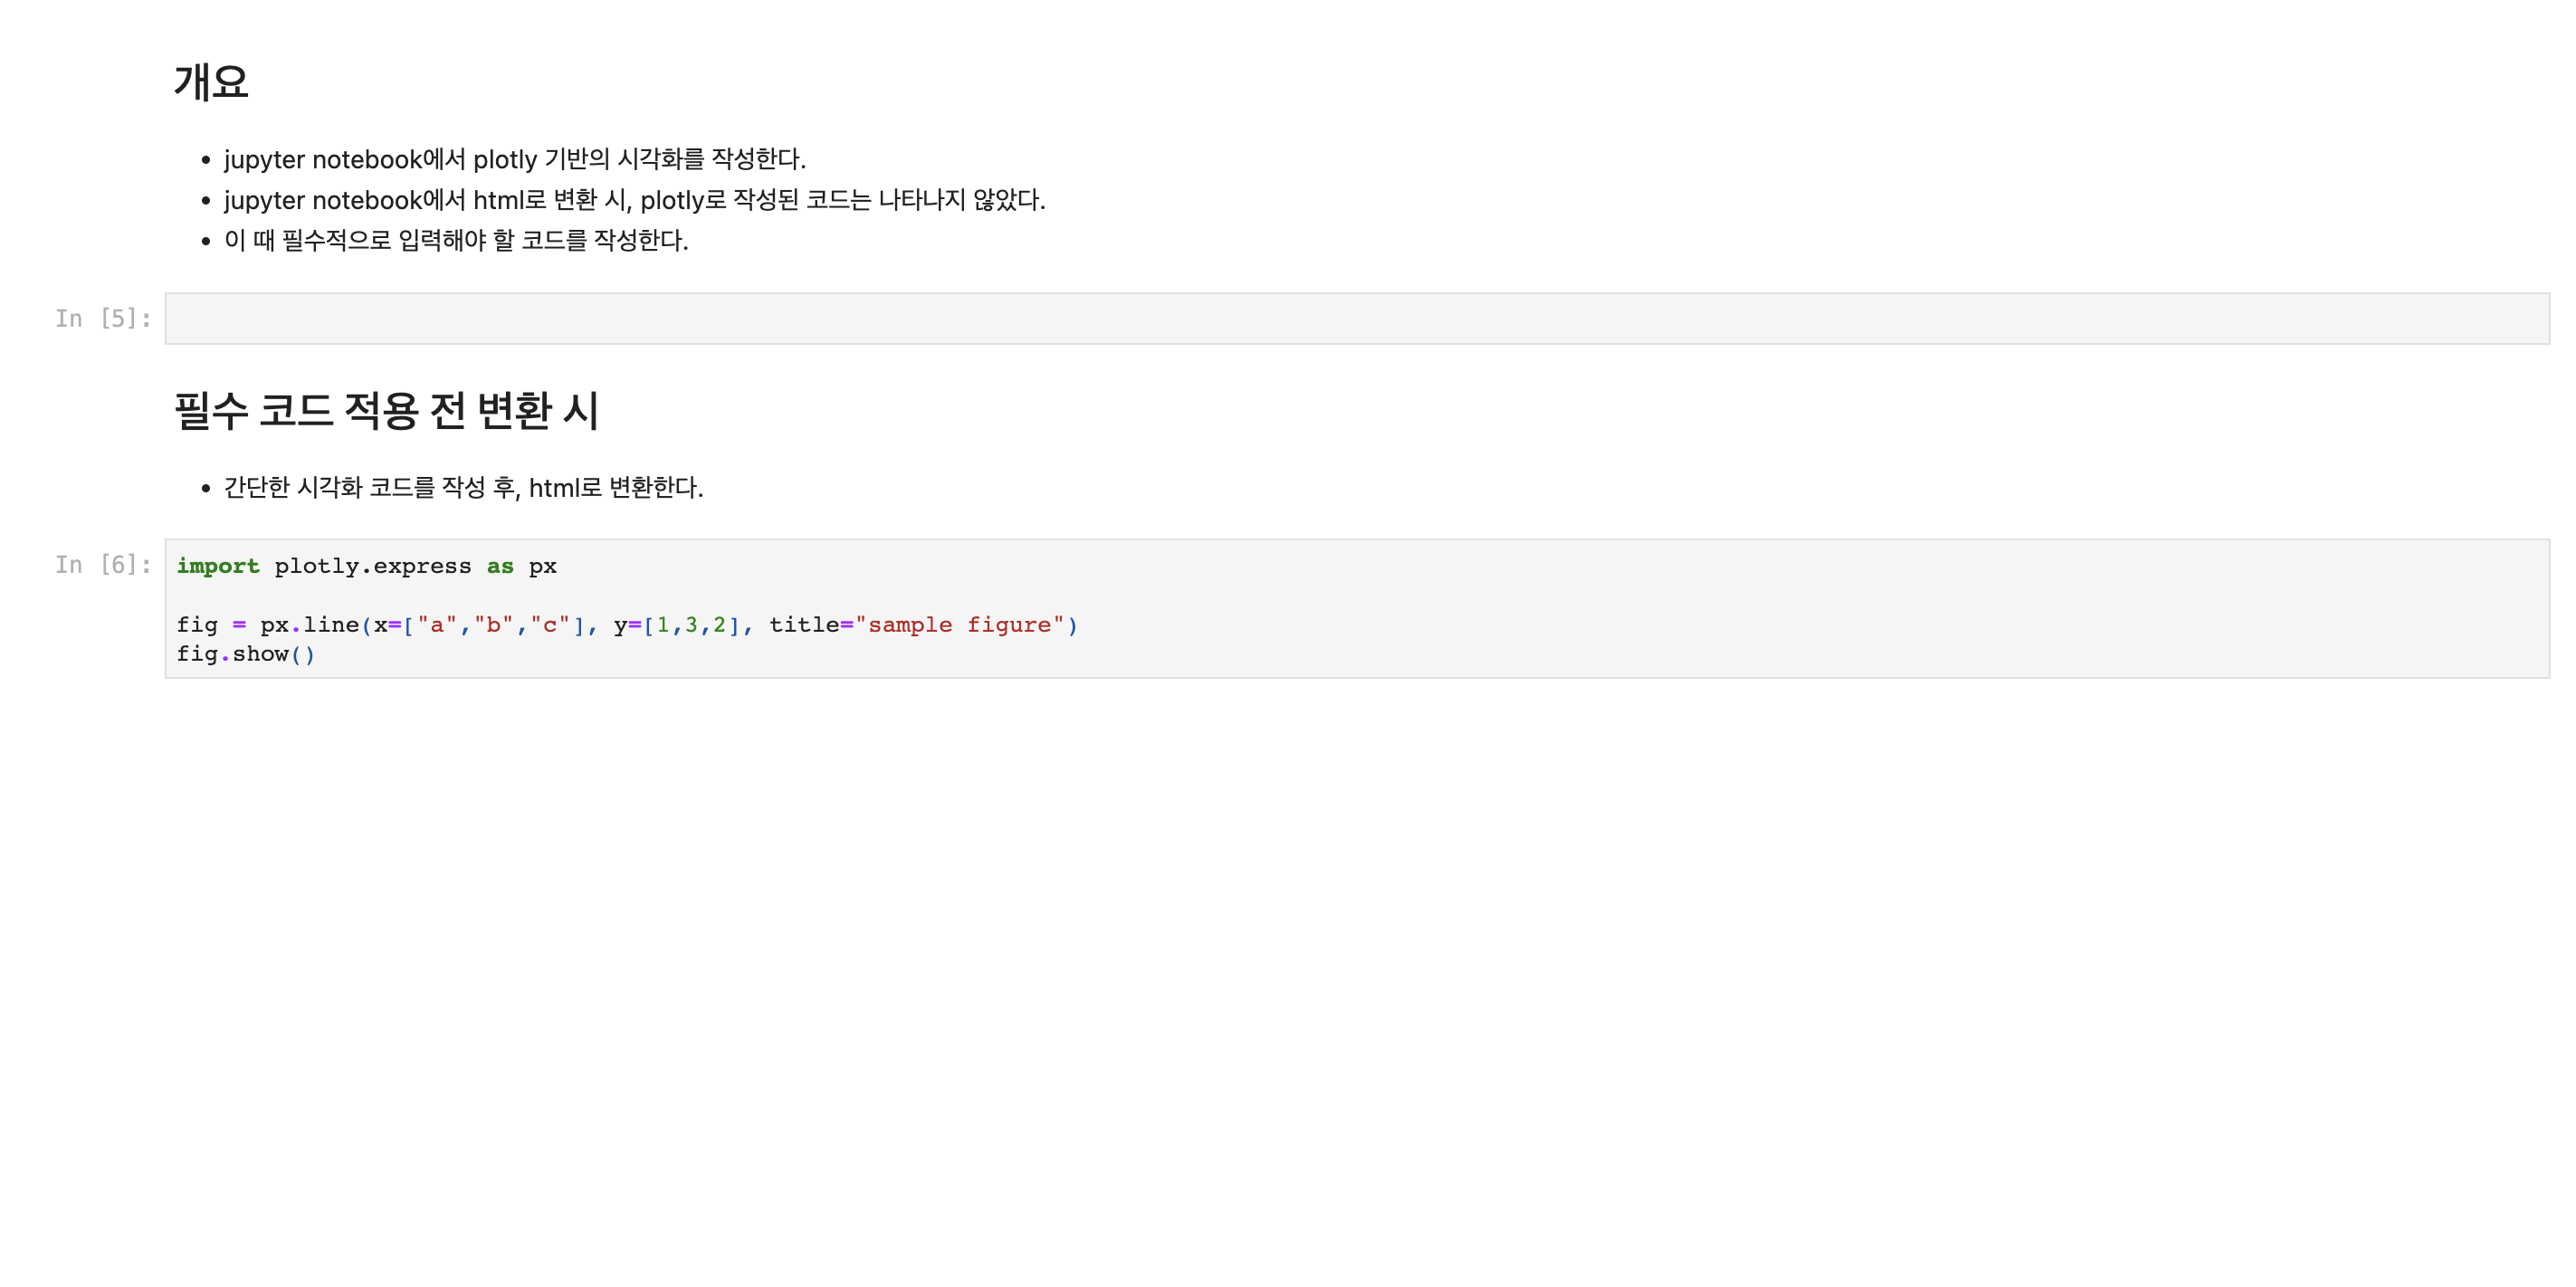
- 그런데, HTML로 변환된 파일을 클릭하면, 위 코드에서 보였던 코드는 안 보이게 된다.
필수 코드 적용 후 변환 시
- 이럴 경우에는 아래와 같은 코드를 상단에 추가한다.
import plotly.io as pio
pio.renderers = "jupyterlab"
import plotly.express as px
fig = px.line(x=["a","b","c"], y=[1,3,2], title="sample figure")
fig.show()
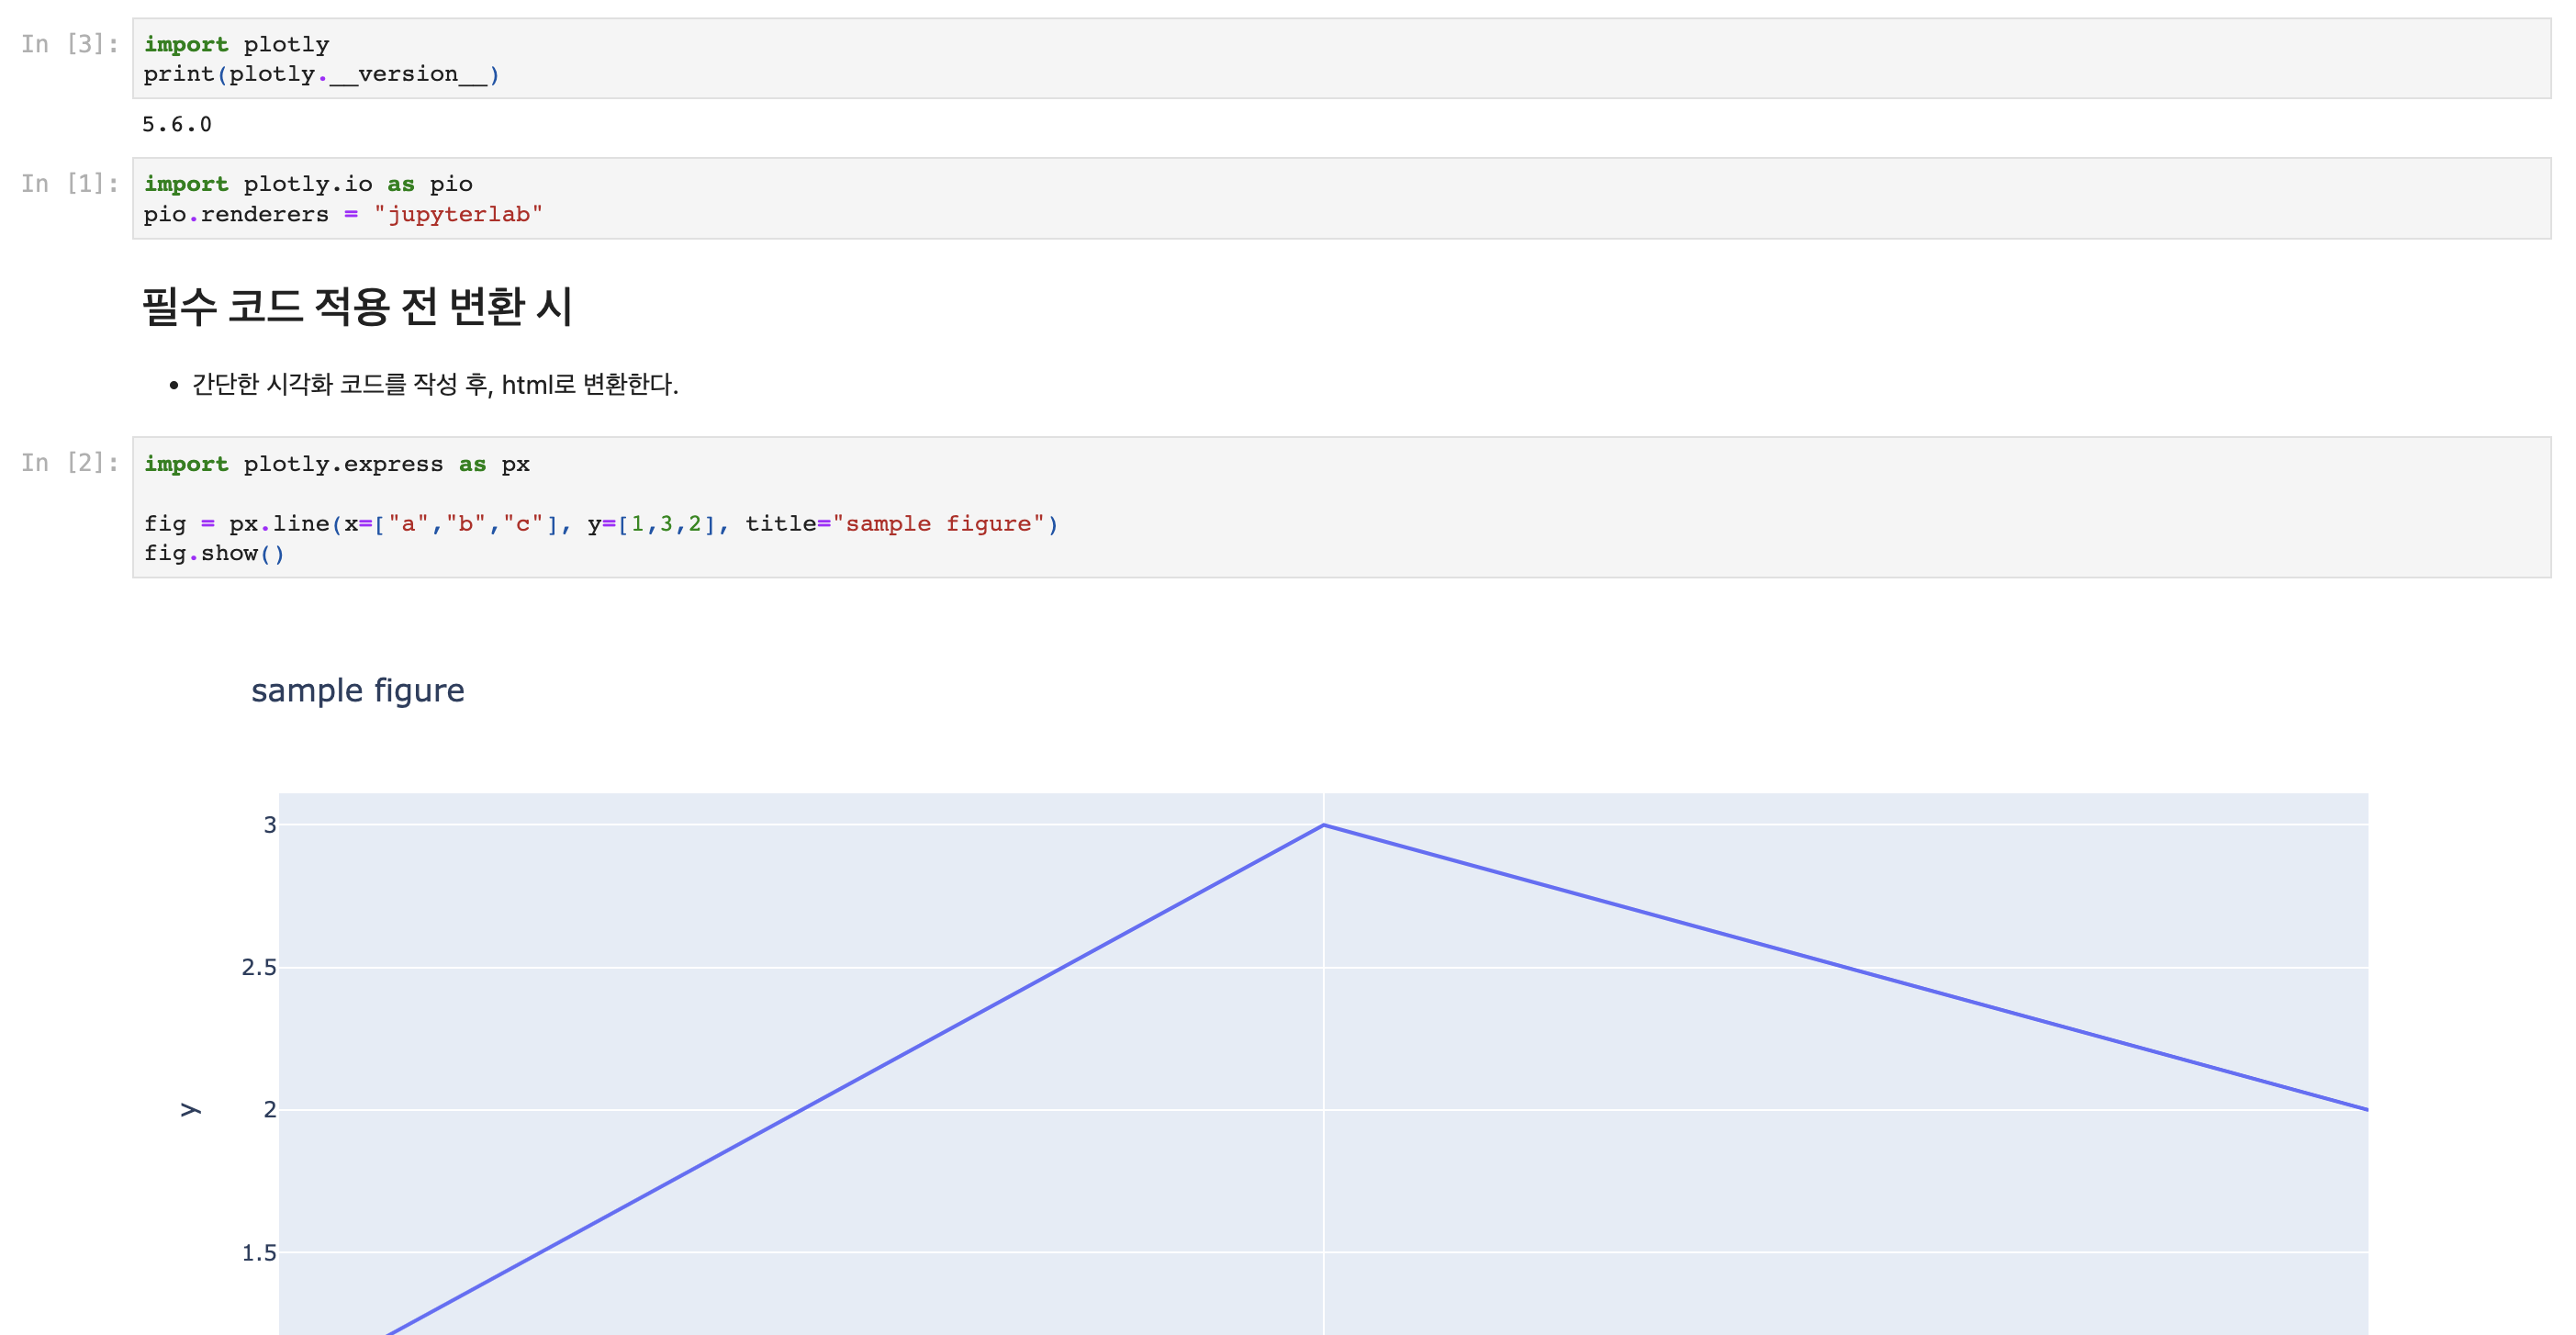
- 정상적으로 코드가 적용되는 것을 확인할 수 있다.
Setting the Default Renderer
pio.renderers실행하면 다음과 같은 메시지가 나타난다. 여기에서 본인 환경에 맞는 적절한 renderers를 입력하면 된다.
import plotly.io as pio
pio.renderers = 'your_renderer'
Renderers configuration
-----------------------
    Default renderer: 'notebook_connected'
    Available renderers:
        ['plotly_mimetype', 'jupyterlab', 'nteract', 'vscode',
         'notebook', 'notebook_connected', 'kaggle', 'azure', 'colab',
         'cocalc', 'databricks', 'json', 'png', 'jpeg', 'jpg', 'svg',
         'pdf', 'browser', 'firefox', 'chrome', 'chromium', 'iframe',
         'iframe_connected', 'sphinx_gallery', 'sphinx_gallery_png']
- 그러나, Kaggle이나 구글 코랩에서 작성 후, Jupyter Notebook으로 다운로드 받은 후, HTML 코드로 변환할 때는 위 코드가 적용이 되지 않는다.
Kaggle Notebook 적용
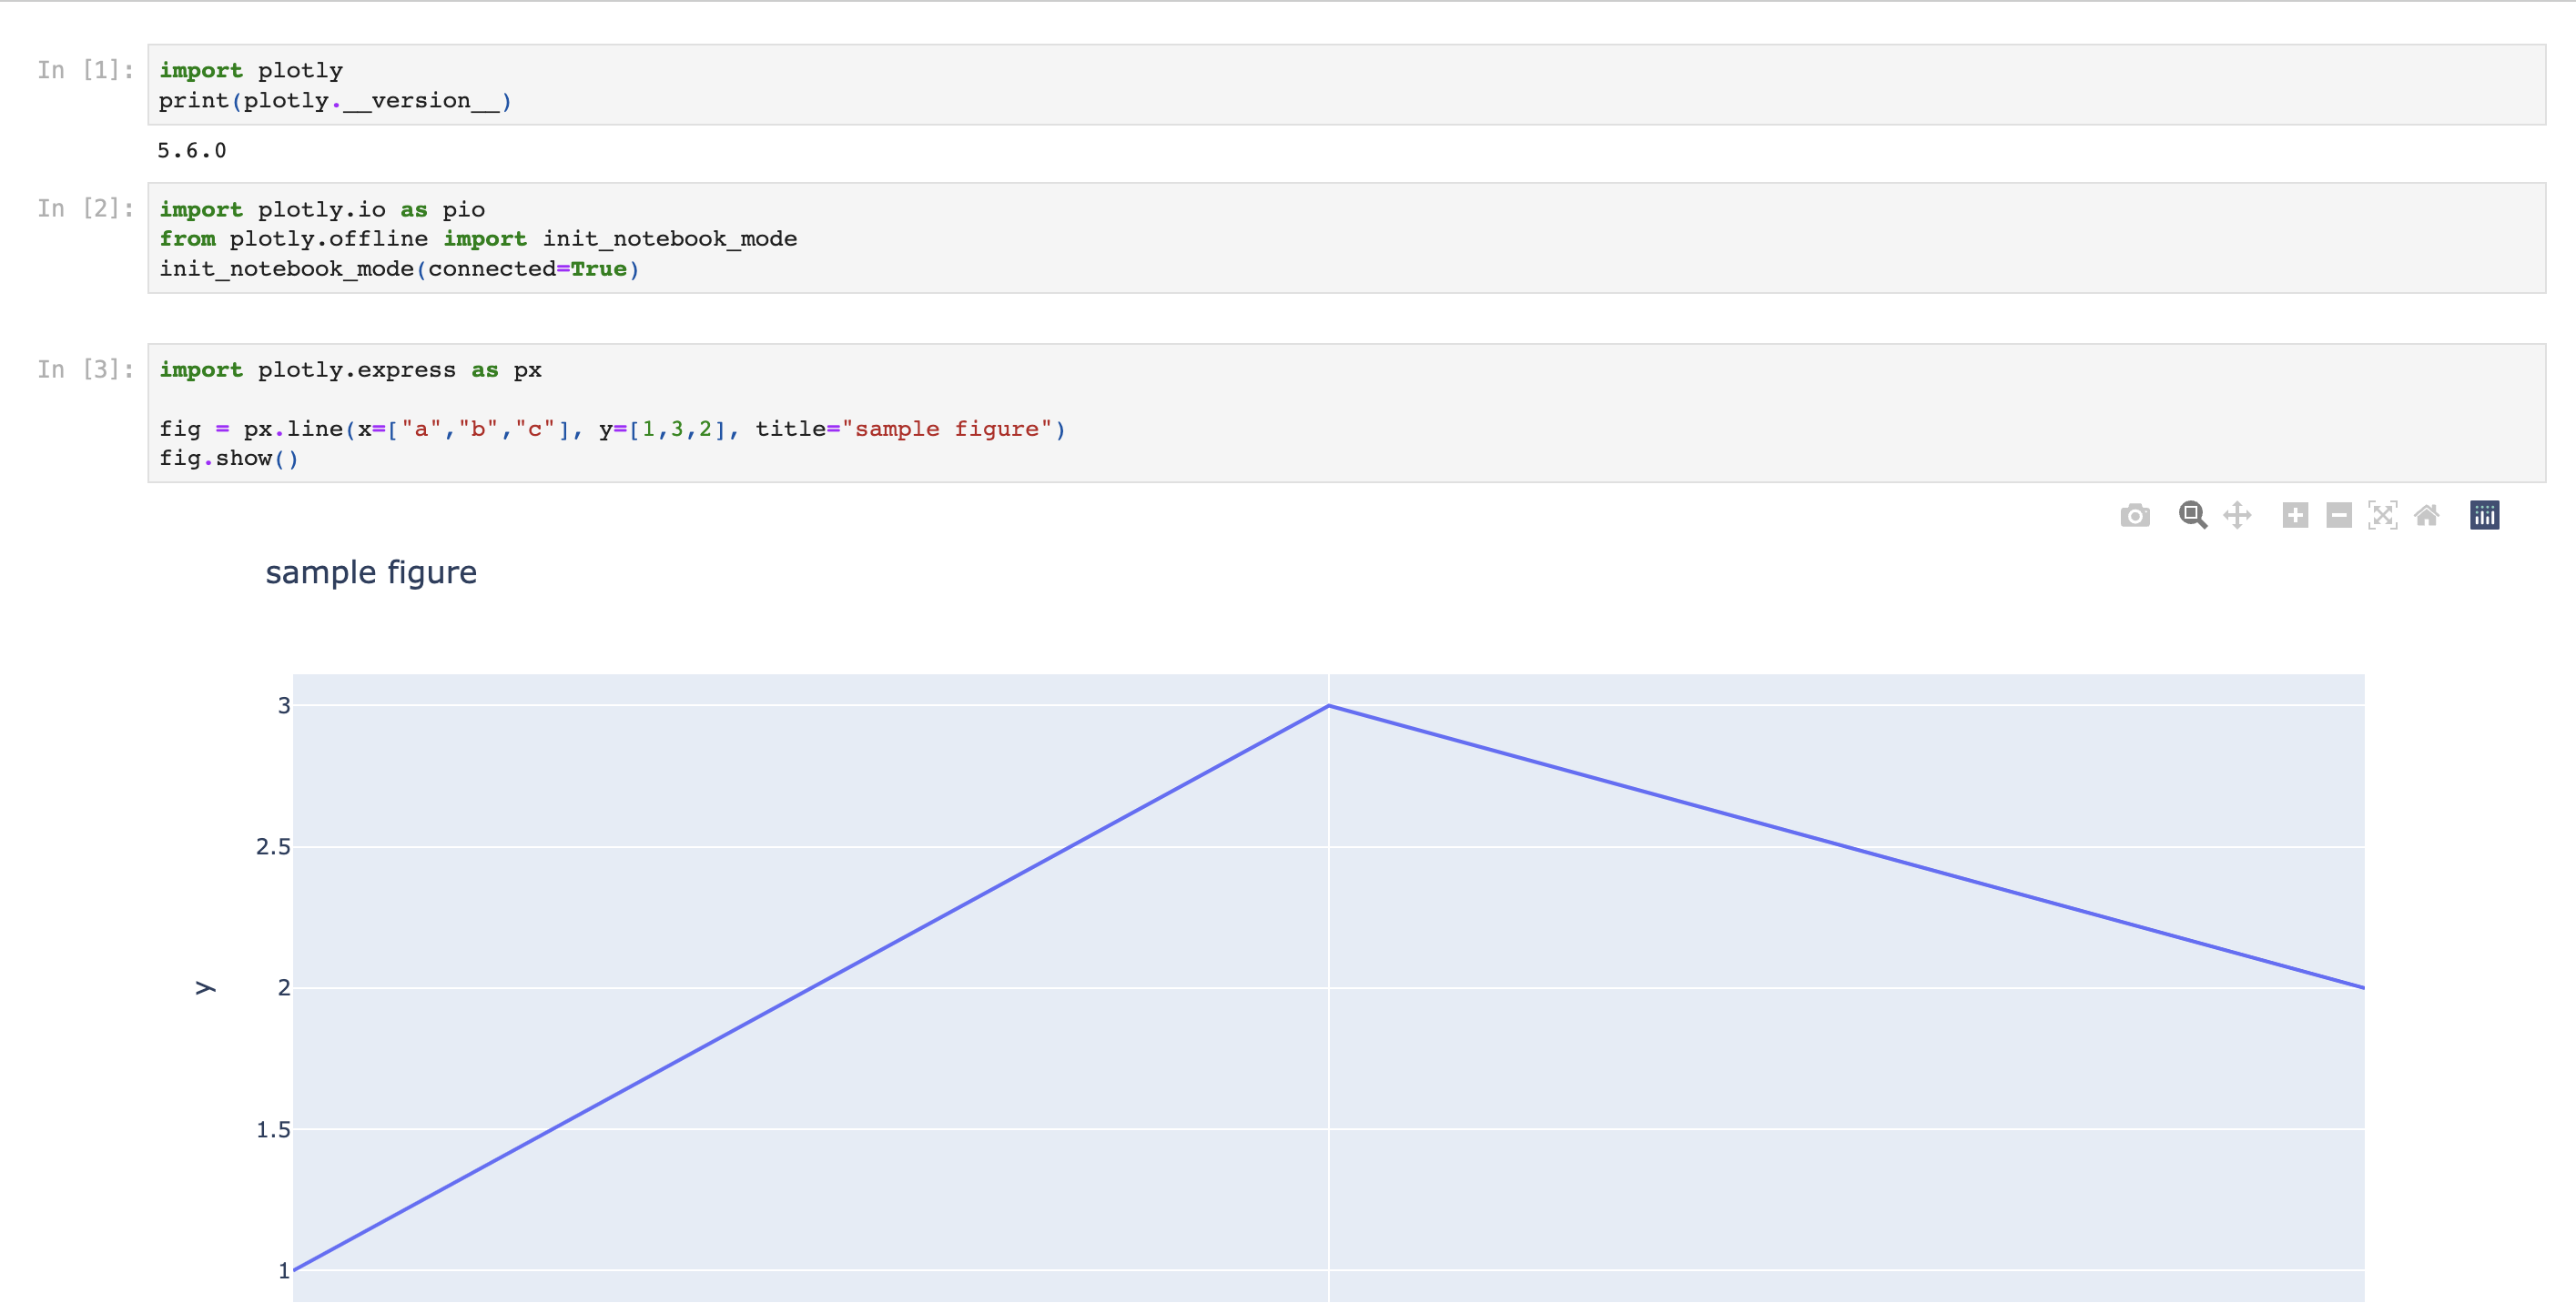
- 이번에는 다음 코드를 Kaggle Notebook에 다음 그림과 같이 적용한다.
import plotly.io as pio
from plotly.offline import init_notebook_mode
init_notebook_mode(connected=True)
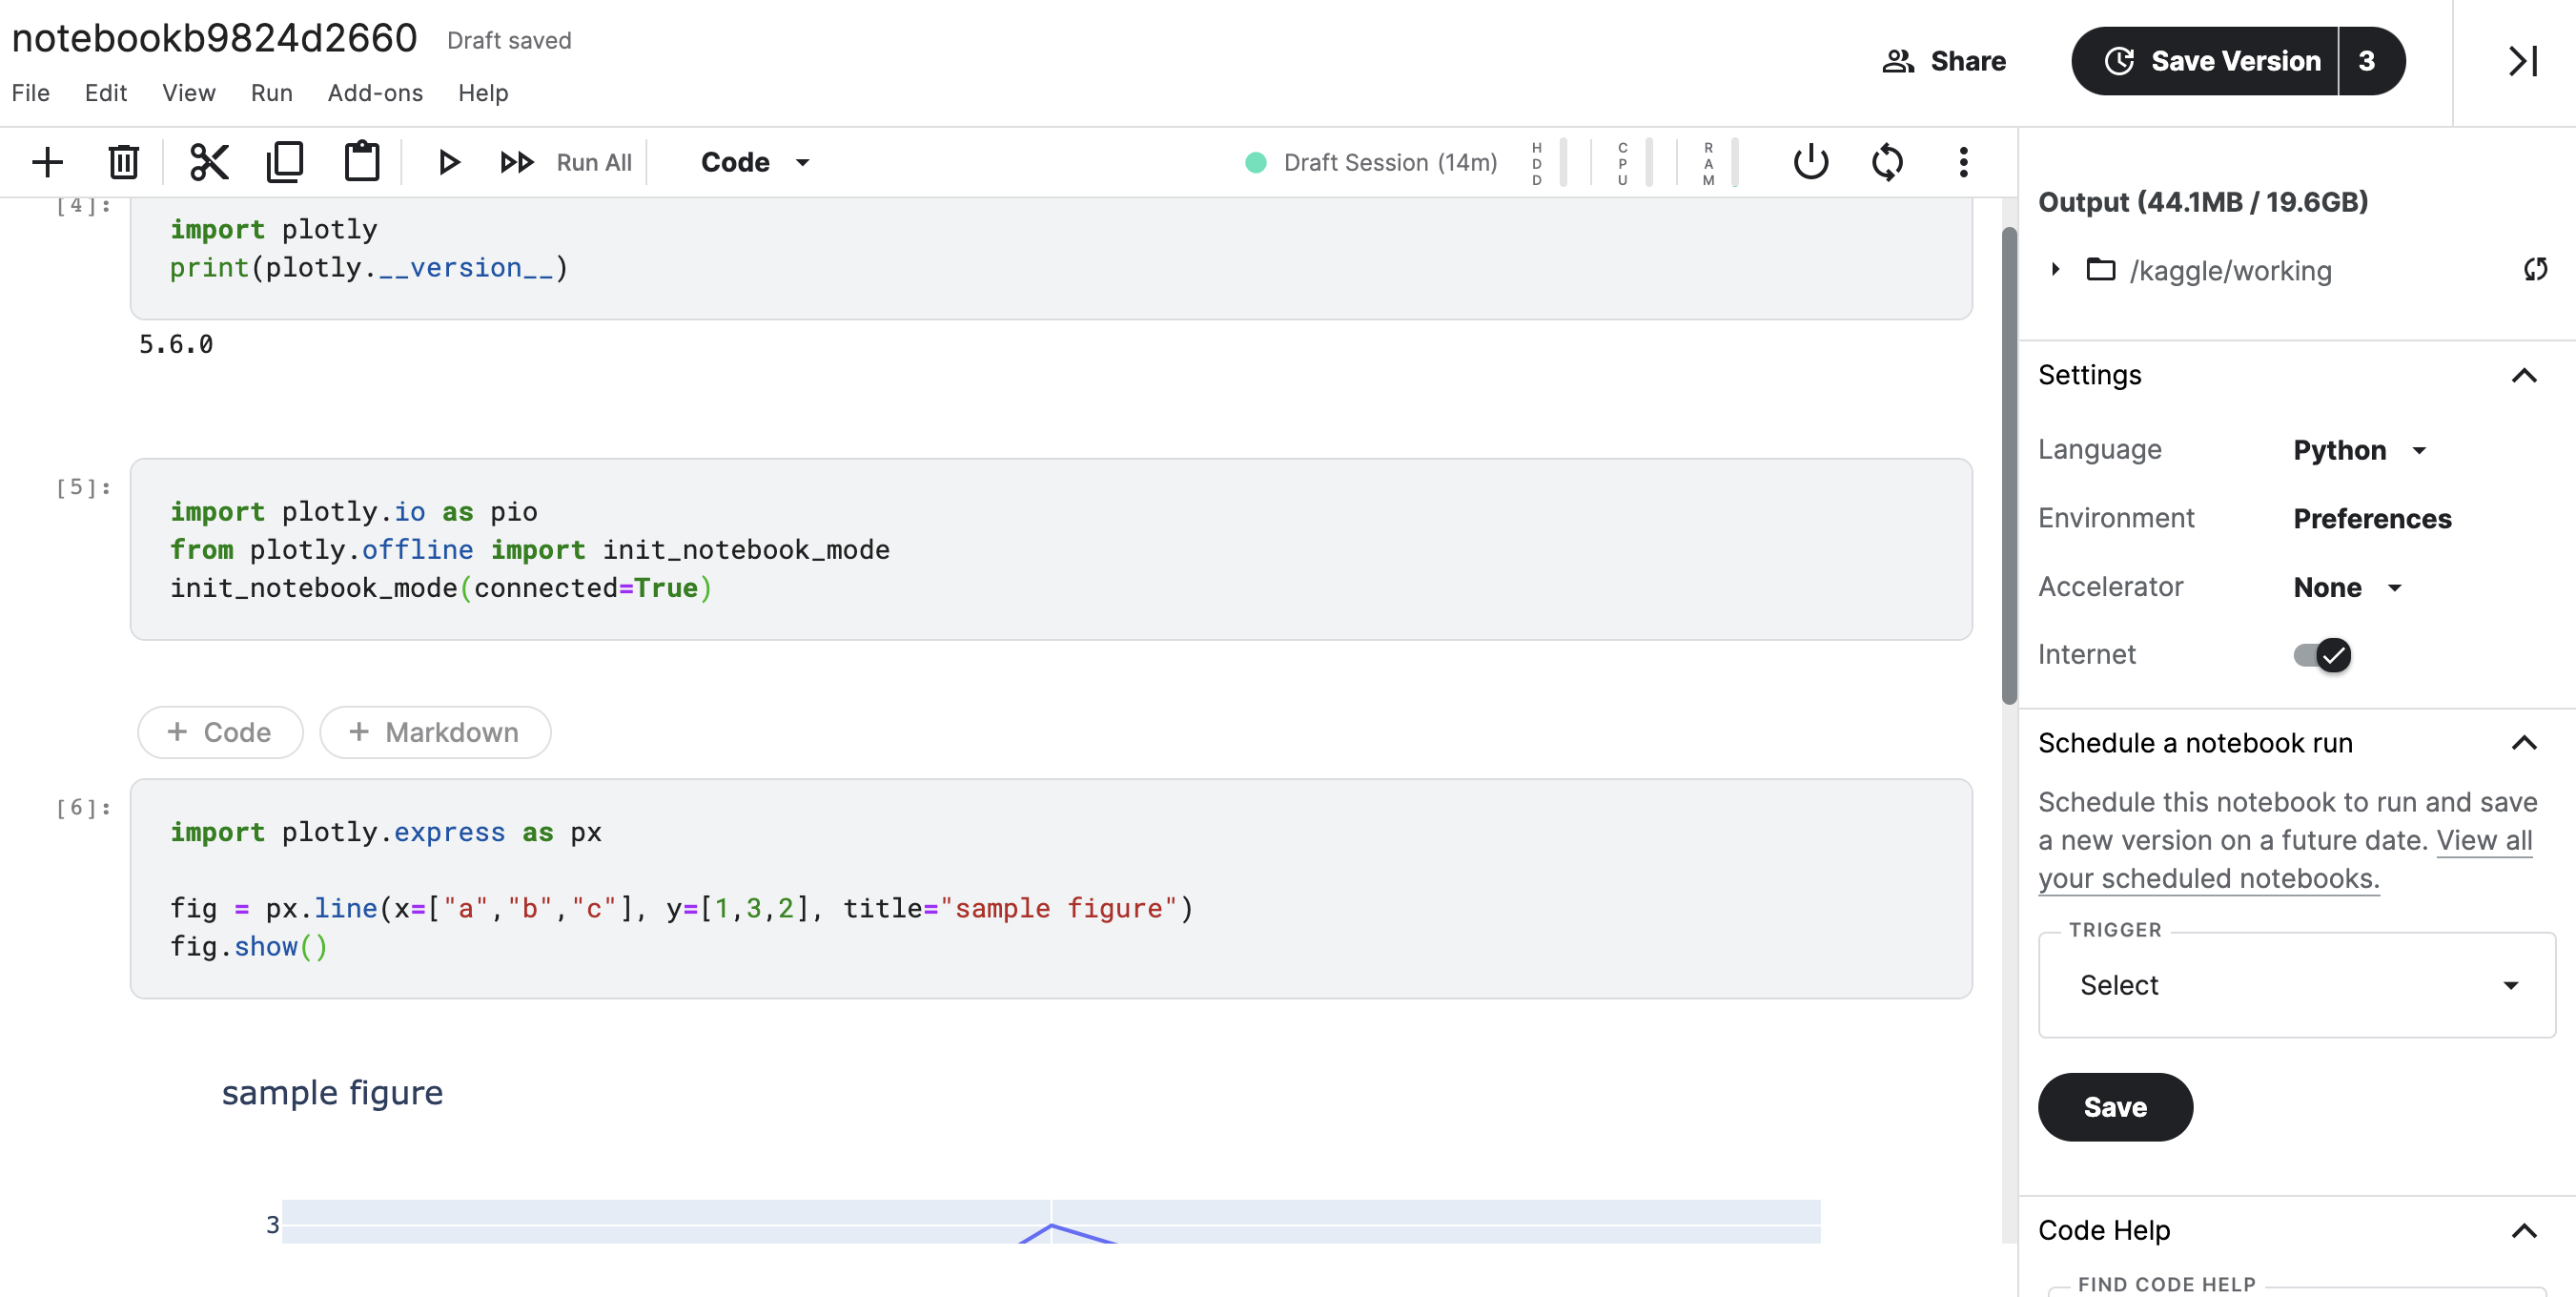
- 위 그림 우측 상단에서 Save Version을 클릭한 뒤 다음 화면에서 Download Code를 클릭하여 Jupyter Notebook을 다운로드 한다.
- Edit 버튼 옆의 설정버튼을 클릭하면 메뉴화면을 확인할 수 있다.
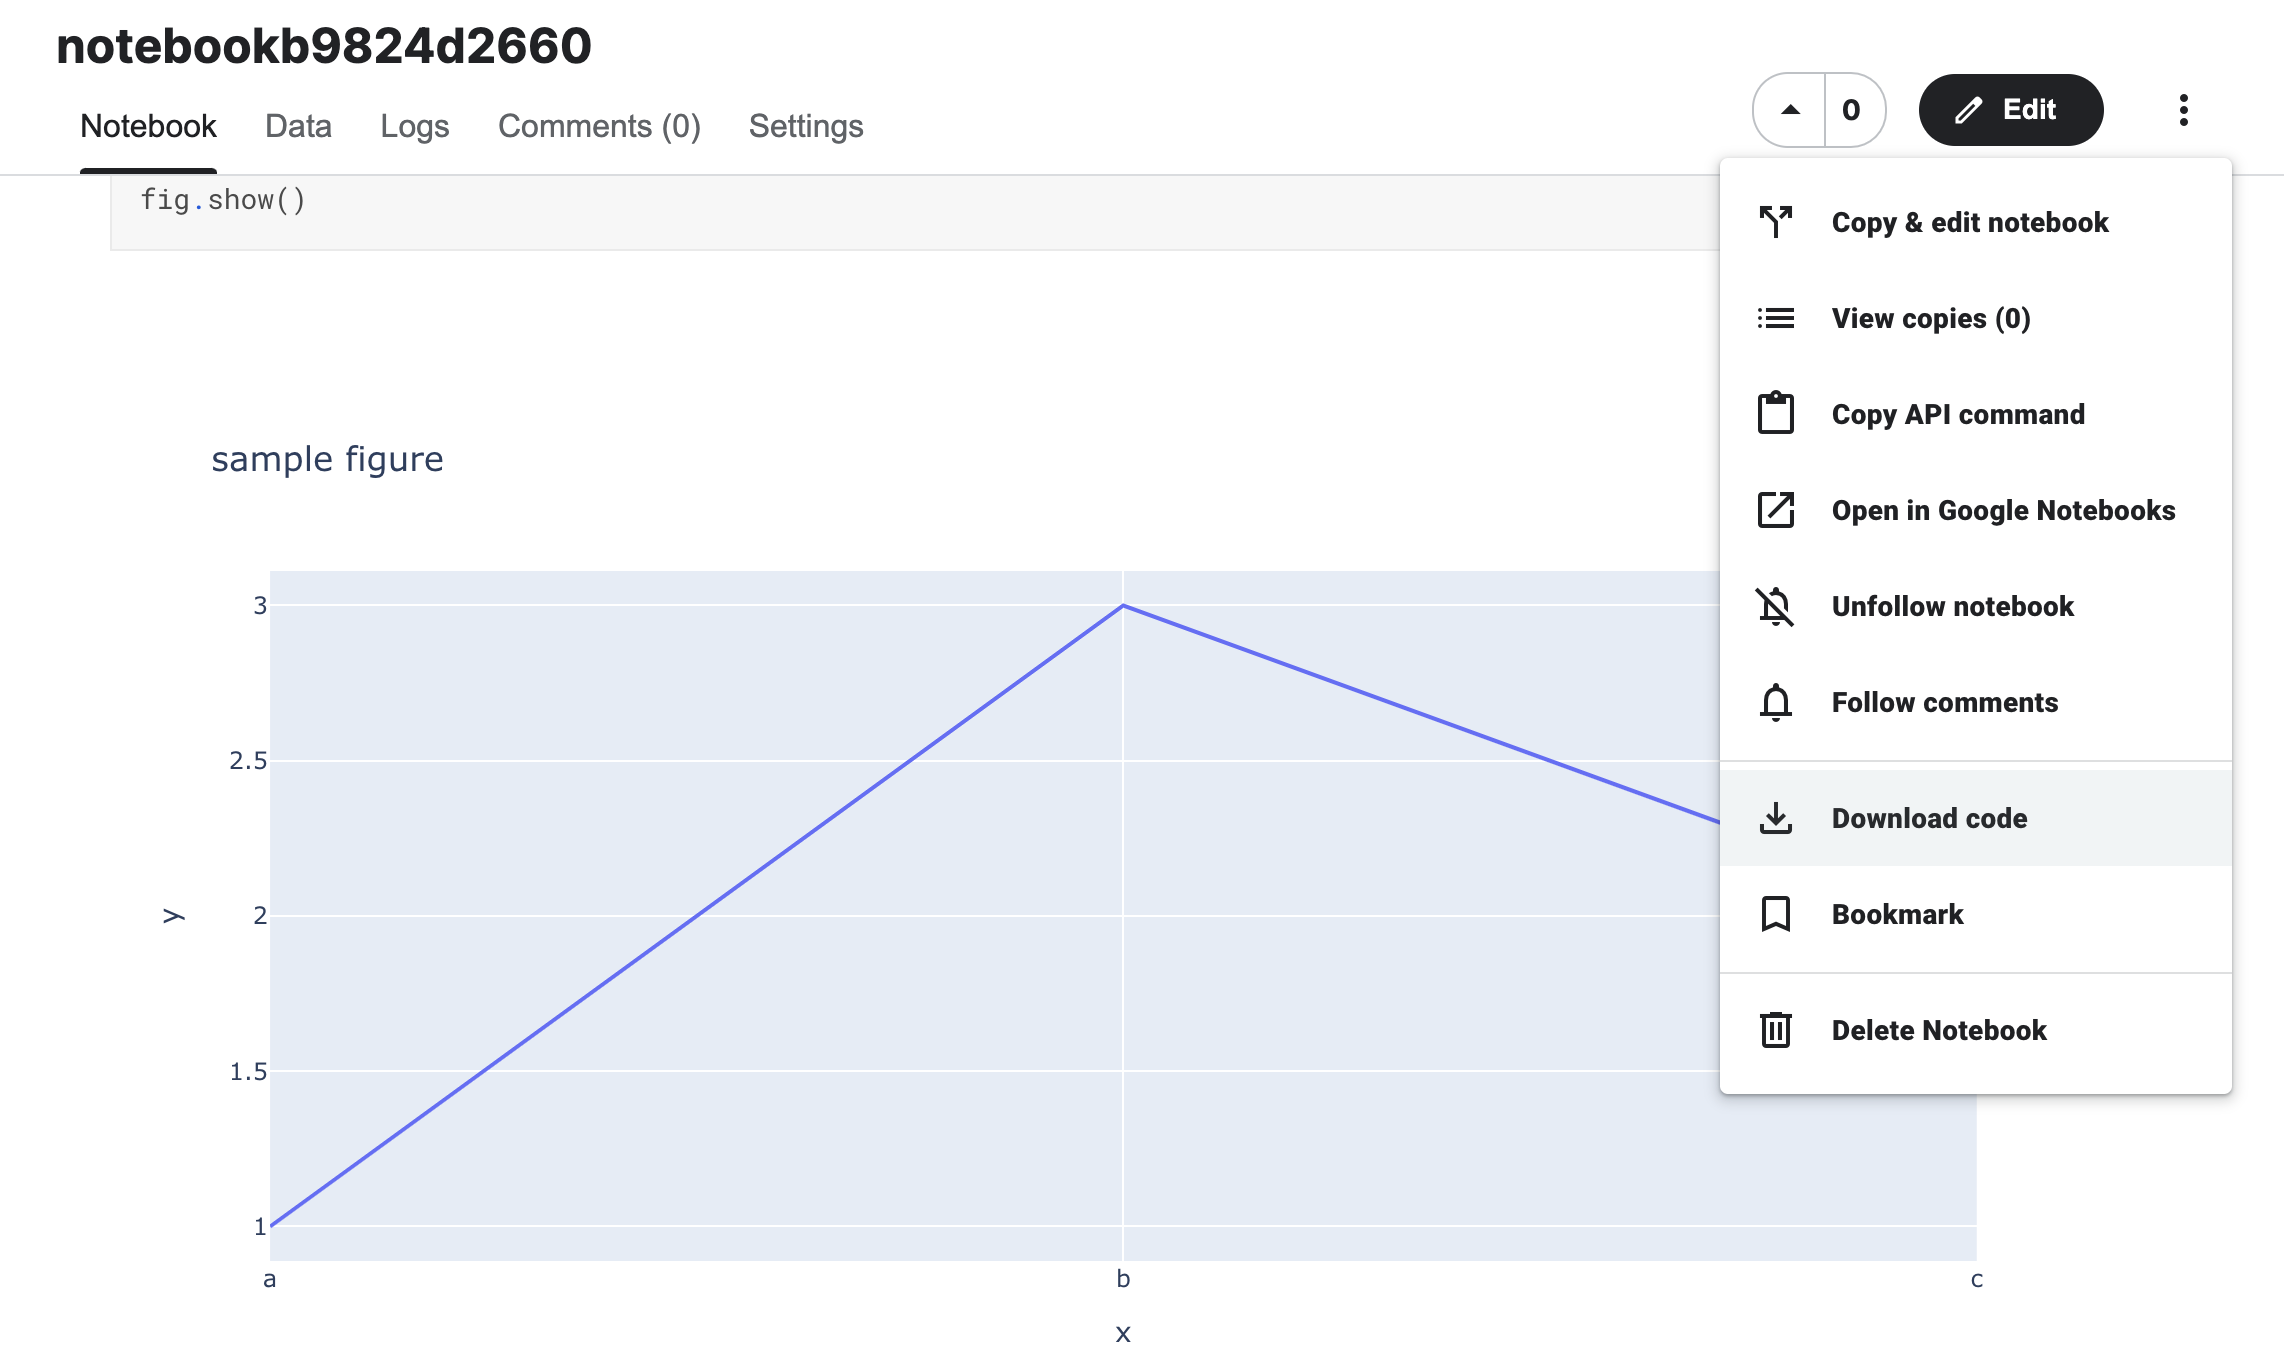
- 다운로드 받은 파일을 Jupyter Lab에서 열면 그대로 그래프가 적용 되어 있는 것을 확인할 수 있다.
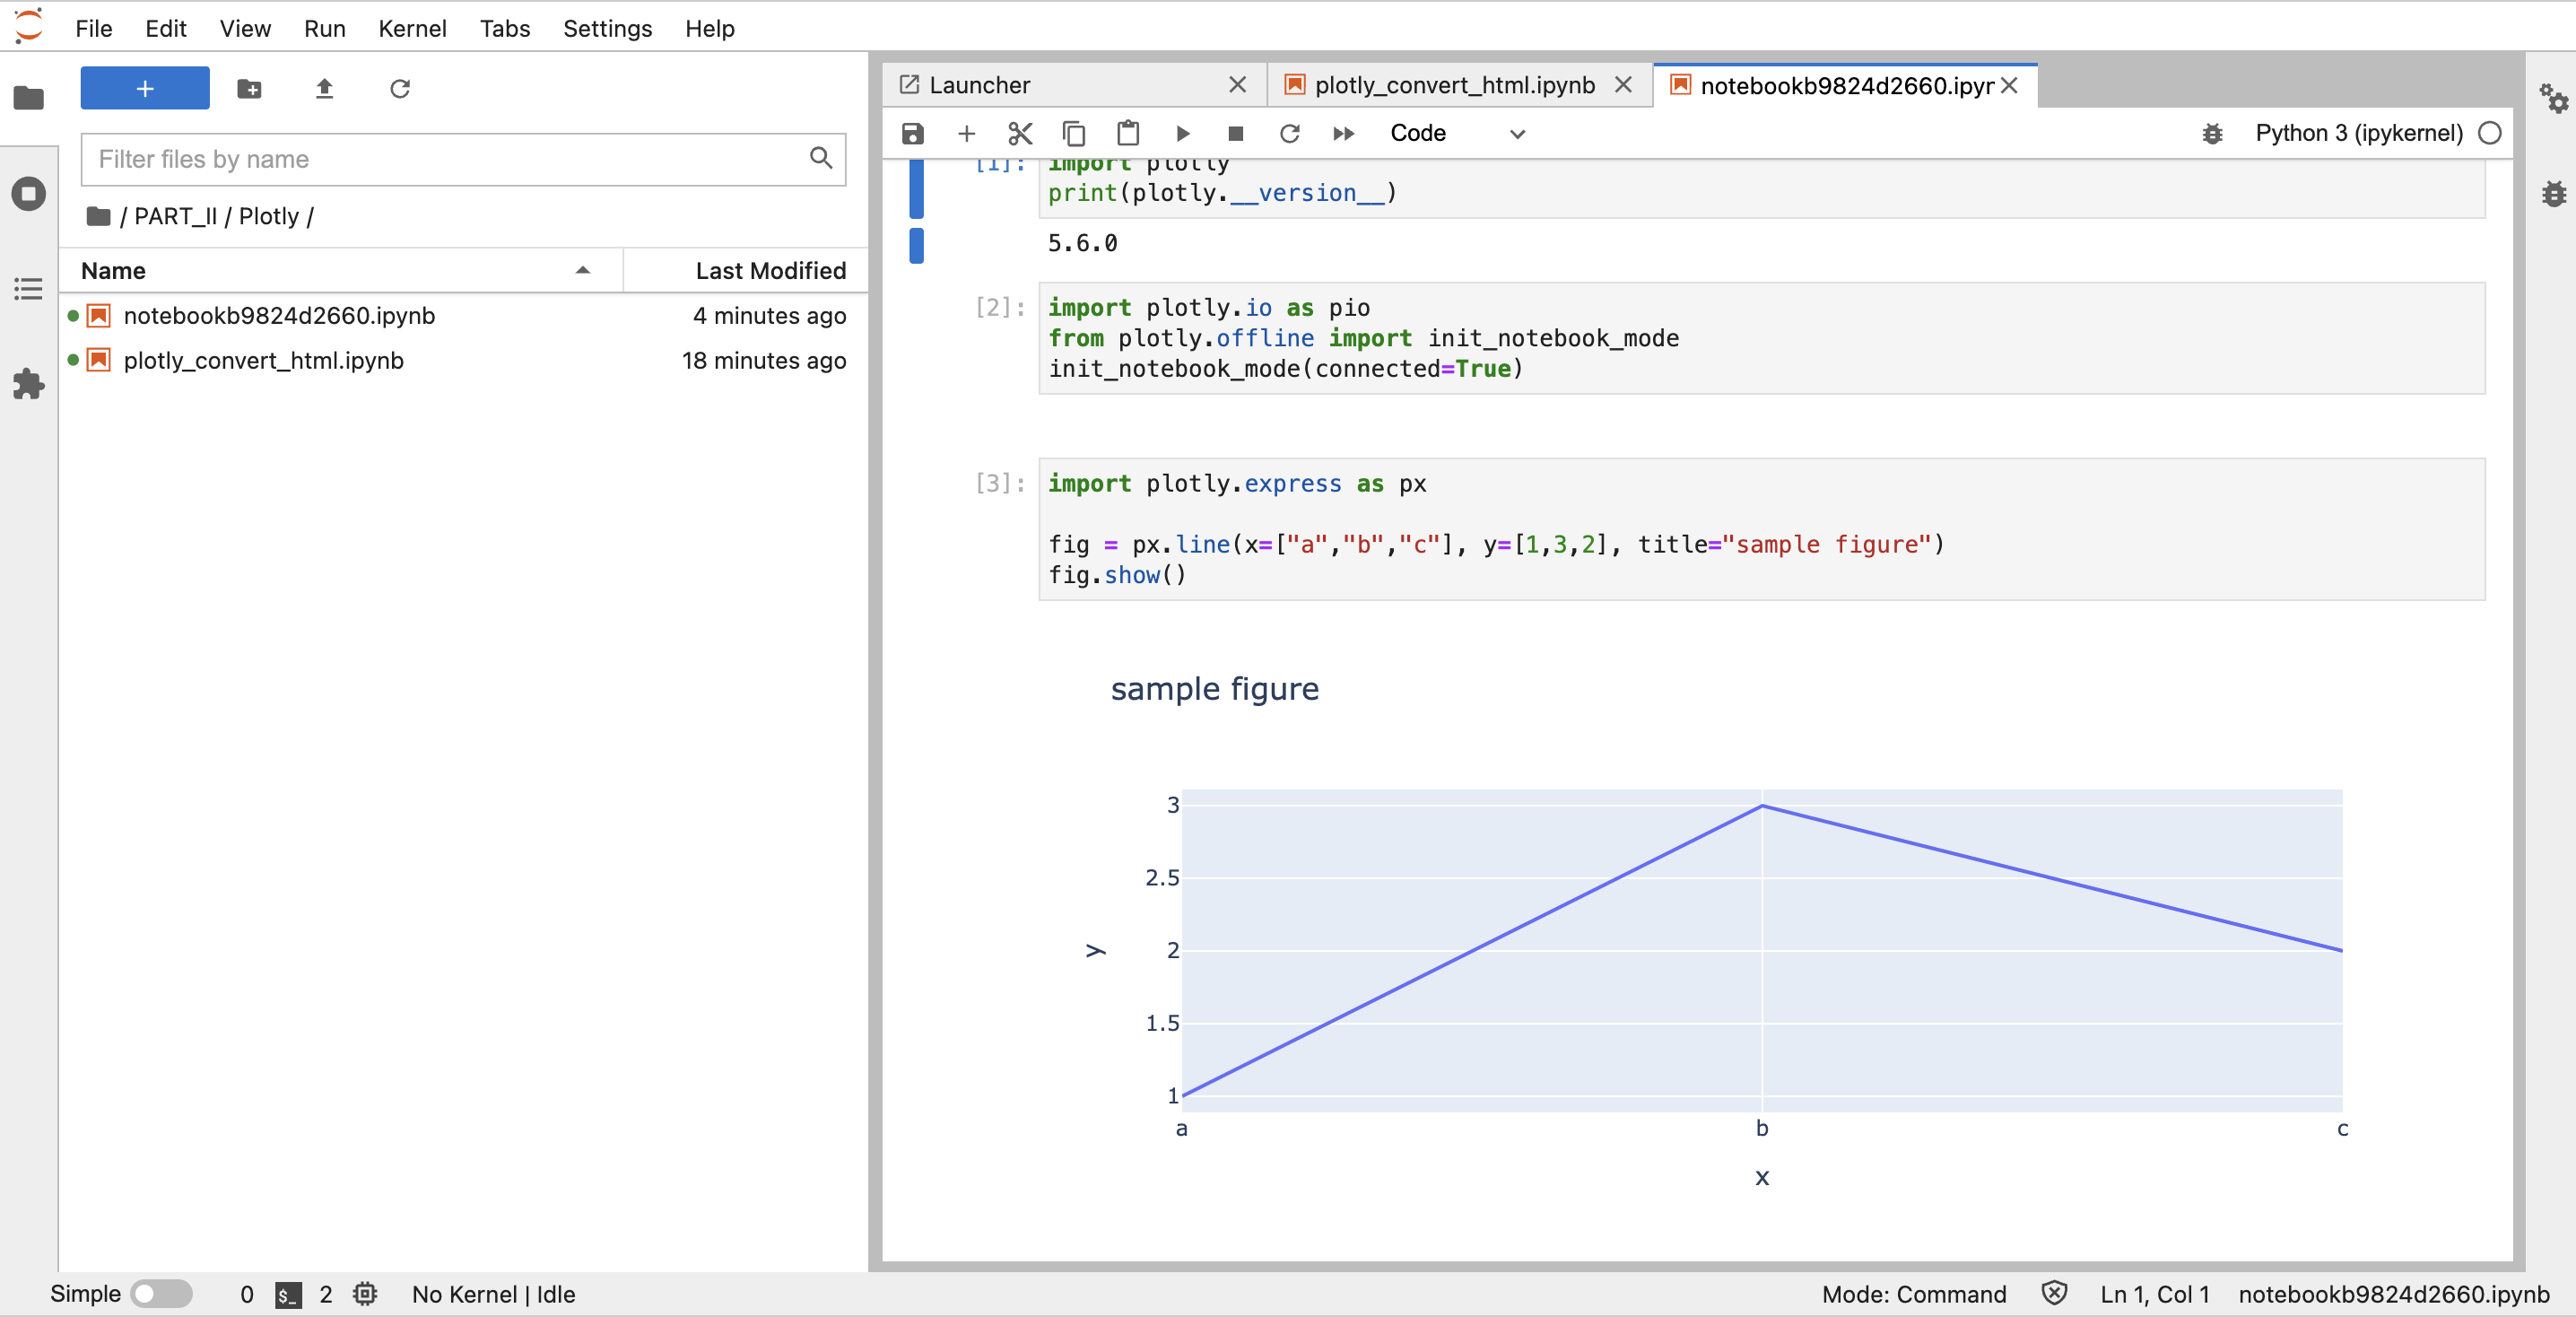
- 이번에는 HTML 파일로 변환해보면 정상적으로 변환된 것을 확인할 수 있다.
