M1 환경설정 XGBoost & LightGBM with Streamlit in Python
Page content
개요
- M1에서 Python 환경설정을 해본다.
- XGBoost & LightGBM 및 Streamlit 설치를 진행한다.
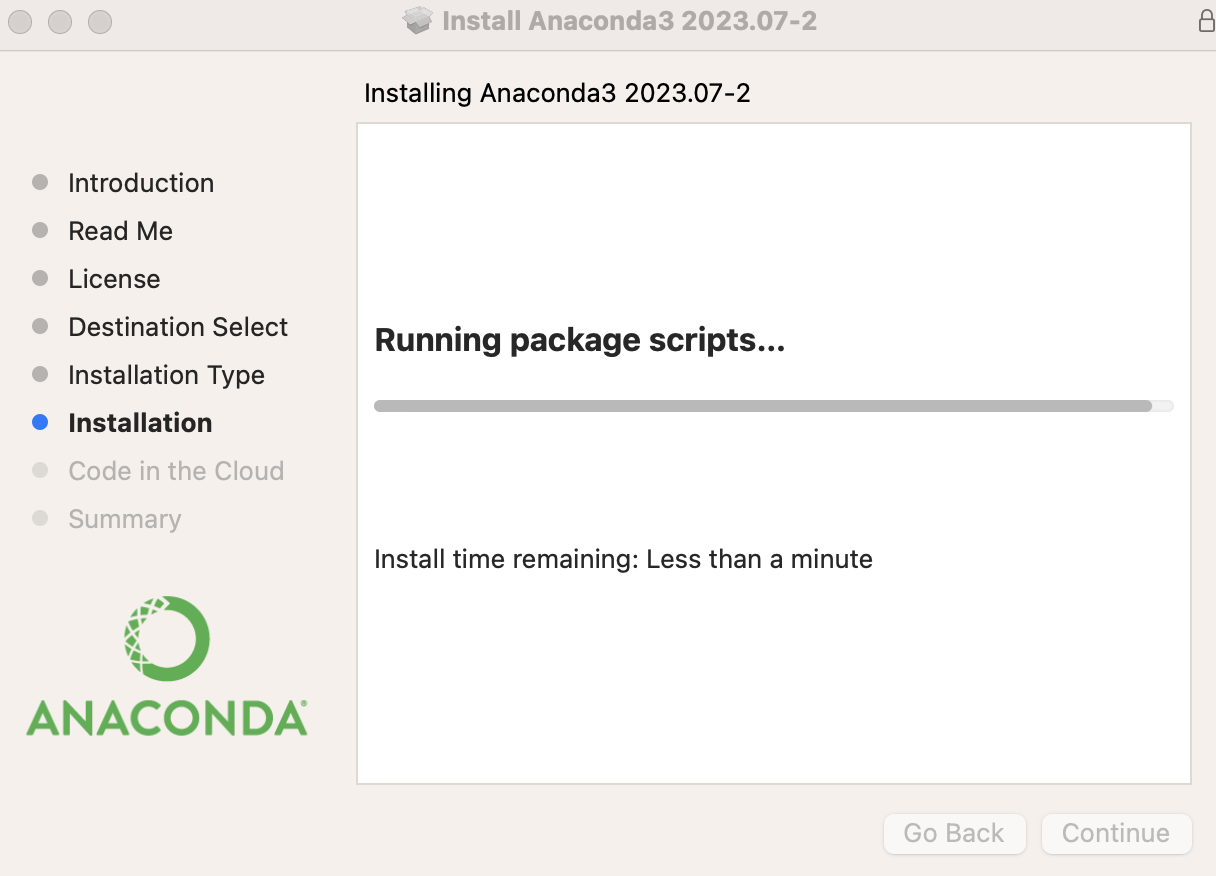
아나콘다 설치
- m1 버전의 아나콘다를 설치한다.

깃헙 레포 생성
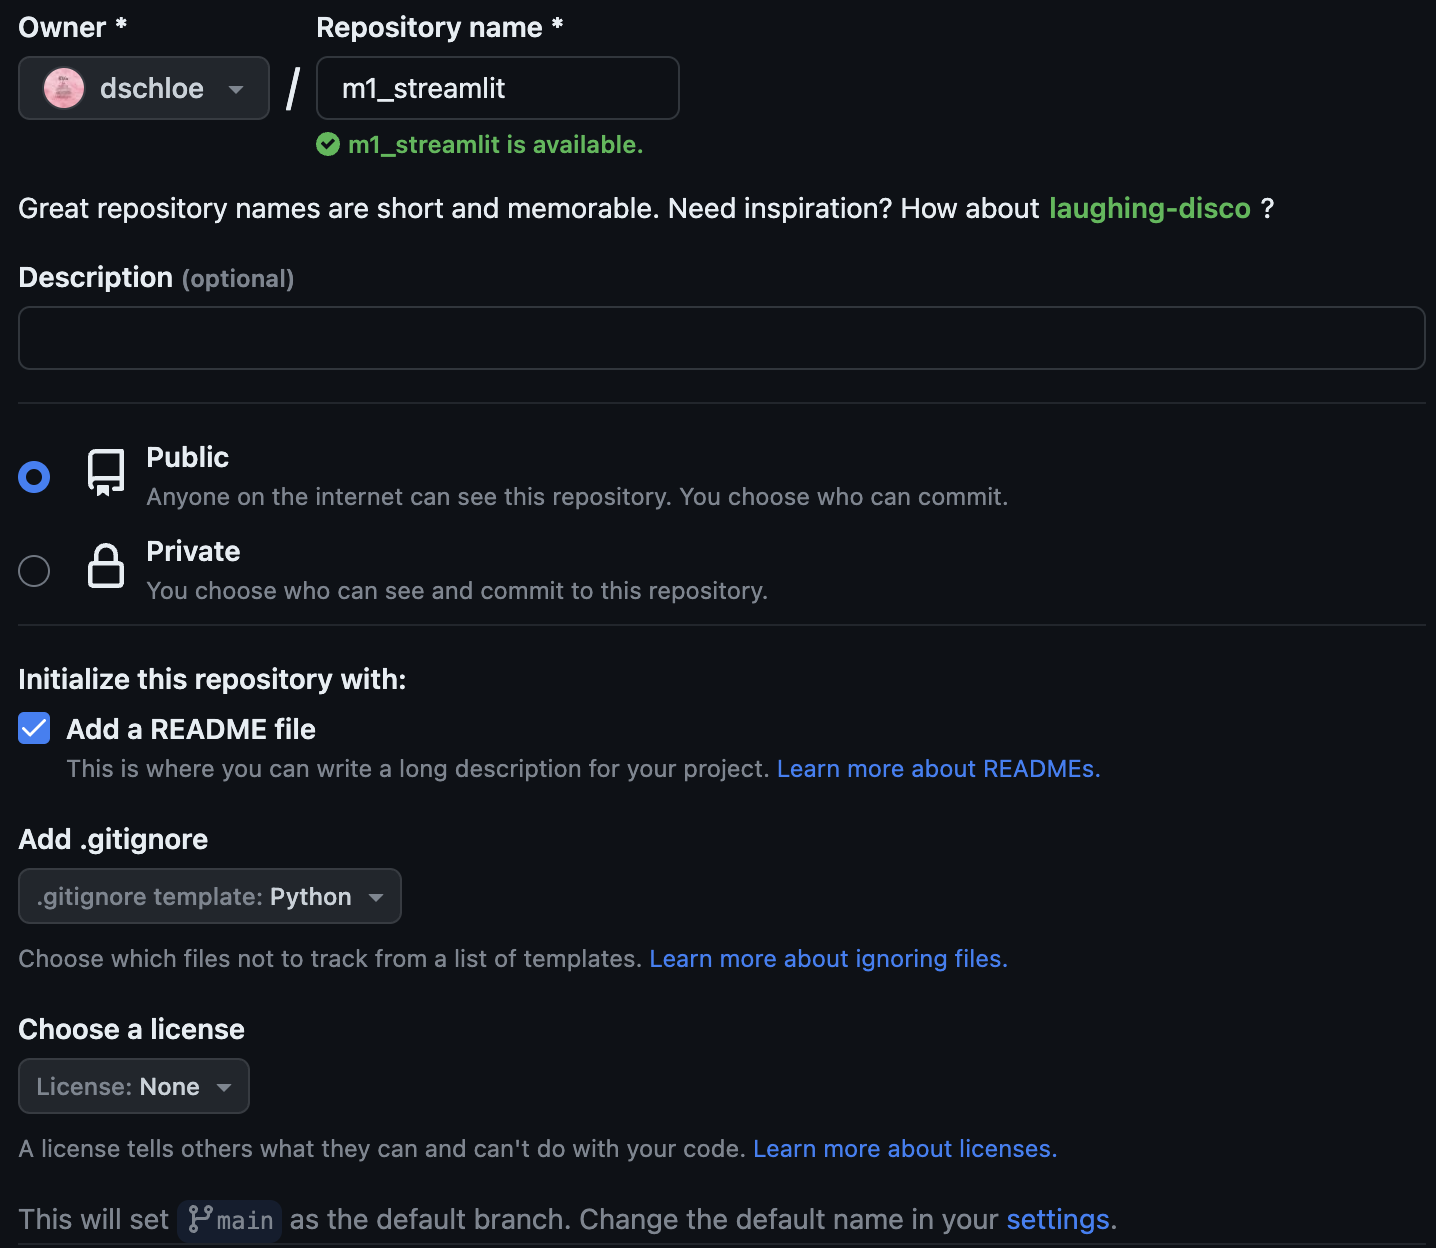
- 먼저 github repo를 생성한다.
Conda 가상환경 설정
- git clone 명령어를 통해 repo를 로컬로 다운로드 한다.
evan$ git clone https://github.com/yourname/m1_streamlit.git
Cloning into 'm1_streamlit'...
remote: Enumerating objects: 4, done.
remote: Counting objects: 100% (4/4), done.
remote: Compressing objects: 100% (3/3), done.
remote: Total 4 (delta 0), reused 0 (delta 0), pack-reused 0
Receiving objects: 100% (4/4), done.
- conda 명령어를 통해 가상환경을 설치한다.
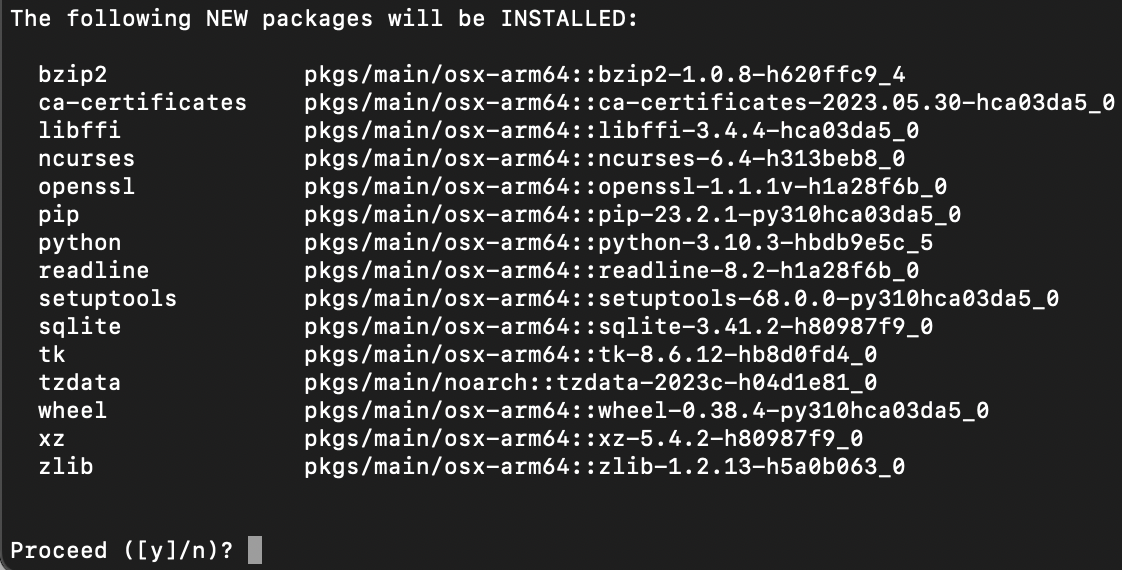
- 그 후에 가상환경에 접속 후, Python 설치 및 주요 라이브러리를 설치한다.
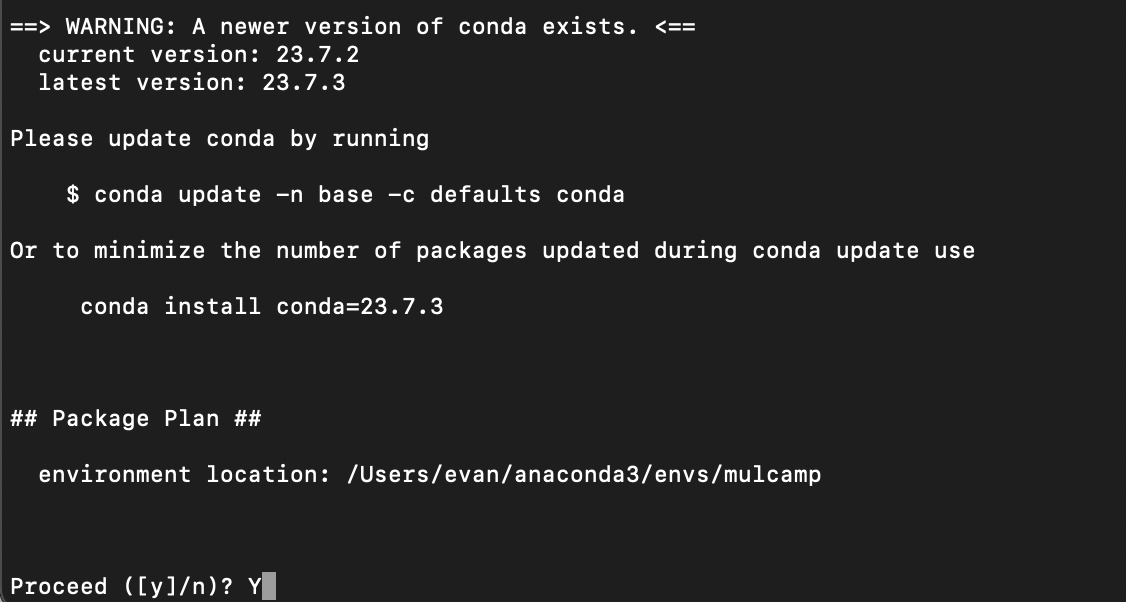
- 설치 중간에 메시지가 나오면 Y를 입력 후 계속 설치 한다.
evan$ cd m1_streamlit
m1_streamlit evan$ conda create -n mulcamp python=3.10.3
m1_streamlit evan$ conda activate mulcamp
(mulcamp) m1_streamlit evan$ conda install numpy scipy scikit-learn pandas
LightGBM 설치
- conda 명령어를 통해 LightGBM을 설치한다.
(mulcamp) m1_streamlit evan$ conda install lightGBM
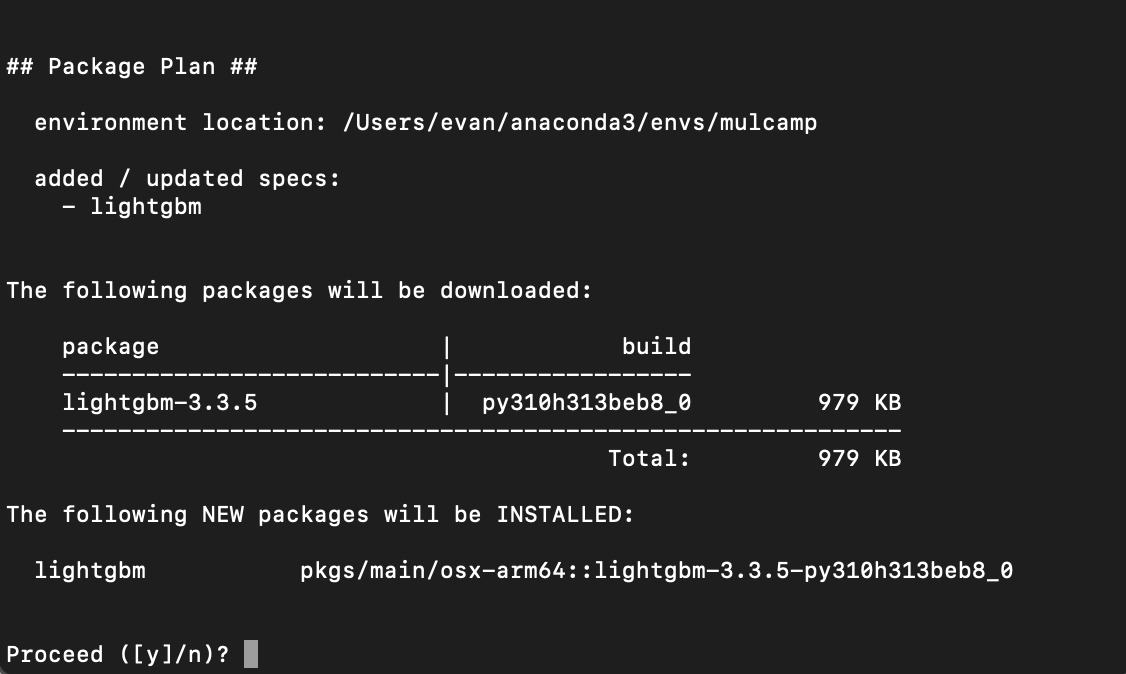
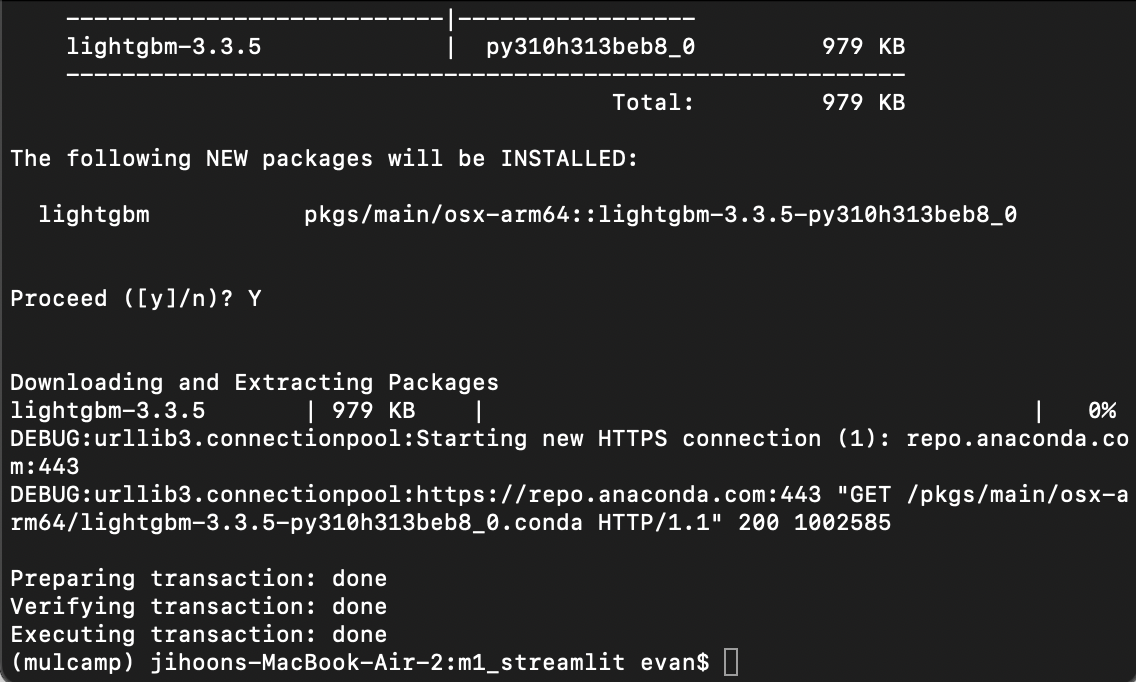
- Y를 클릭하면 다음과 같이 완료가 될 것이다.
XGBoost 설치
- xgboost를 설치하려면 우선 brew를 통해서 다음 라이브러리들을 설치해야 한다.
brew install cmake libomp
- 설치가 완료가 된 이후에는 아래와 같이 설치를 한다.
(mulcamp) m1_streamlit evan$ pip install xgboost
Streamlit 설치
- xgboost와 마찬가지로 pip 명령어를 통해 설치한다.
(mulcamp) m1_streamlit evan$ pip install streamlit
테스트
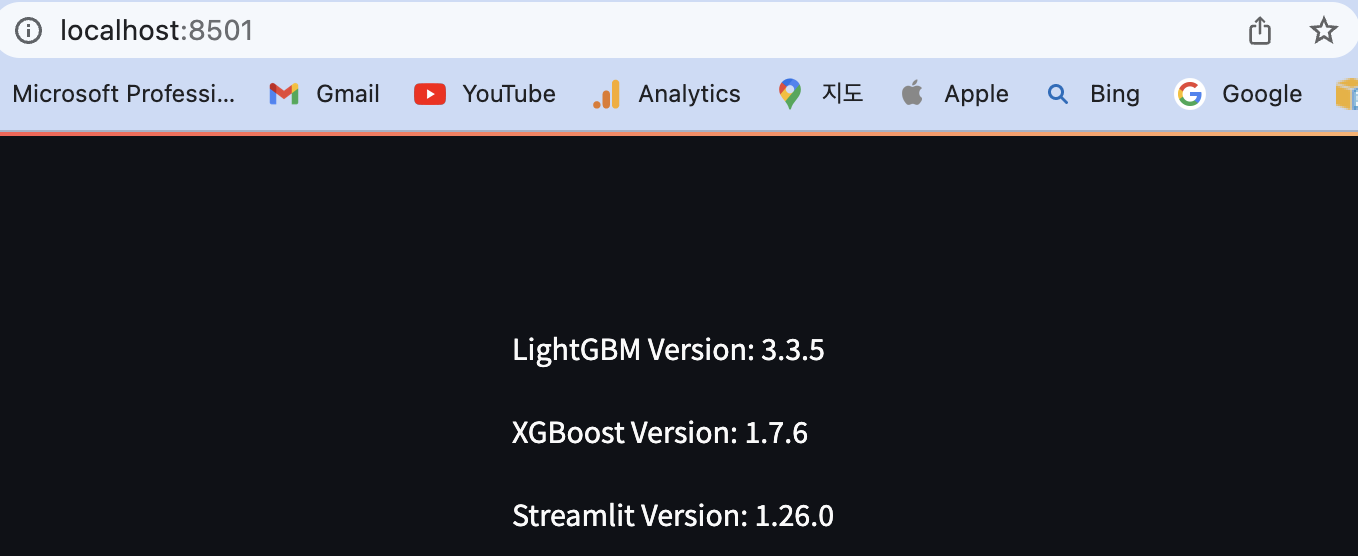
- Streamlit 파일을 만들고 실행을 해본다.
- 파일명은 app.py 이다.
# -*- coding: utf-8 -*-
import lightgbm as lgb
import xgboost as xgb
import streamlit as st

def main():
    st.write("LightGBM Version: ", lgb.__version__)
    st.write("XGBoost Version: ", xgb.__version__)
    st.write("Streamlit Version: ", st.__version__)

if __name__ == "__main__":
    main()
- 이제 Streamlit을 실행한다.
(mulcamp) m1_streamlit evan$ streamlit run app.py
Jupyter Lab 설치 및 실행
- conda 명령어를 통해 Jupyter Lab을 설치한 후, 정상적으로 코드가 진행되는지 확인한다.
(mulcamp) m1_streamlit evan$ conda install jupyterlab nb_conda_kernels
- jupyter lab을 실행한다.
(mulcamp) m1_streamlit evan$ jupyter lab
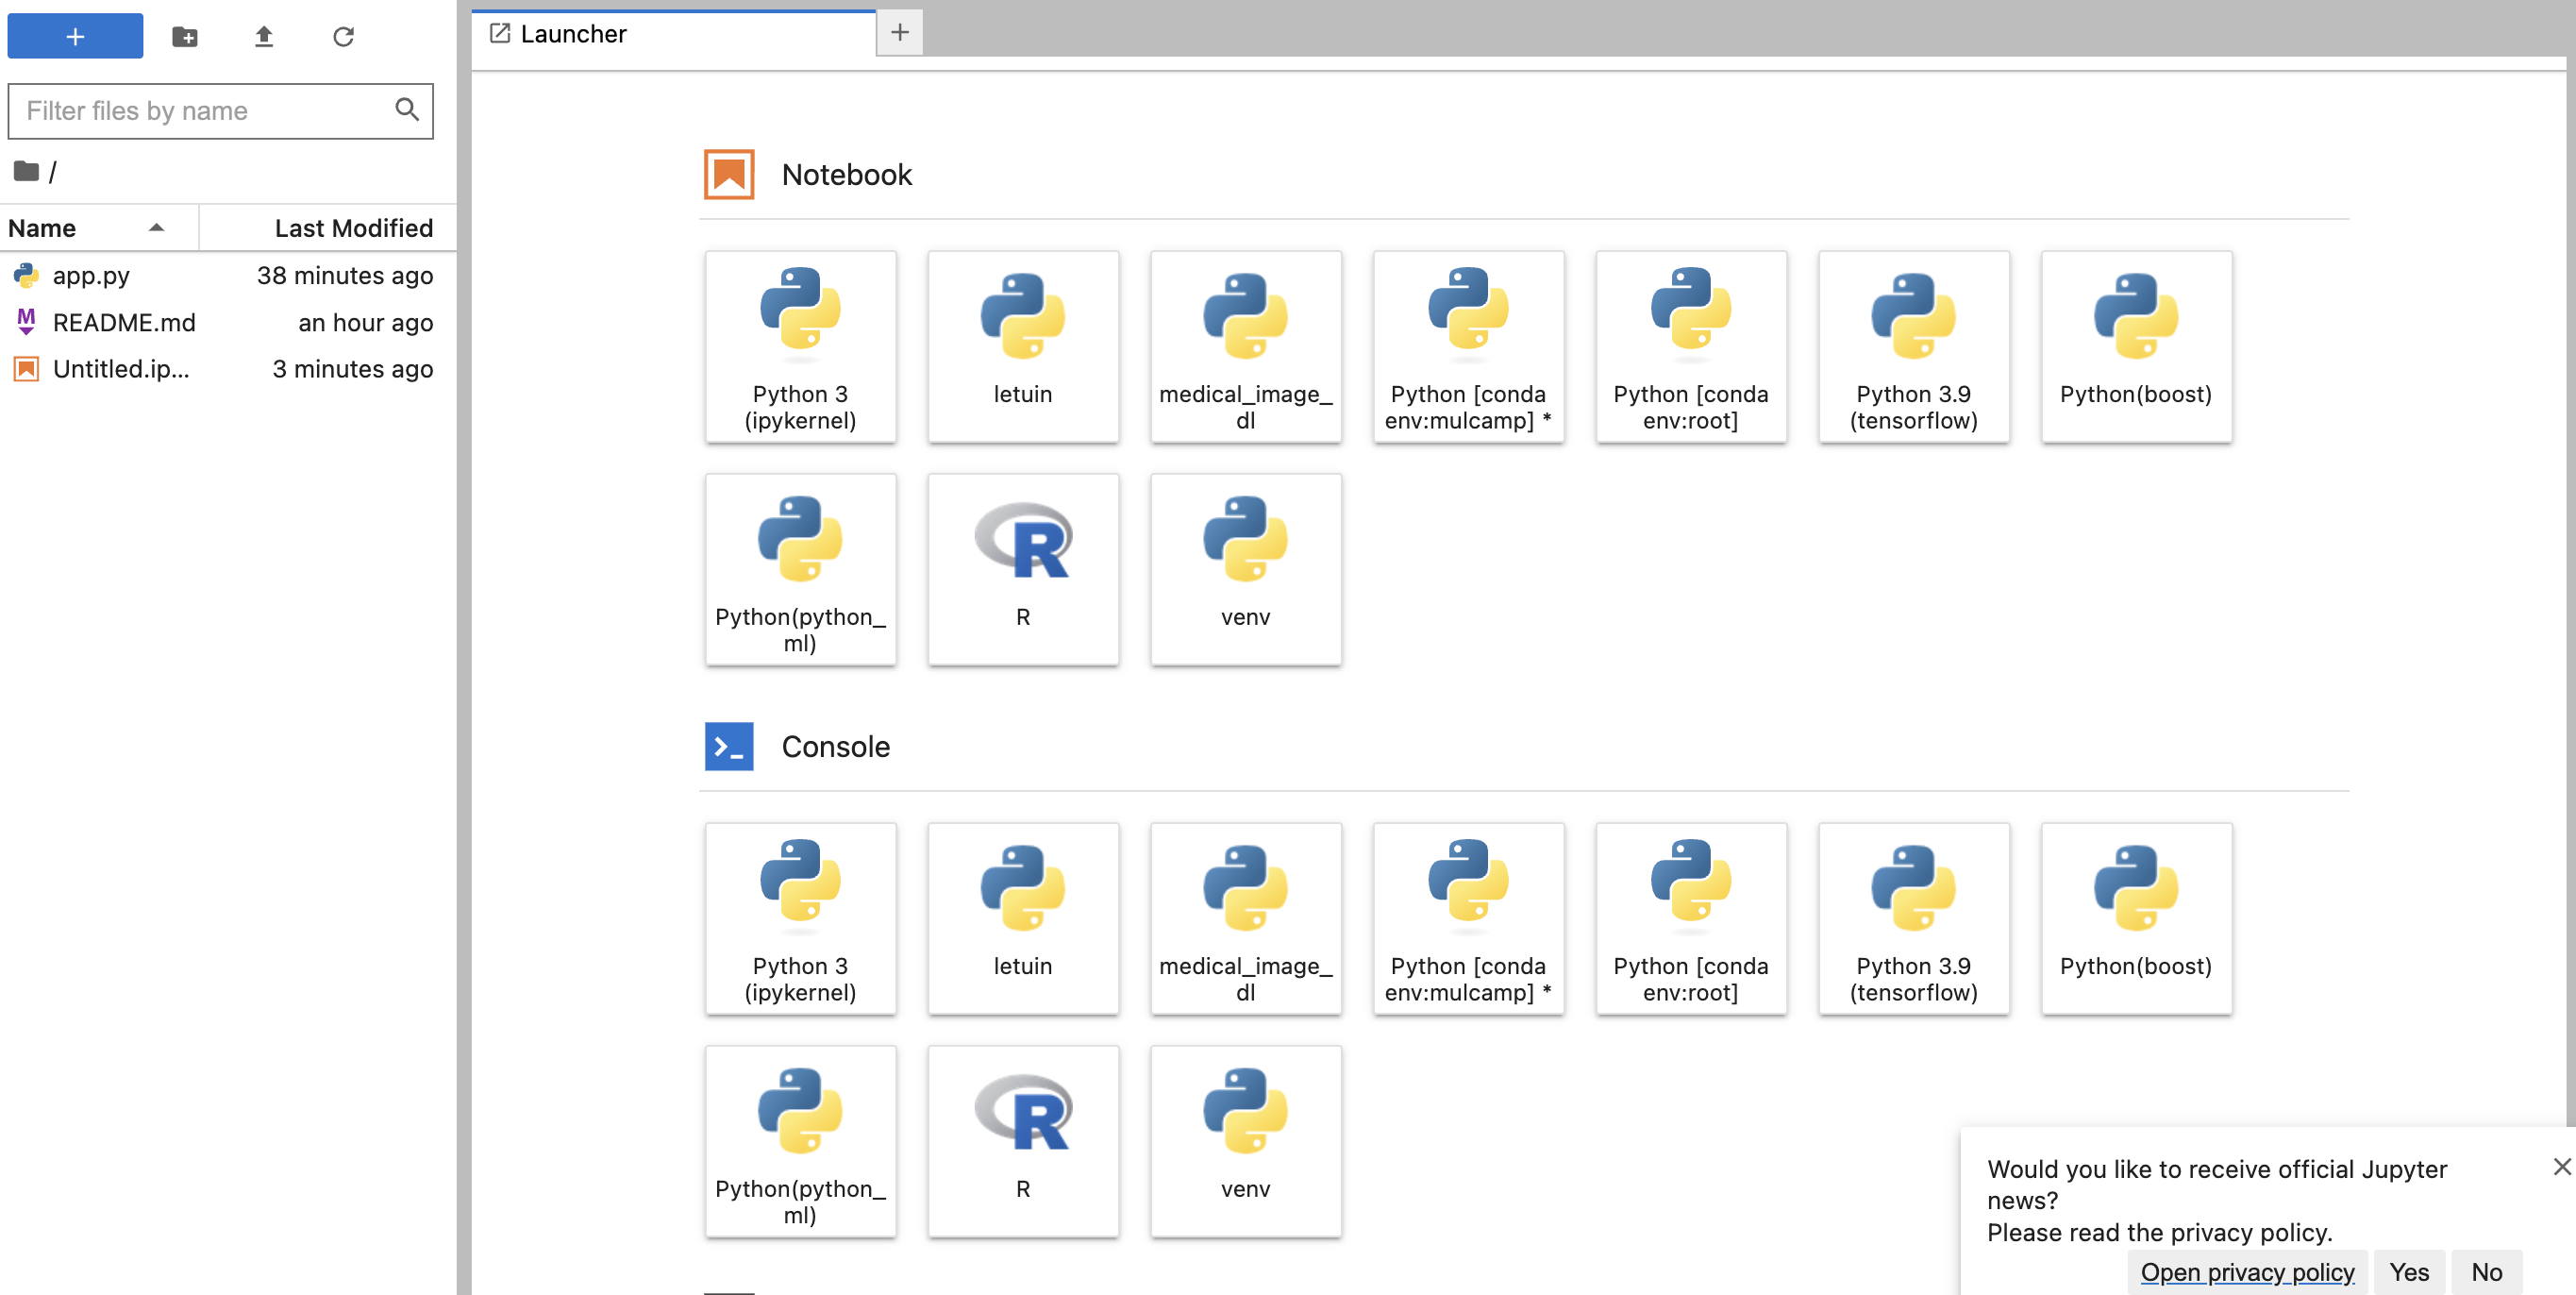
- 다양한 커널이 존재하는데, 여기에서 conda env:mulcamp 을 실행해야 한다. 여기에 LightGBM 및 XGBoost 가 설치 되어 있다.
XGBoost와 LightGBM 테스트
- 샘플 데이터는 아래와 같다.
import numpy as np
import xgboost as xgb
import lightgbm as lgb
from sklearn.model_selection import train_test_split
from sklearn.metrics import mean_squared_error

# Generate simple synthetic data
np.random.seed(42)
n_samples = 1000
X = np.random.rand(n_samples, 5)  # 5 features
y = 2*X[:, 0] + 3*X[:, 1] + 0.5*X[:, 2] + np.random.randn(n_samples)  # Linear combination with noise

# Split the data into training and testing sets
X_train, X_test, y_train, y_test = train_test_split(X, y, test_size=0.2, random_state=42)
- XGBoost 코드는 아래와 같다.
# Create XGBoost DMatrix
dtrain = xgb.DMatrix(X_train, label=y_train)
dtest = xgb.DMatrix(X_test, label=y_test)

# Specify XGBoost parameters
params = {
    "objective": "reg:squarederror",
    "eval_metric": "rmse",
    "max_depth": 3,
    "learning_rate": 0.1,
    "subsample": 0.8
}

# Train the XGBoost model
num_boost_round = 100
bst = xgb.train(params, dtrain, num_boost_round, evals=[(dtest, "test")], early_stopping_rounds=10)

# Predict on the test set
y_pred = bst.predict(dtest, ntree_limit=bst.best_ntree_limit)

# Evaluate the model
mse = mean_squared_error(y_test, y_pred)
print(f"Mean Squared Error: {mse}")
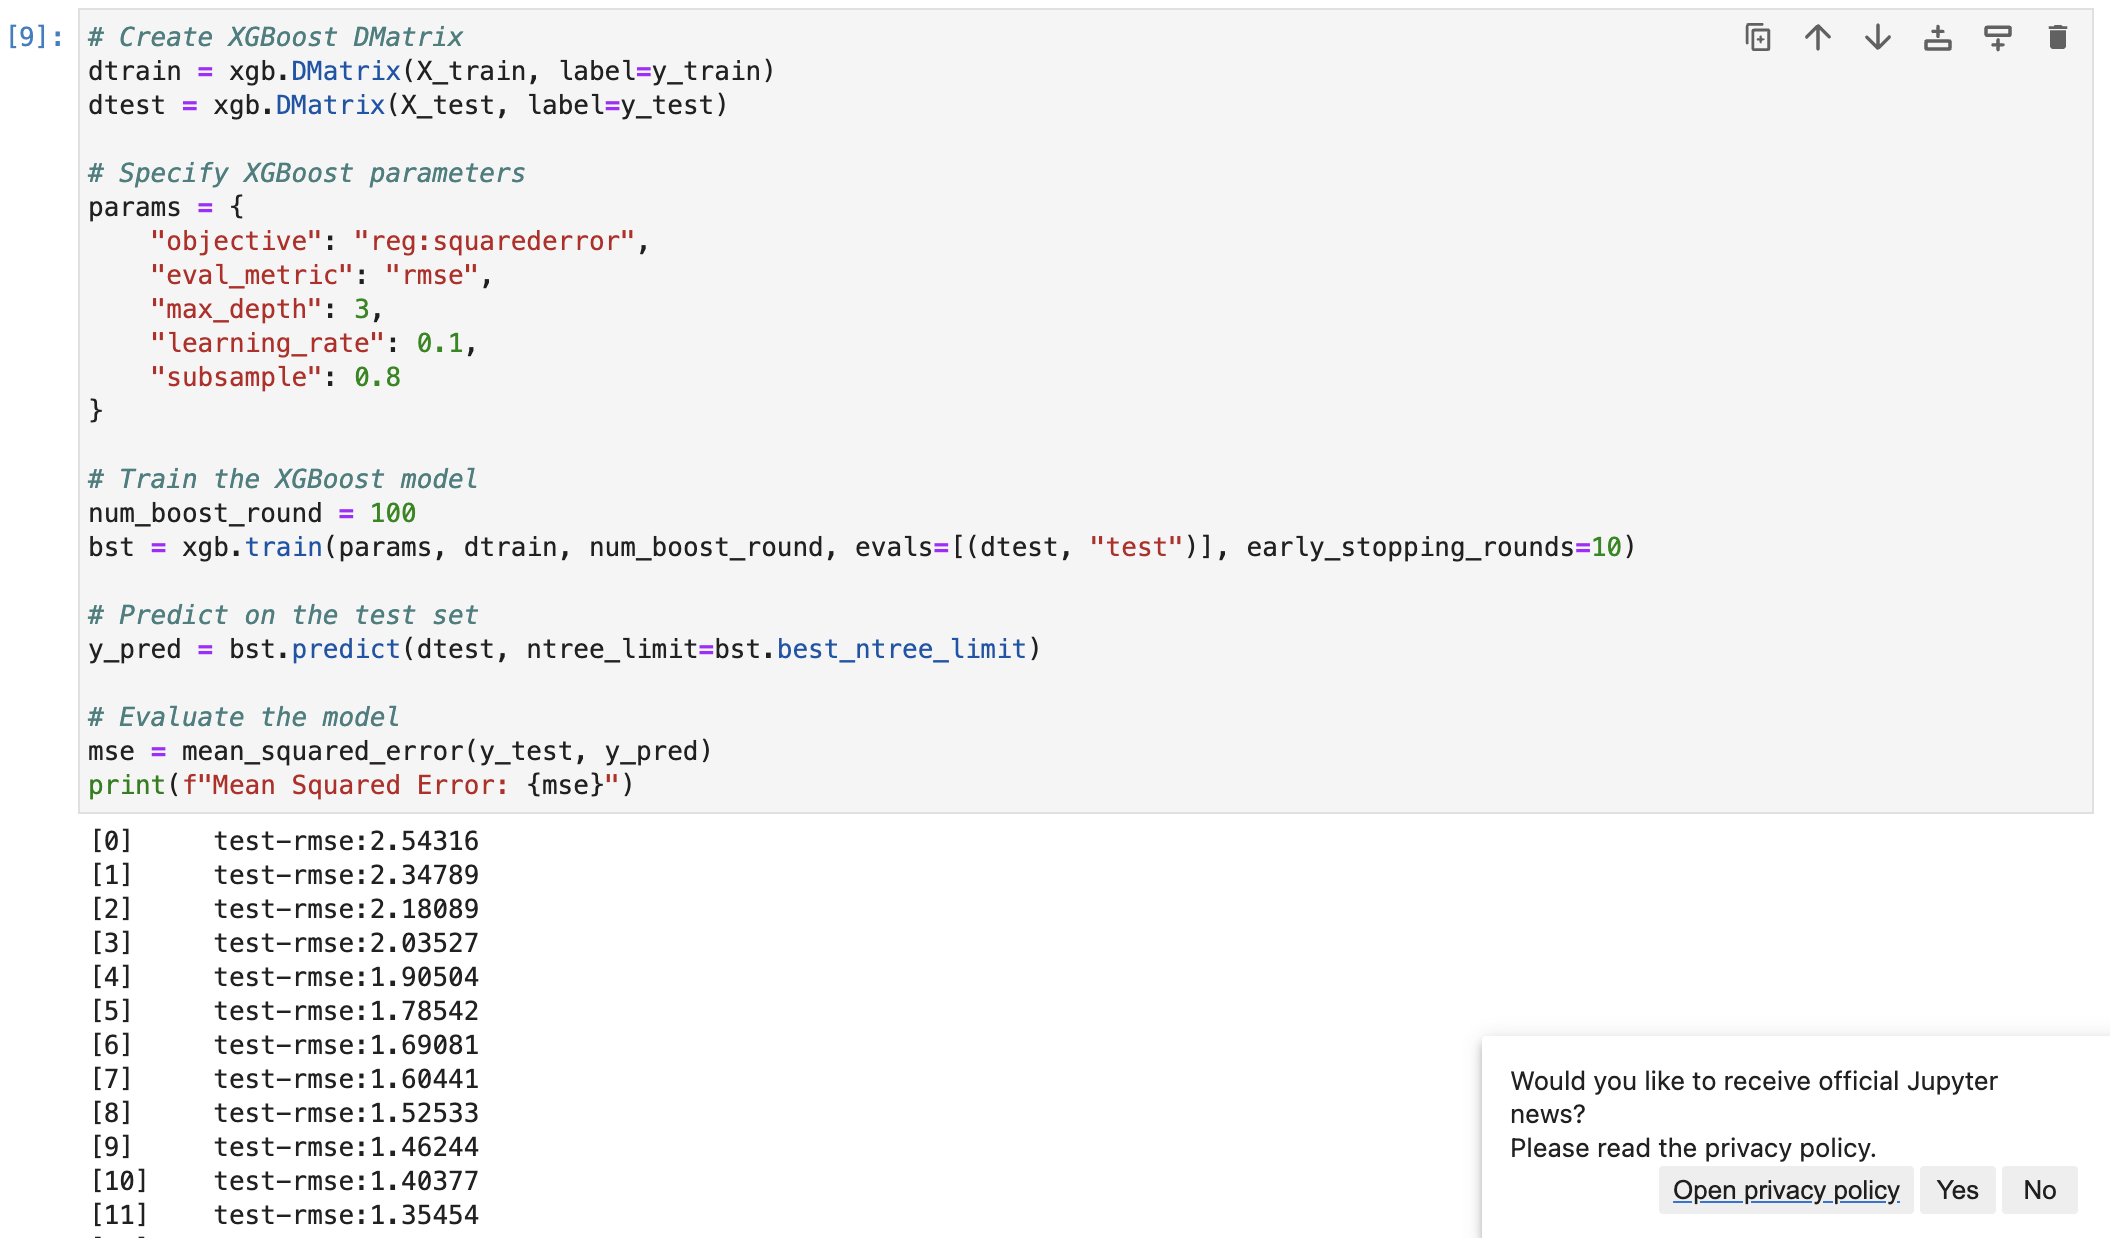
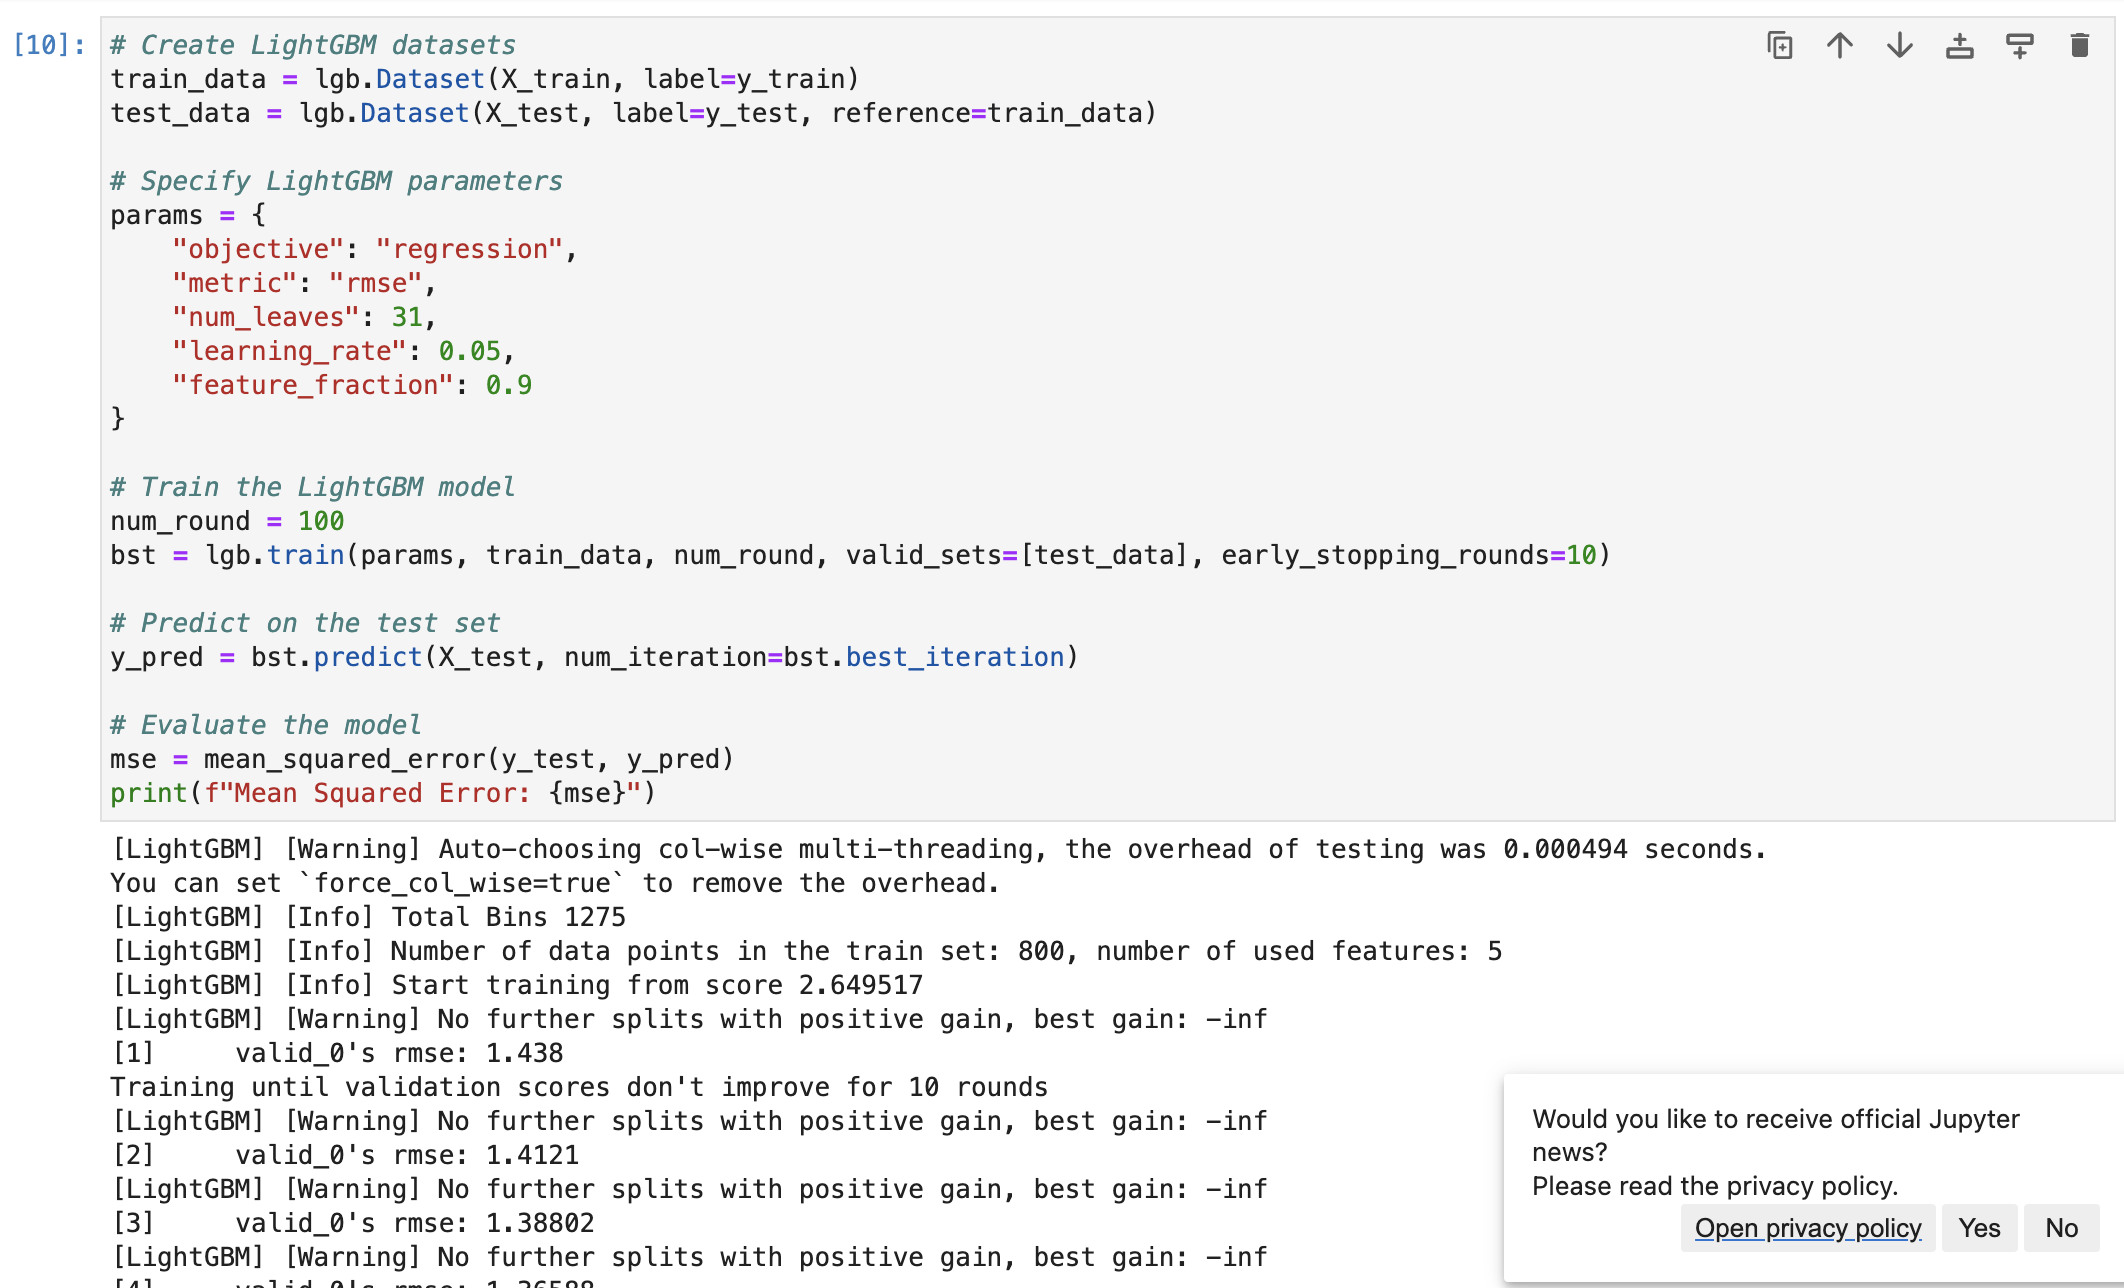
- LightGBM 코드는 아래와 같다.
# Create LightGBM datasets
train_data = lgb.Dataset(X_train, label=y_train)
test_data = lgb.Dataset(X_test, label=y_test, reference=train_data)

# Specify LightGBM parameters
params = {
    "objective": "regression",
    "metric": "rmse",
    "num_leaves": 31,
    "learning_rate": 0.05,
    "feature_fraction": 0.9
}

# Train the LightGBM model
num_round = 100
bst = lgb.train(params, train_data, num_round, valid_sets=[test_data], early_stopping_rounds=10)

# Predict on the test set
y_pred = bst.predict(X_test, num_iteration=bst.best_iteration)

# Evaluate the model
mse = mean_squared_error(y_test, y_pred)
print(f"Mean Squared Error: {mse}")
