AirFlow 설치 및 실행 with M1
Page content
인프런 강의
- 취준생을 위한 강의를 제작하였습니다.
- 본 블로그를 통해서 강의를 수강하신 분은 게시글 제목과 링크를 수강하여 인프런 메시지를 통해 보내주시기를 바랍니다.
스타벅스 아이스 아메리카노를 선물로 보내드리겠습니다.
- [비전공자 대환영] 제로베이스도 쉽게 입문하는 파이썬 데이터 분석 - 캐글입문기

미니 프로젝트 개요
- 목적: Airflow와 빅쿼리를 활용하여 ETL 및 대시보드를 만들어보는 과정을 설계
- 환경: MacOS M1
Part I. Docker and Airflow
-
Docker와 Airflow를 설치 및 실행한다.
-
필자는 가상환경을 선정하고, 그 위에 도커를 추가로 설치하였다.
- 목적: 로컬과 환경 격리
-
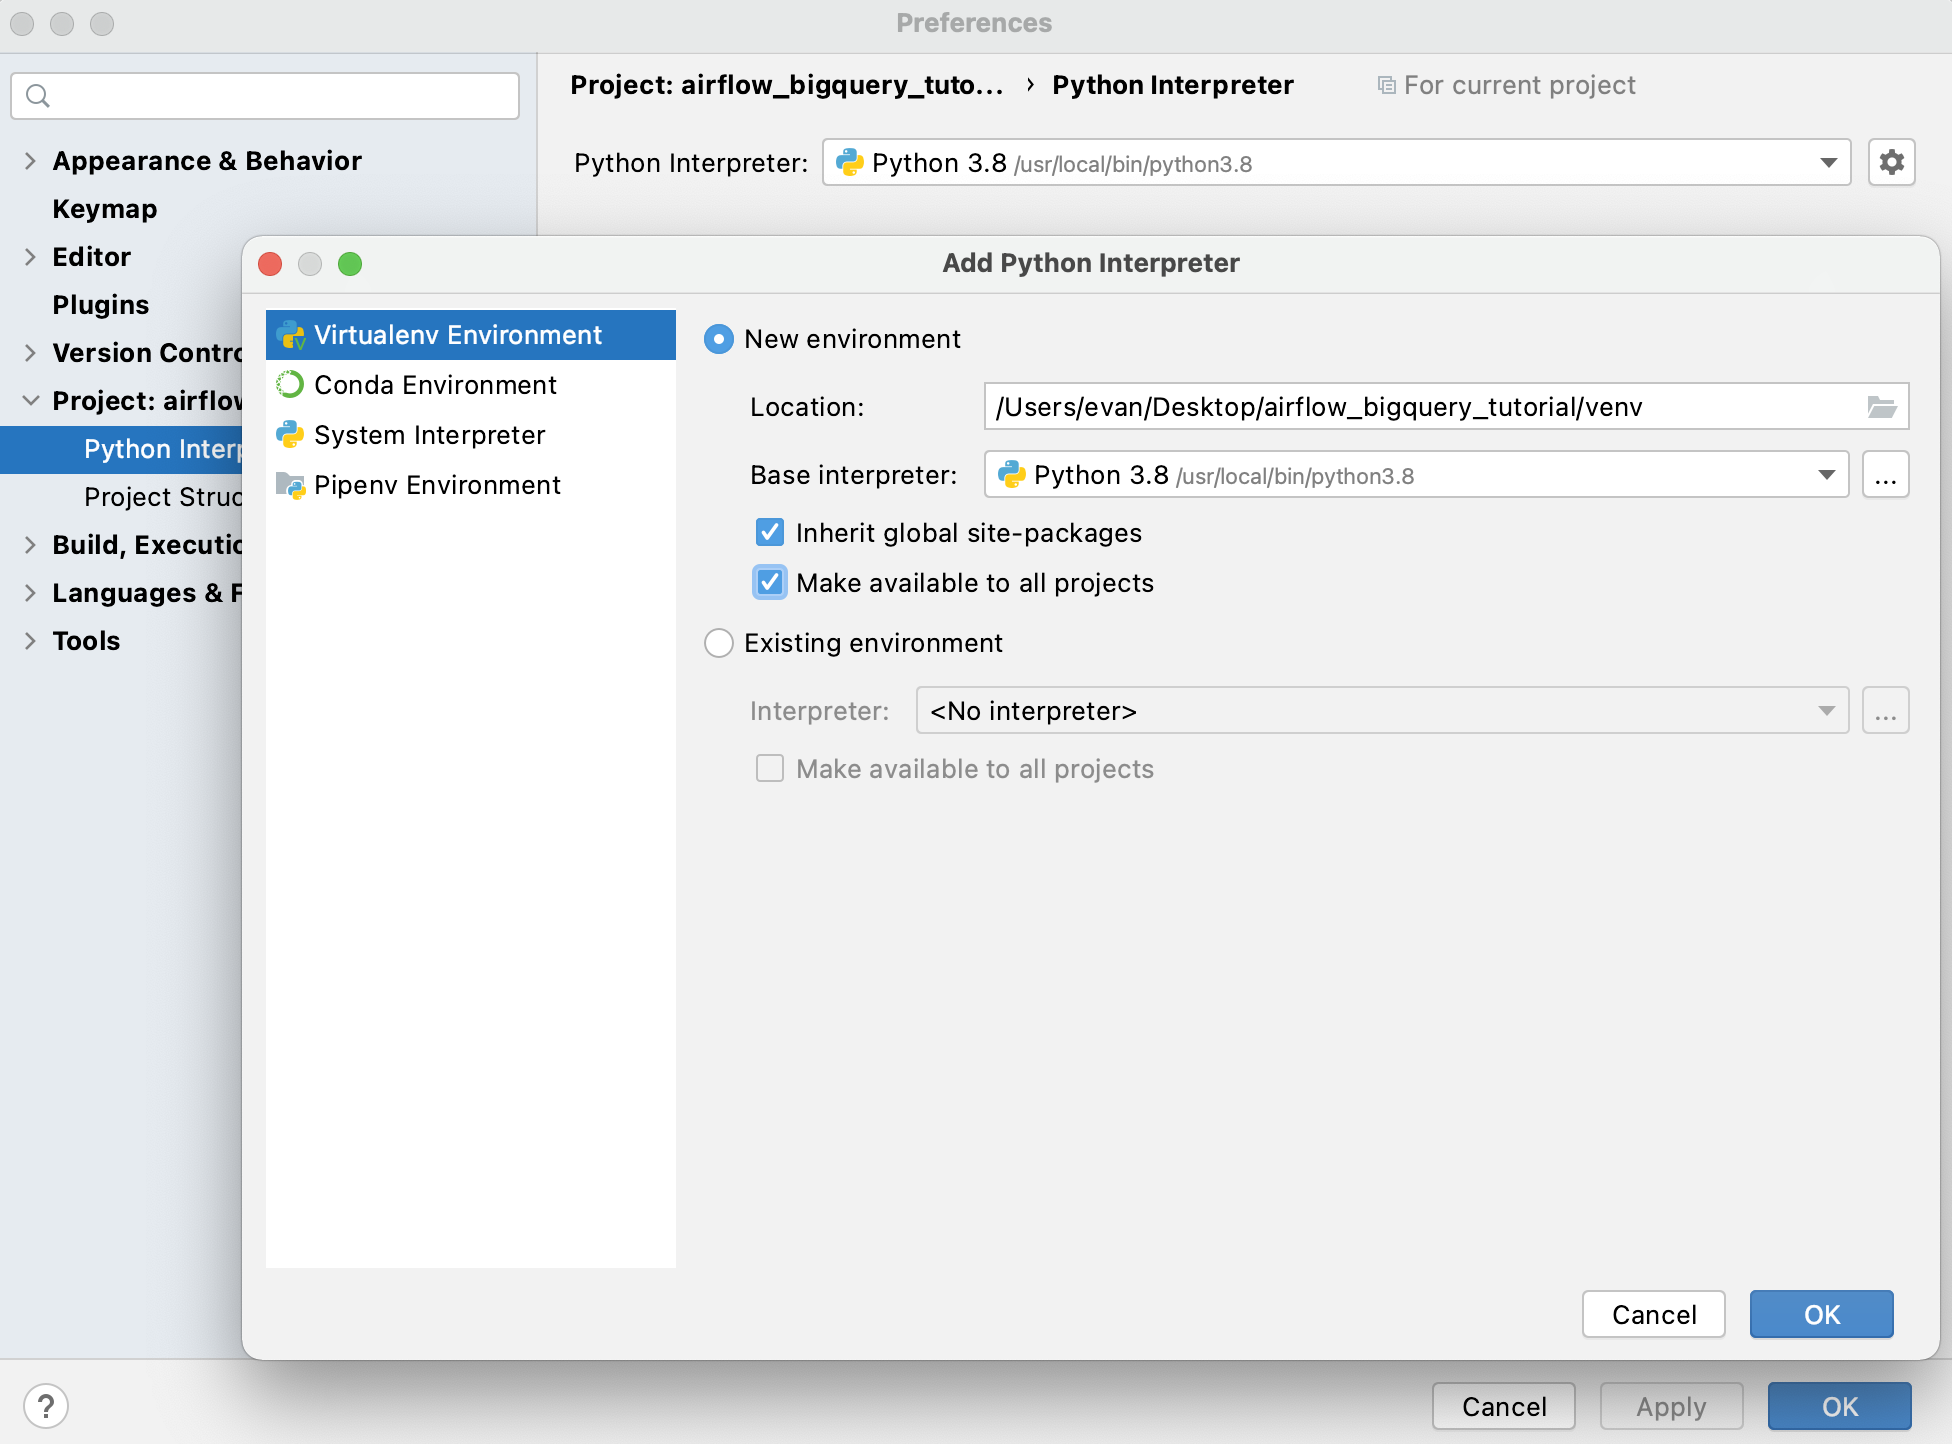
PyCharm에서 먼저 환경 추가를 위해 아래 그림처럼 단계적으로 버튼을 클릭한다.
- [PyCharm] - [Preferences] - [Project] - [Python Interpreter] - [Add] - [Virtualenv]


- 이제 해당 가상 환경에 접속을 한다.
~$ source venv/bin/activate
(venv) ~$
-
이 가이드에서는 도커가 이미 설치되어 있다고 가정한다.
- Docker Download: https://www.docker.com/products/docker-desktop
-
필자는 M1을 사용하기 때문에
Mac with Apple Chip을 선택함.

- 시작하기에 앞서서 docker-airflow 문서에서 ‘Installation & Build’ 파트를 확인한다.
#### Installation

- Pull the image from the Docker repository.
```bash
docker pull puckel/docker-airflow
```

#### Build
- Optionally install Extra Airflow Packages and/or python dependencies at build time :

```
docker build --rm --build-arg AIRFLOW_DEPS="datadog,dask" -t puckel/docker-airflow .
docker build --rm --build-arg PYTHON_DEPS="flask_oauthlib>=0.9" -t puckel/docker-airflow .
```
- 이를 적용하여
AIRFLOW_DEPS = "GCP"로 명명한다.
docker build --rm --build-arg AIRFLOW_DEPS="gcp" -t puckel/docker-airflow .
M1 Macbook 이슈
-
설치가 안된다. Apache Airflow installation issue on Mac M1
- 일단 해결 했다.
-
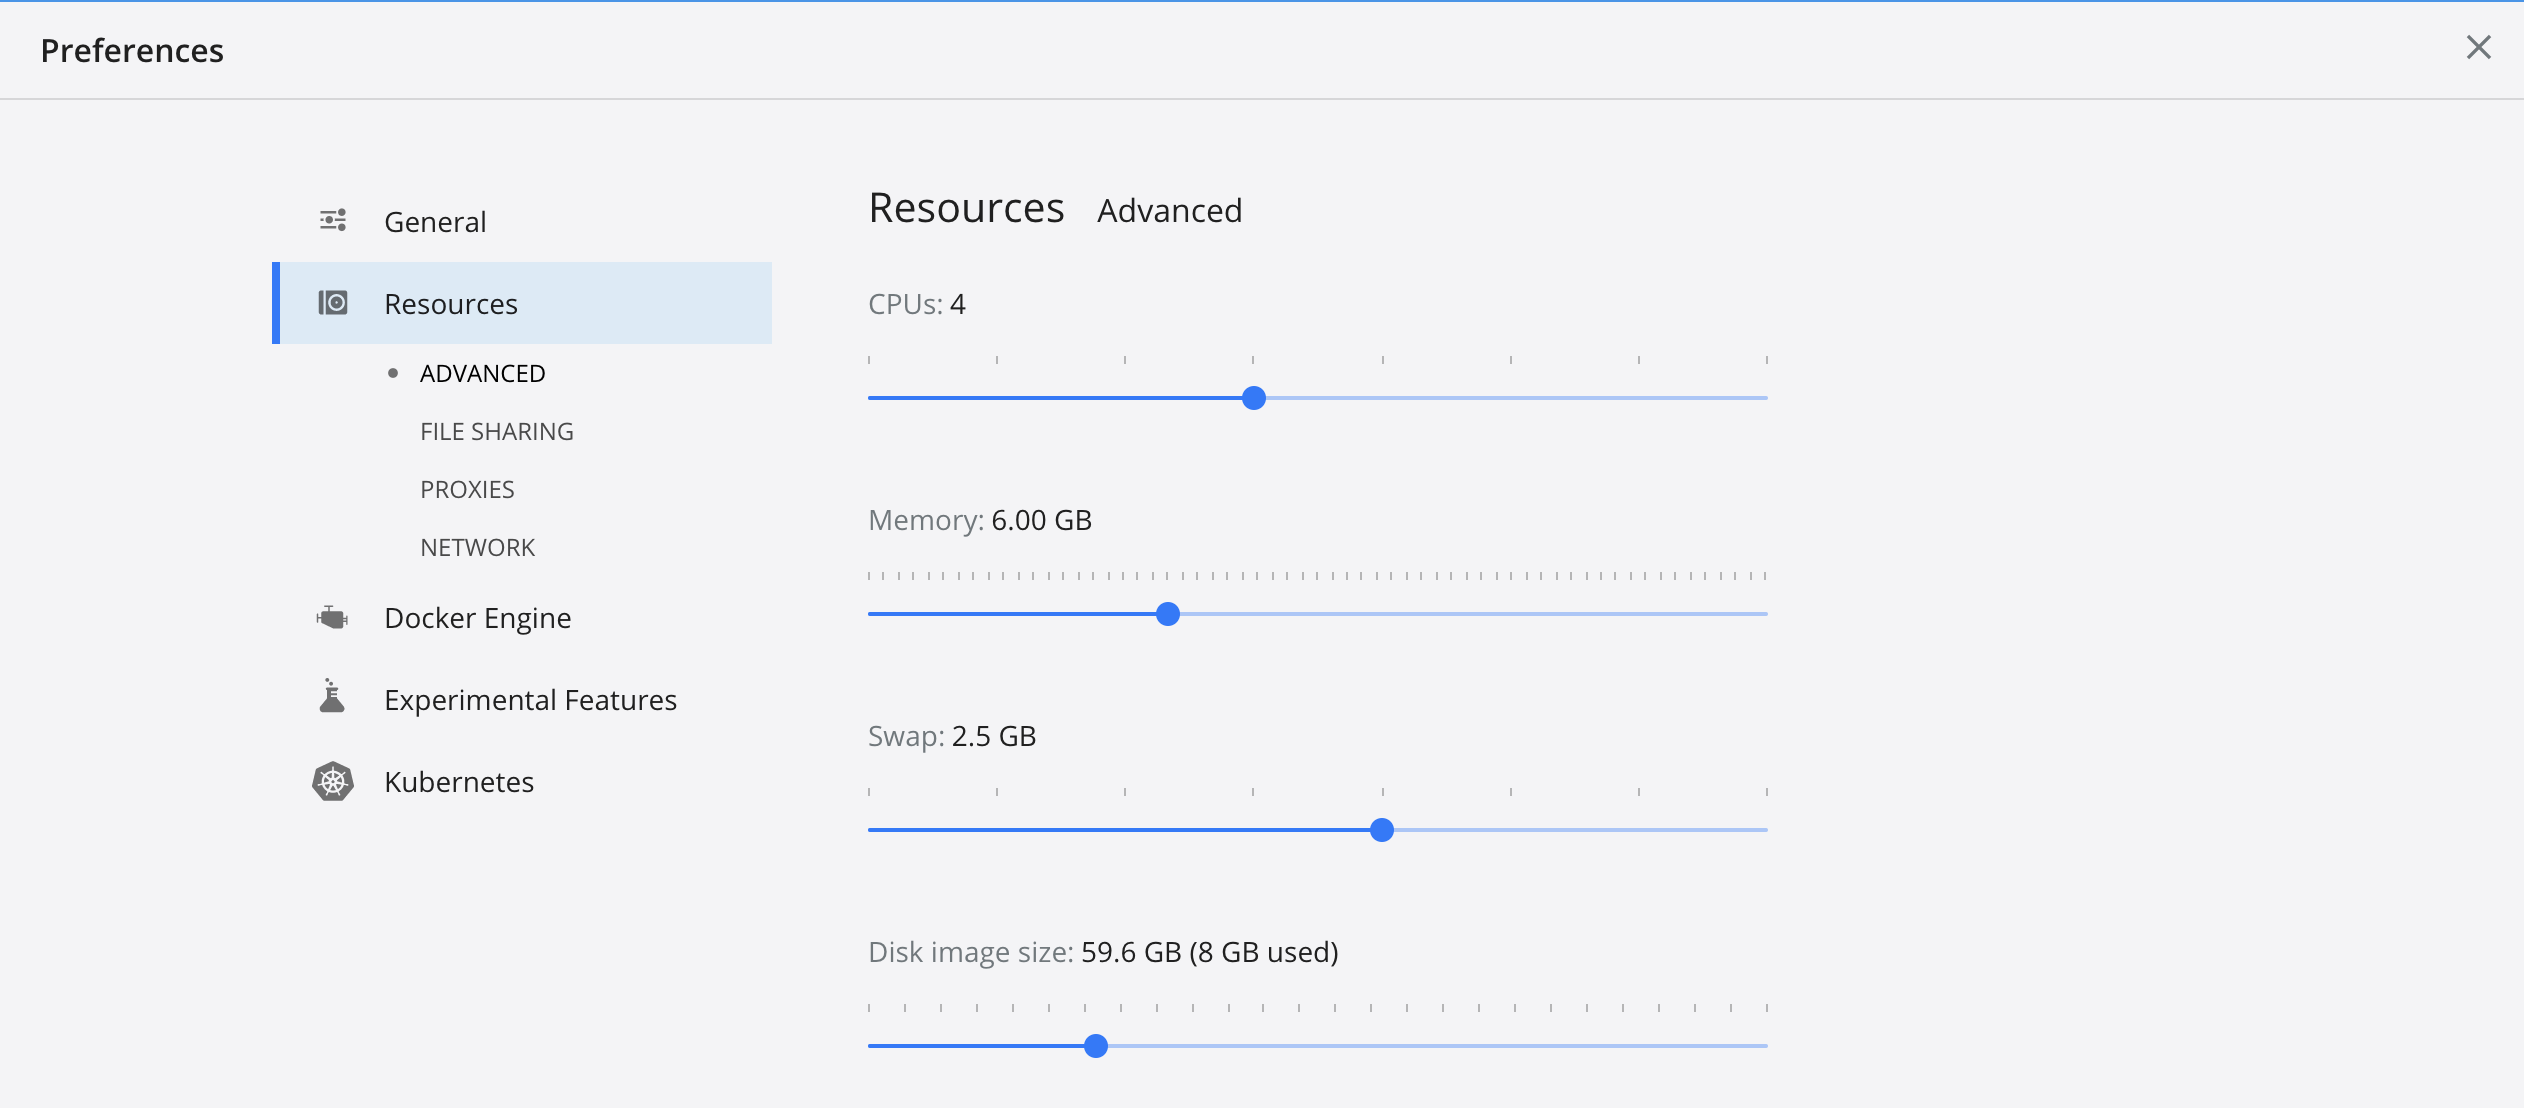
우선 도커 설정을 변경한다.
- 기본값을 아래와 같이 재 설정한다.

- 공식 홈페이지에서 제공하는
docker-compose.yaml.를 다운로드 받는다.
curl -LfO 'https://airflow.apache.org/docs/apache-airflow/2.1.1/docker-compose.yaml'
-
이 파일에는 다음과 같은 여러 가지 서비스 정의가 포함되어 있다. 우선 원어로 표기한다.
- airflow-scheduler - The scheduler monitors all tasks and DAGs, then triggers the task instances once their dependencies are complete.
- airflow-webserver - The webserver available at http://localhost:8080.
- airflow-worker - The worker that executes the tasks given by the scheduler.
- airflow-init - The initialization service.
- flower - The flower app for monitoring the environment. It is available at http://localhost:5555.
- postgres - The database.
- redis - The redis - broker that forwards messages from scheduler to worker.
-
그리고, 다음과 같이 실행한다.
docker-compose up airflow-init
- 마지막으로 Airflow를 실행한다.
docker-compose up
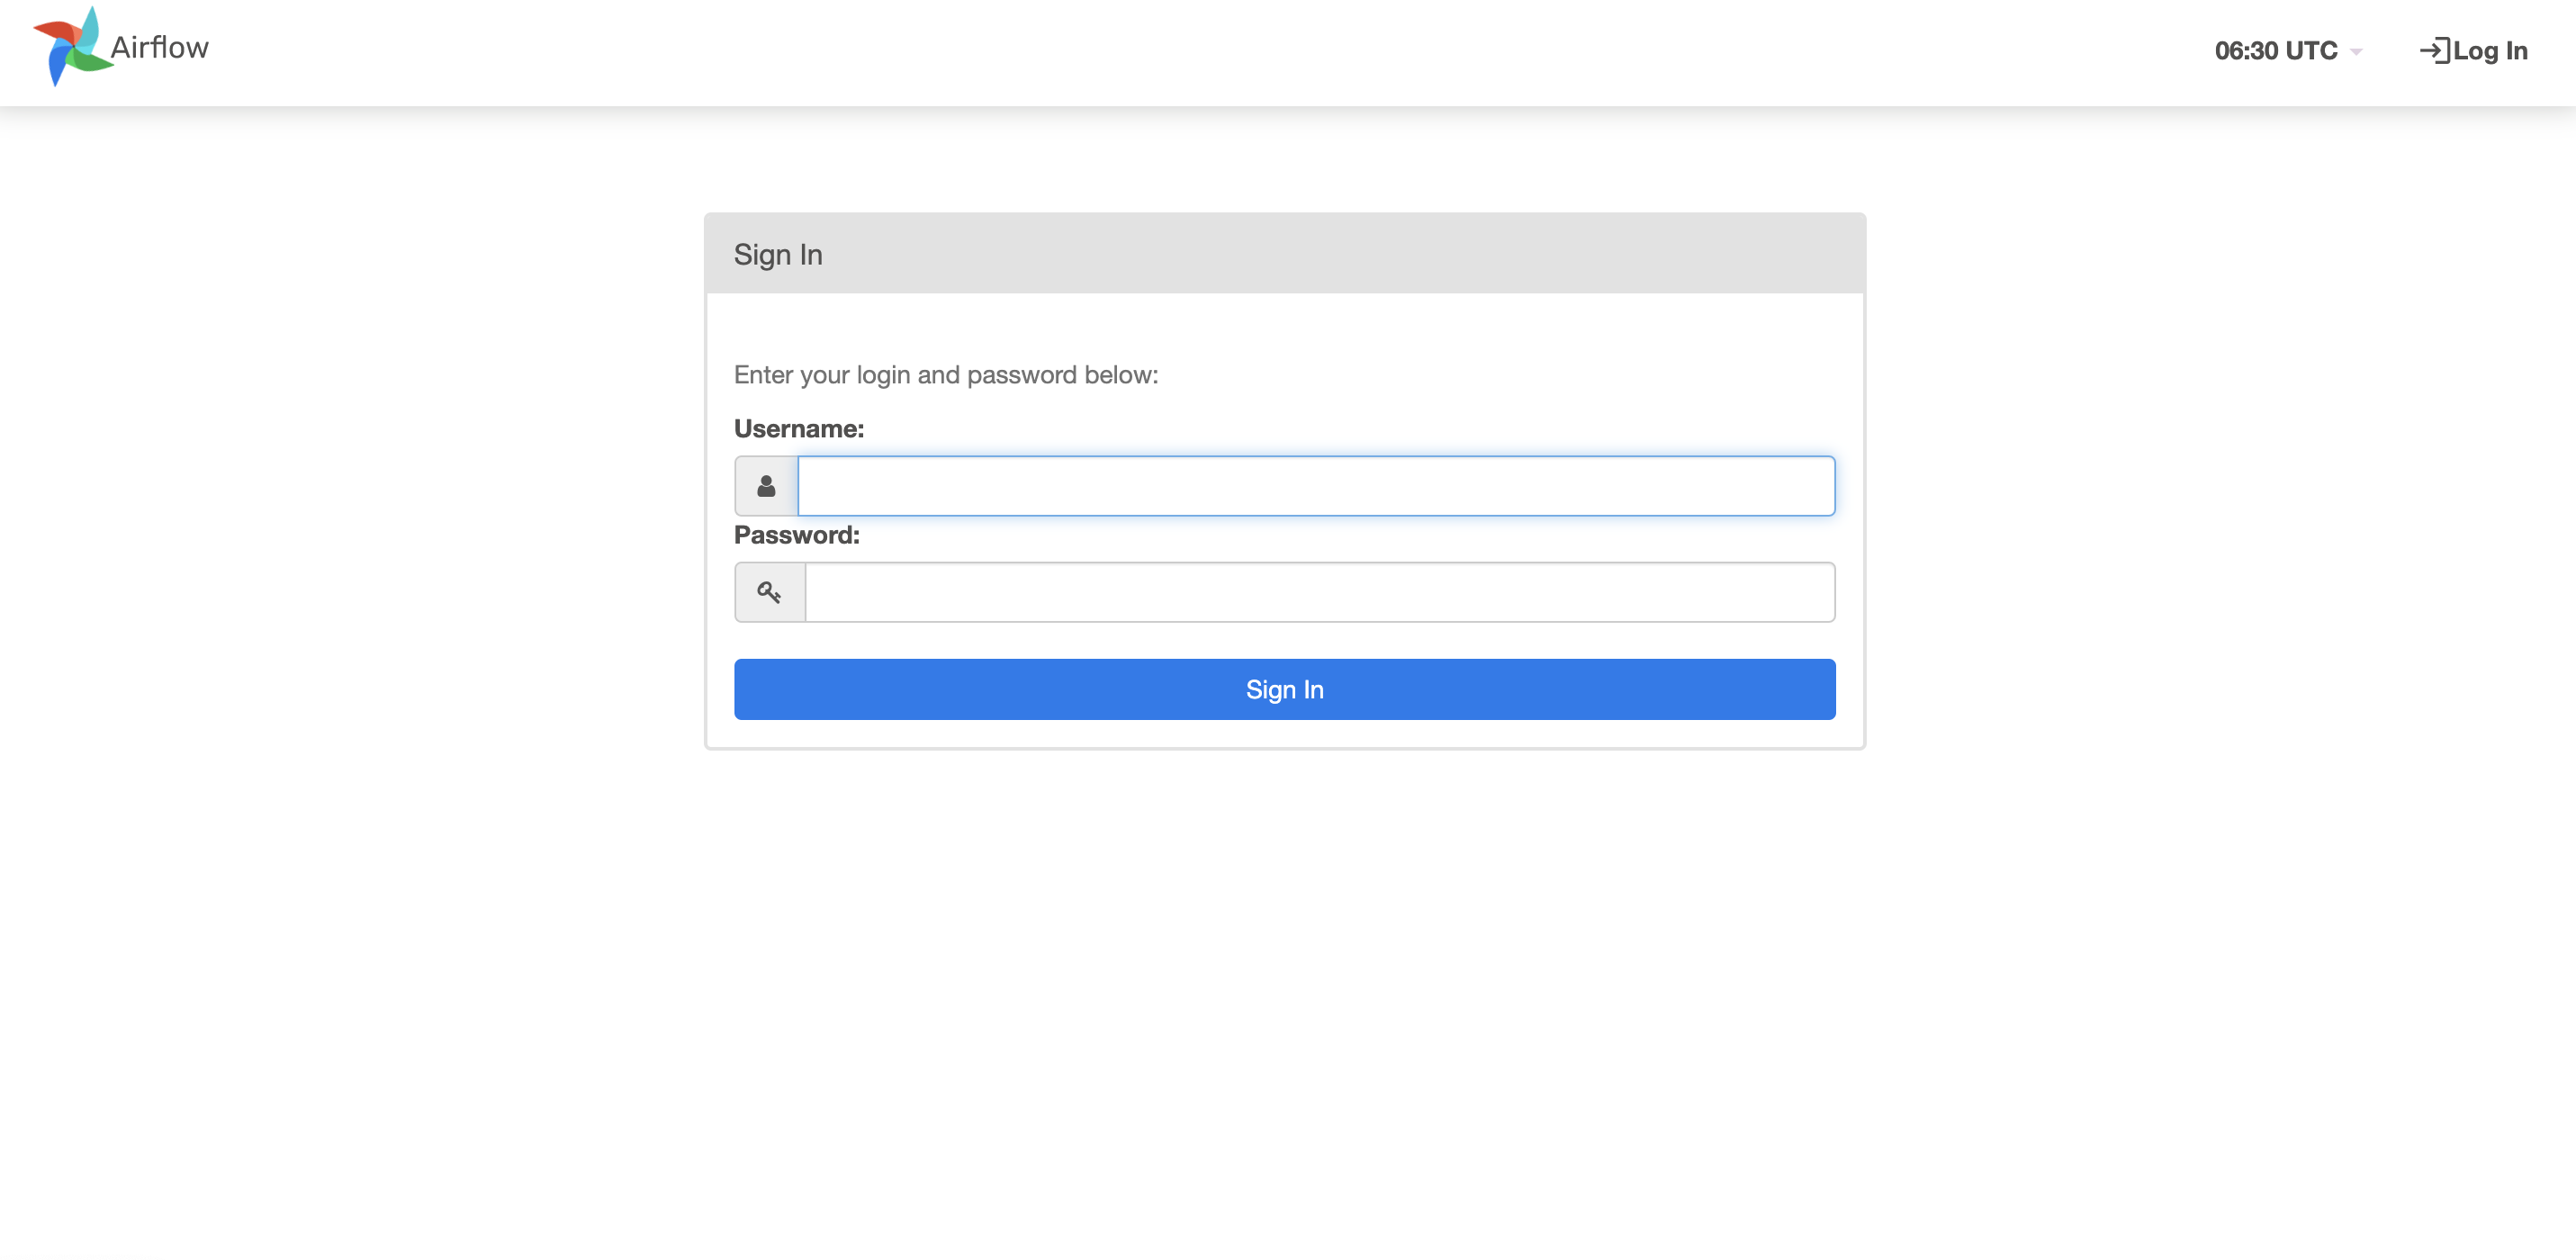
- 그리고 http://localhost:8000/ or http://0.0.0.0:8000/를 실행하여 정상적으로 화면이 나타나는지 확인한다.
- 이 때, username과 password는 모두 기본값으로 airflow
Airflow 직접 로컬 설치
-
방법을 우회한다.
-
먼저 airflow를 직접 설치한다.
-
필자는 .bash_profile에 지정한다.
export AIRFLOW_HOME=~/airflow
- 설치를 진행한다.
pip install apache-airflow
- Airflow DB를 초기화 한다.
airflow db init
- Airflow 실행
airflow webserver -p 8080
- 주소창에
http://localhost:8000/입력합니다. 그런데, 로그인 계정이 필요하다.

- 기본적으로 CLI Command에서 설정한다. (21.07.03 버전)
airflow users create -r Admin [-u USERNAME] [-e EMAIL] [-f FIRSTNAME]
                    [-l LASTNAME] [-p PASSWORD]
- 필자는 아래와 같이 입력했다.
airflow users create -r Admin -u evan -e jhjung@dschloe.com -f evan -l jung -p evan
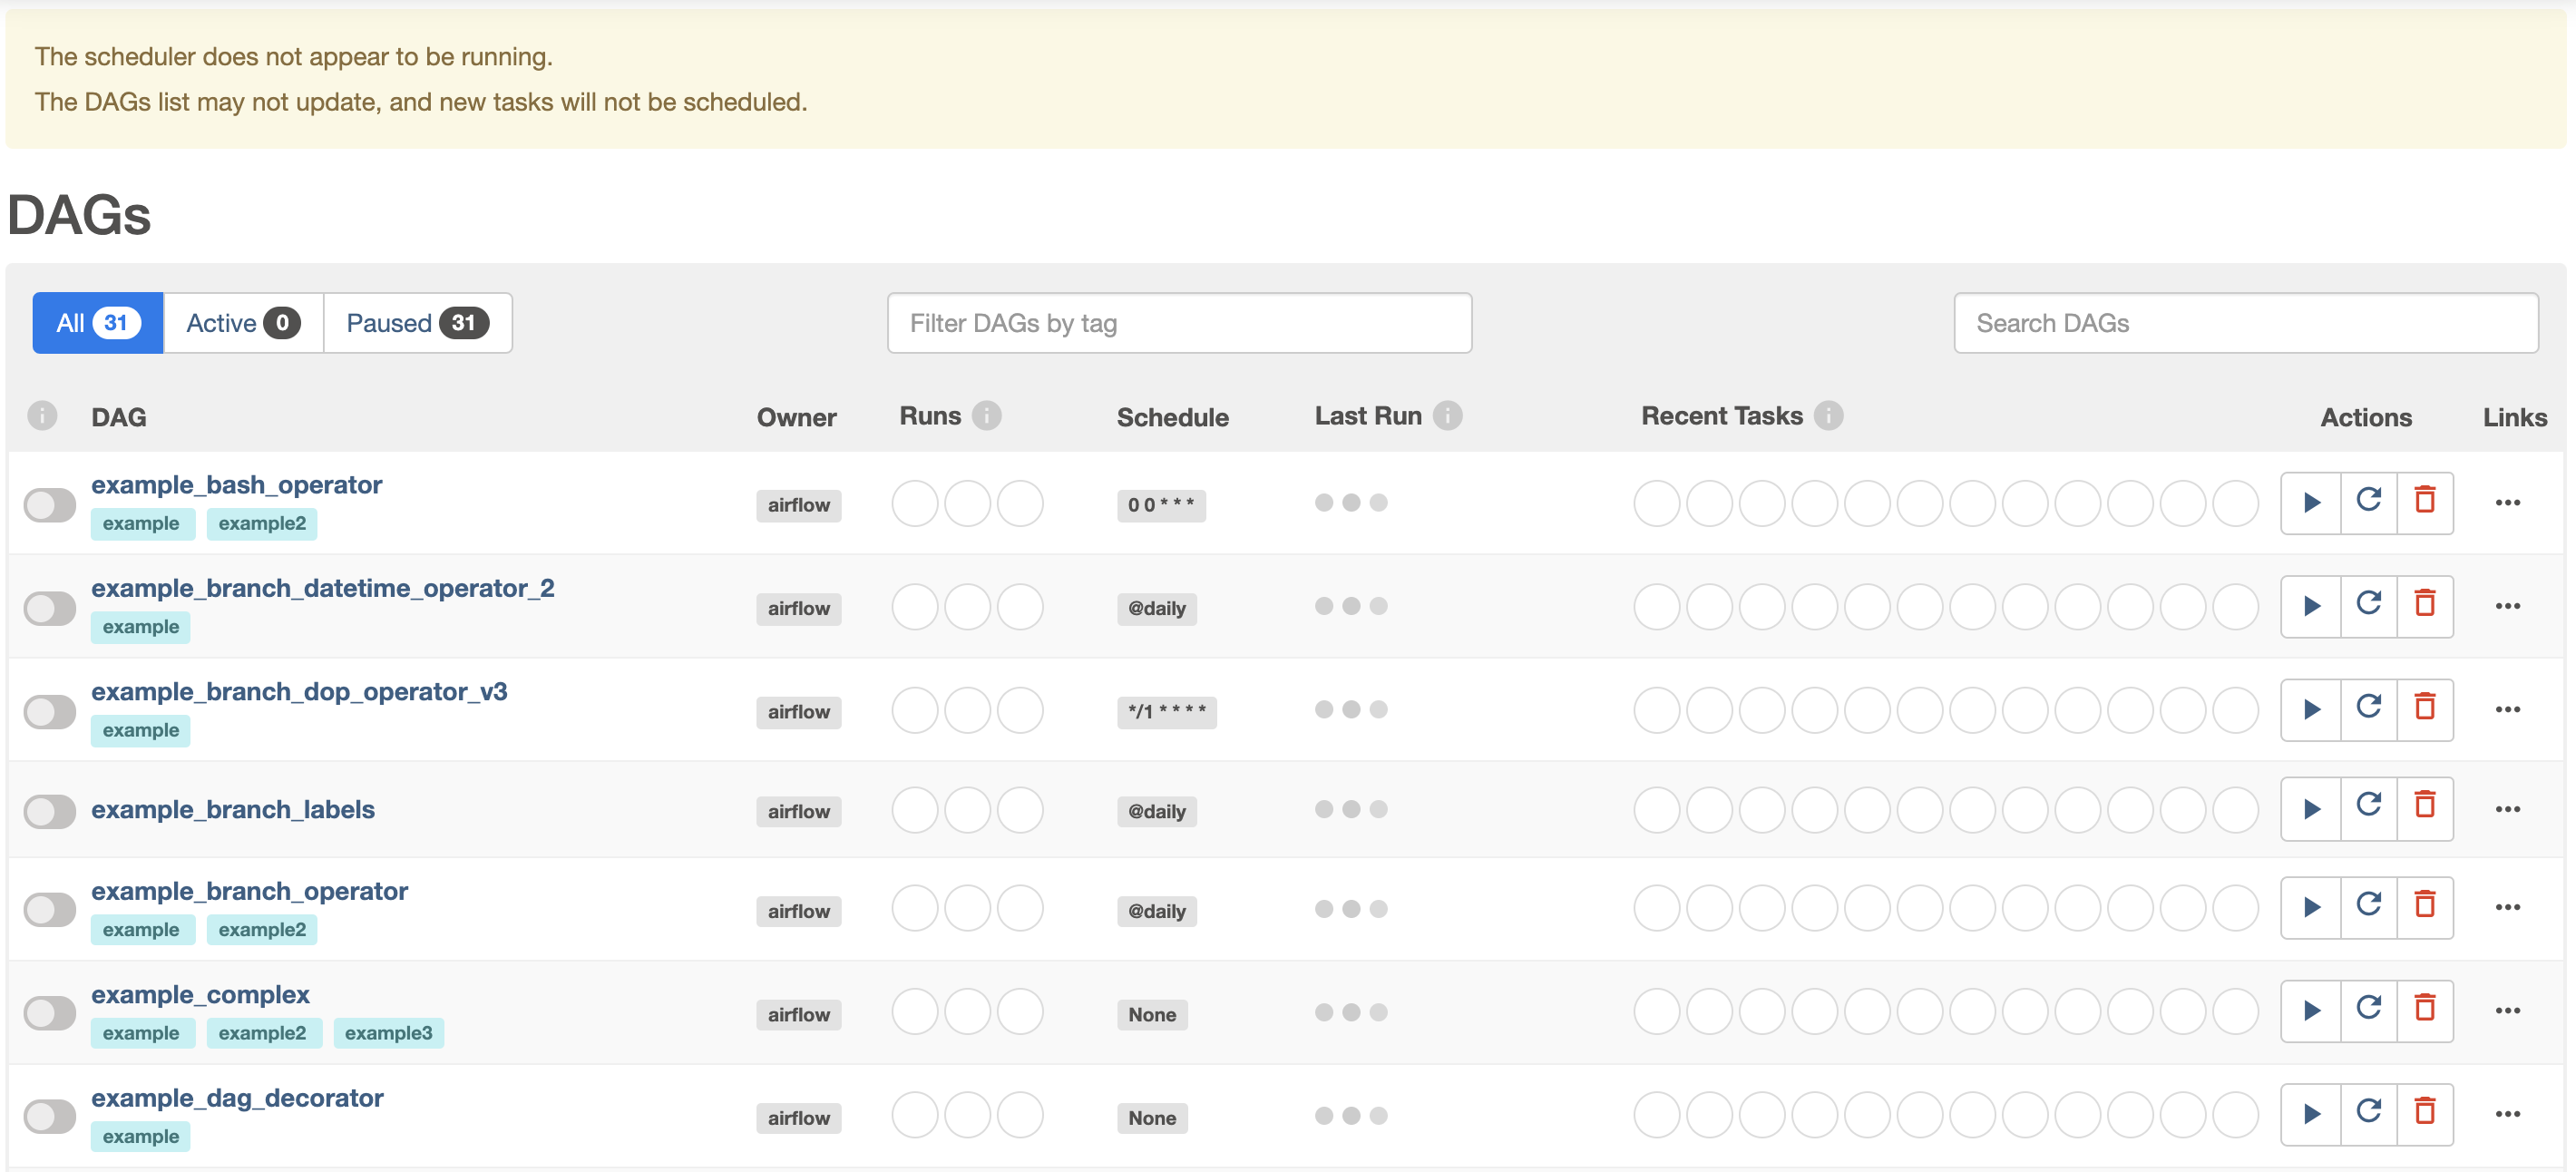
- 이제 다시 서버를 뛰우도록 한다. 이 때에는 로그인을 진행한다.

