엘라스틱 서치 시작하기 - 예제 (2025, 06)
Page content
개요
- 엘라스틱 클라우드 활용 예제 확인
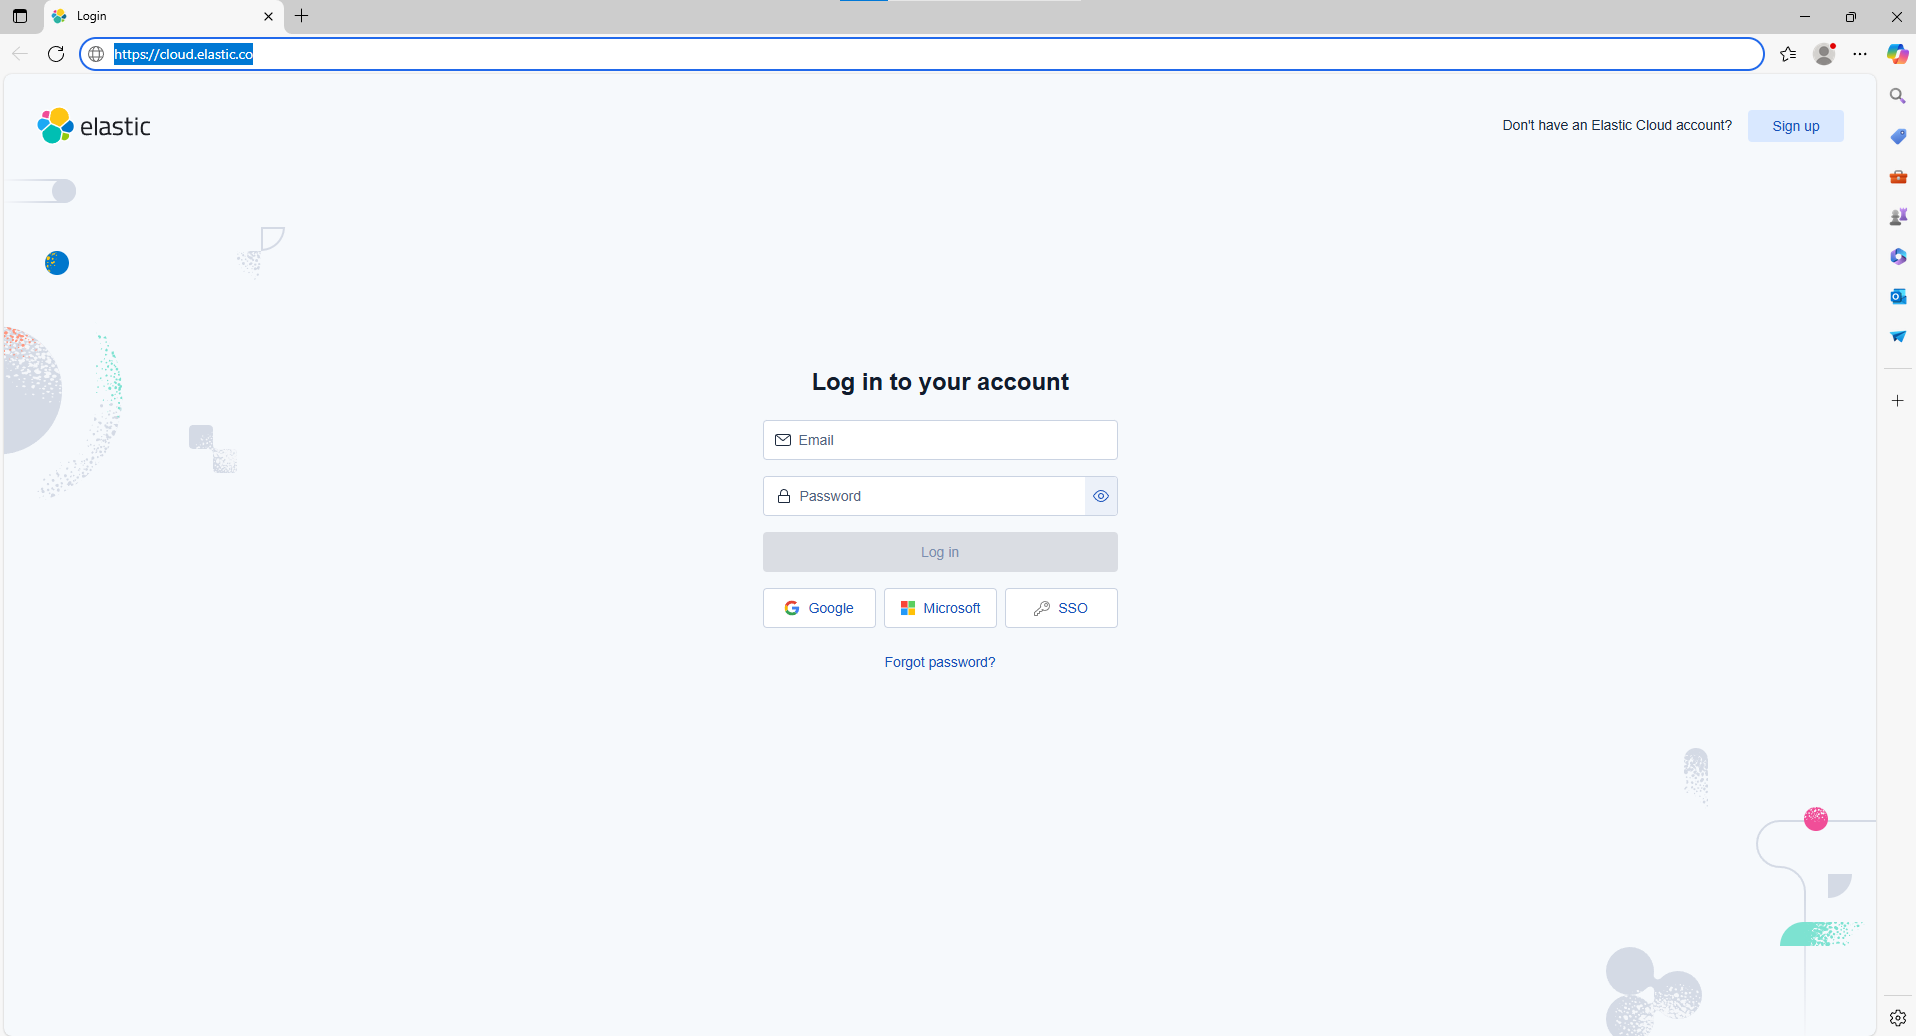
회원가입
- 회원가입 페이지 : https://cloud.elastic.co/
- 필자는 Google 로그인을 통해 회원가입을 하였다.
- 가입 중간에 데이터 저장하는 공간이 있는데, 필자는 GCP를 선택하였다.
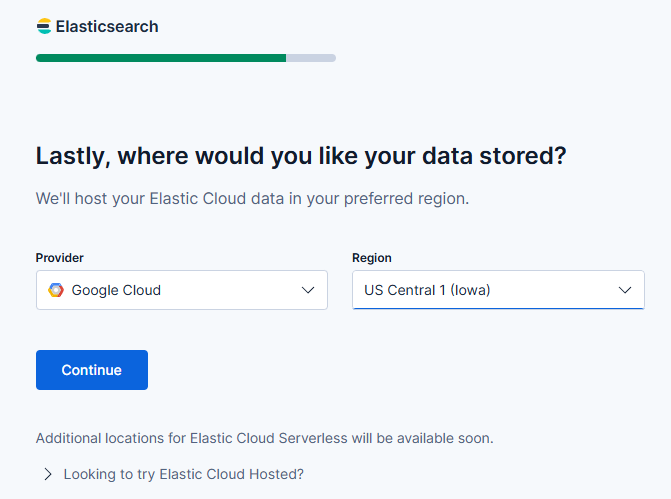
- 다음 화면에서는 다음과 같이 지정하였다. General Purpose

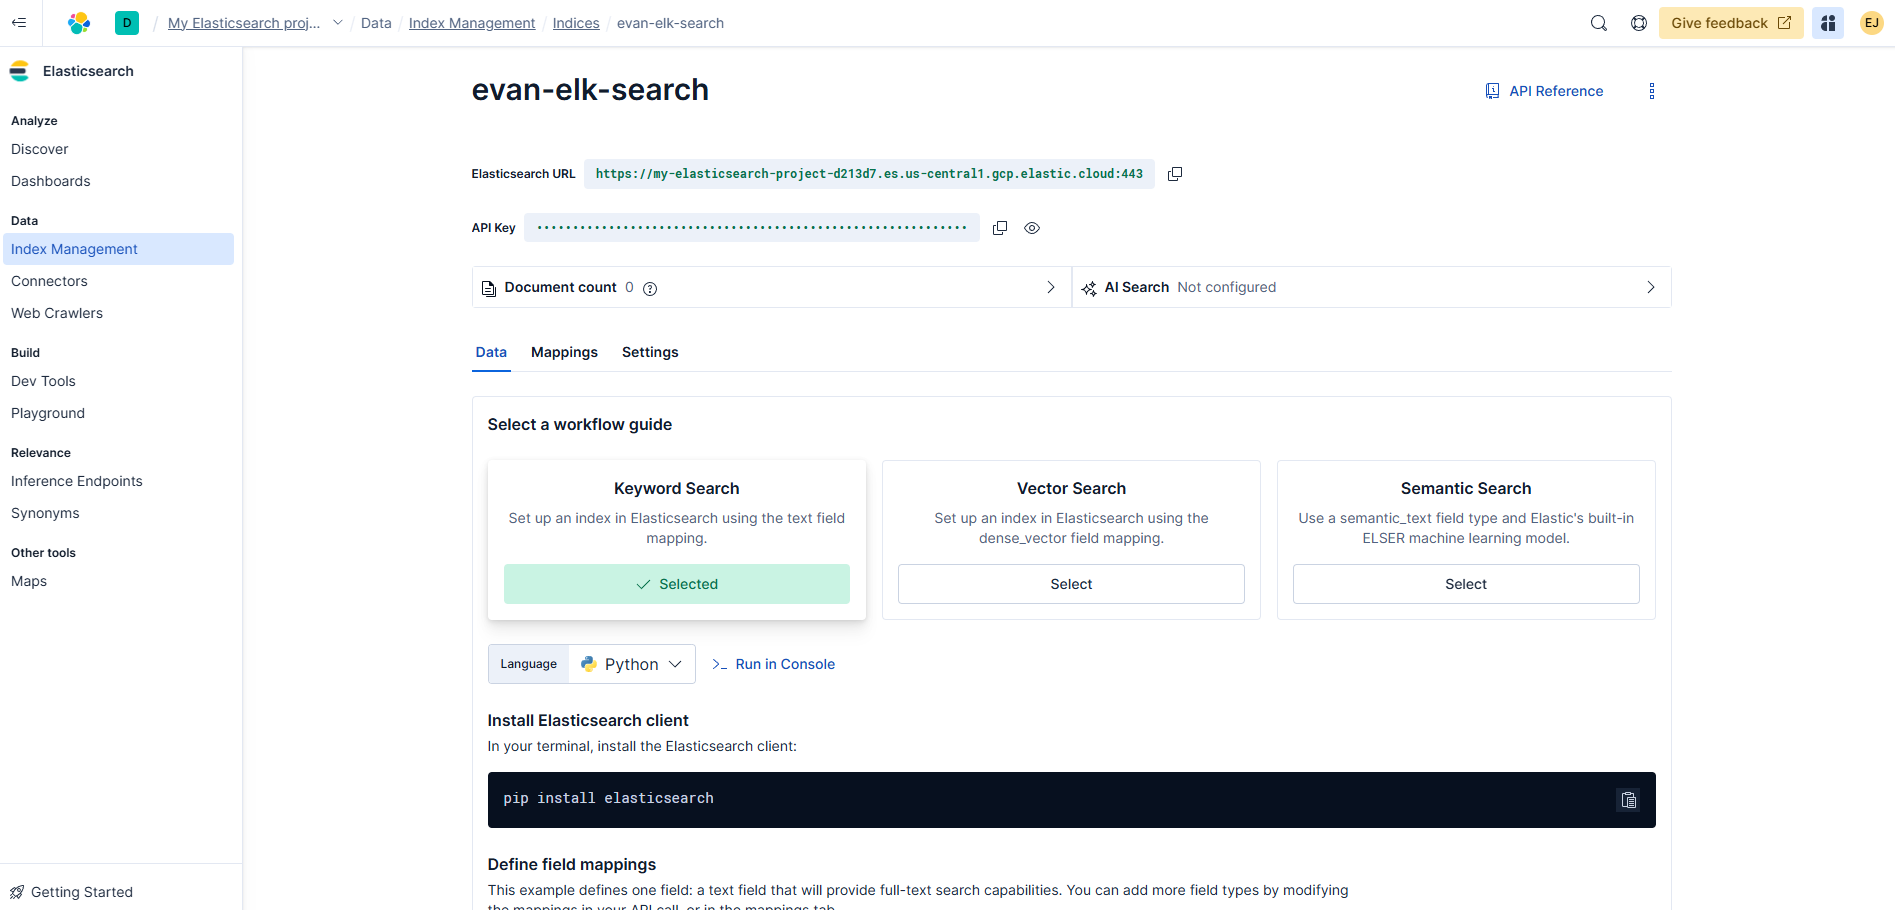
- 인덱스 명 : evan-elk-search

- 인덱스 명을 확인하면 다음과 같다.
- URL과 API 주소를 확인한다.
- URL : your_url
- your_api_key
설치 및 예제 확인
Windows 10
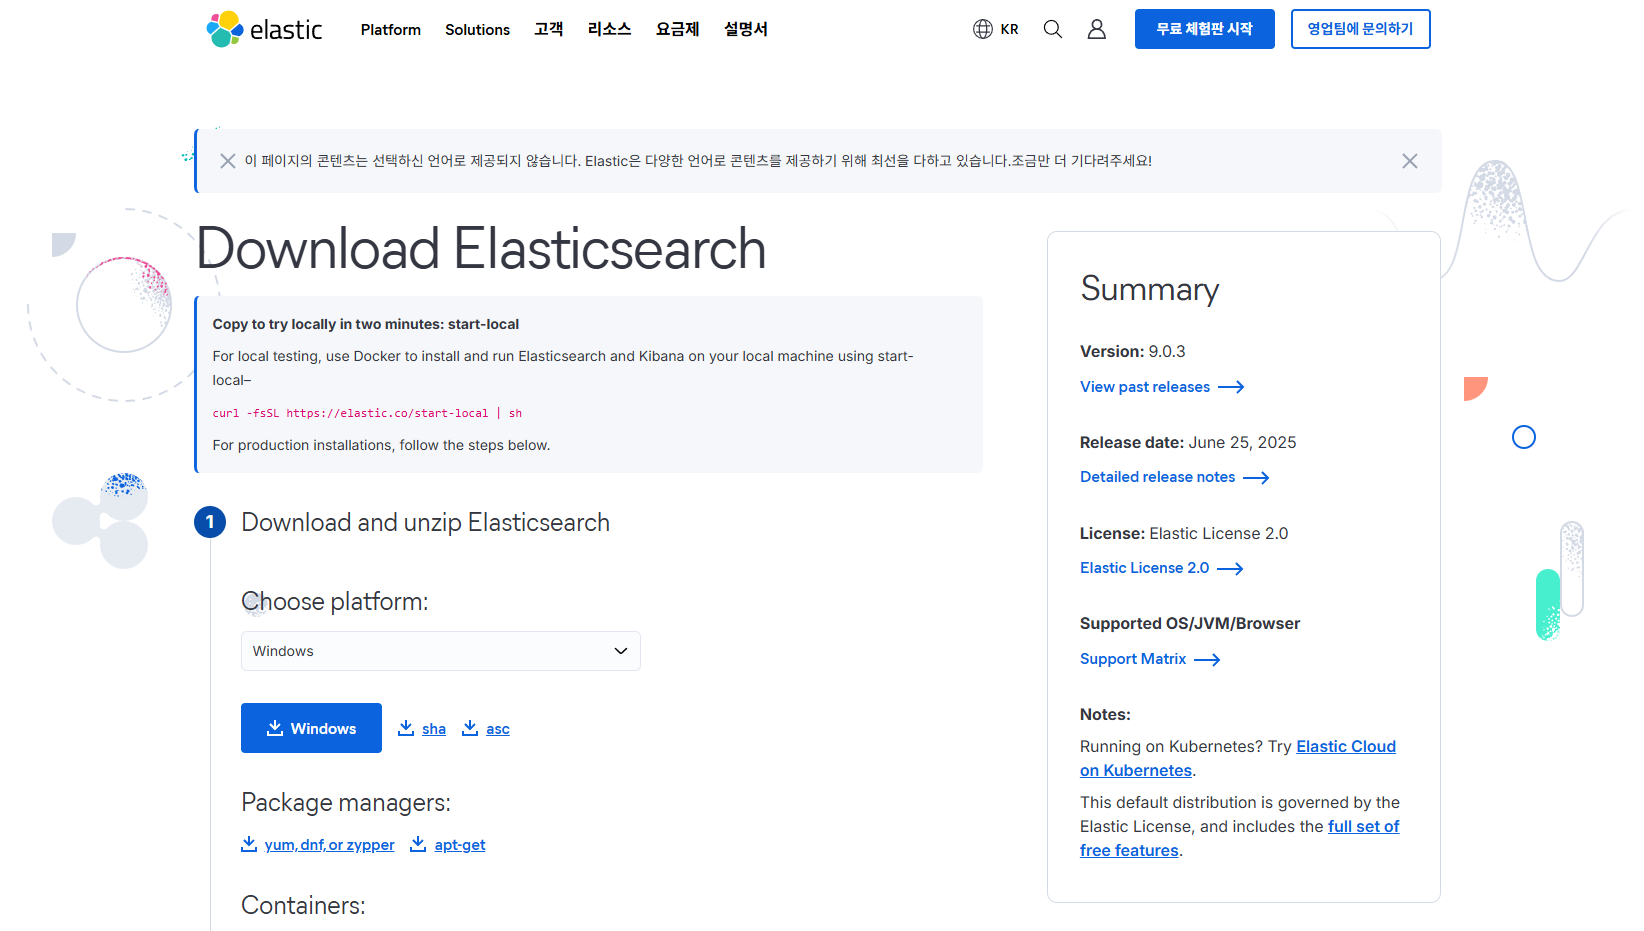
-
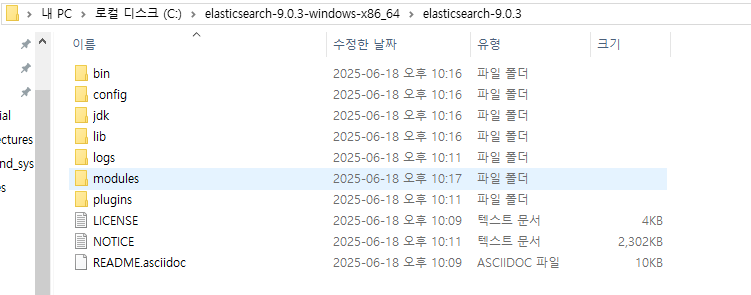
압축 파일을 해제하고 C 드라이브쪽으로 폴더를 이동시킨다.
- 폴더 경로 : C:\elasticsearch-9.0.3-windows-x86_64\elasticsearch-9.0.3
-
다음과 같이 실행한다. (CMD 파일)
C:\Users\Admin>cd C:\elasticsearch-9.0.3-windows-x86_64\elasticsearch-9.0.3\bin
C:\elasticsearch-9.0.3-windows-x86_64\elasticsearch-9.0.3>elasticsearch
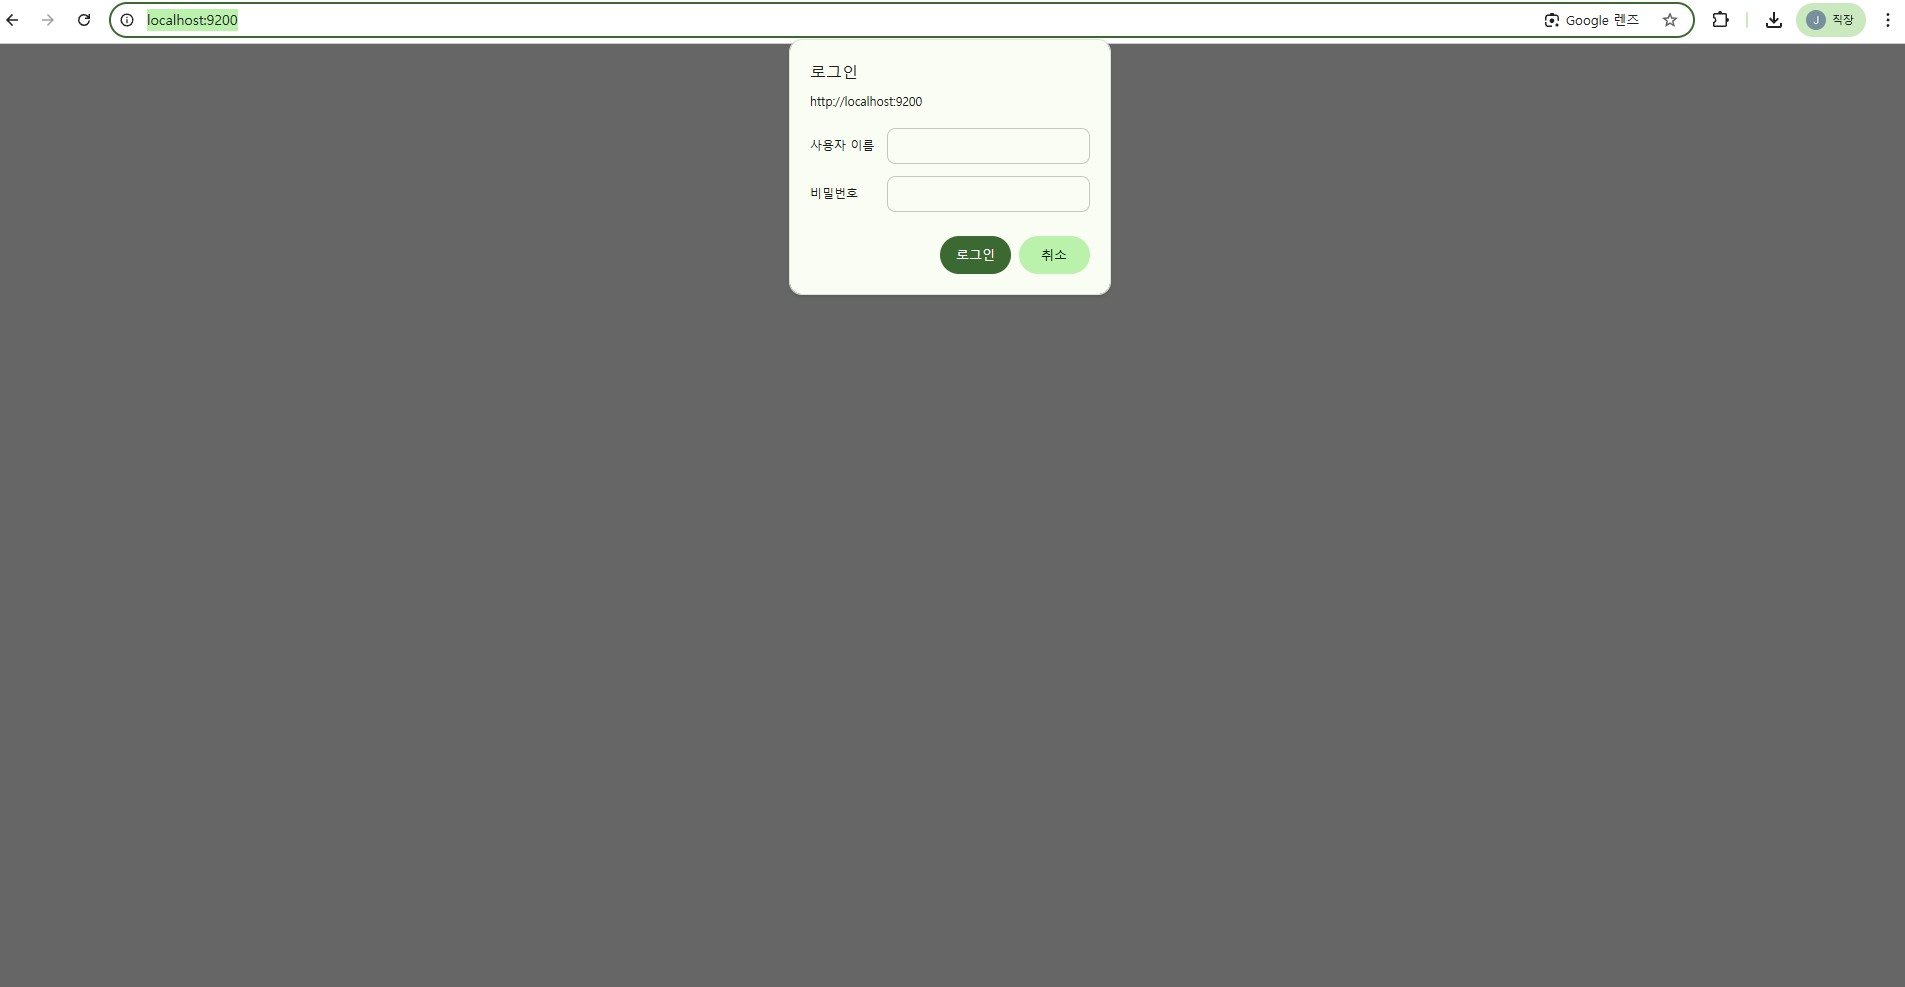
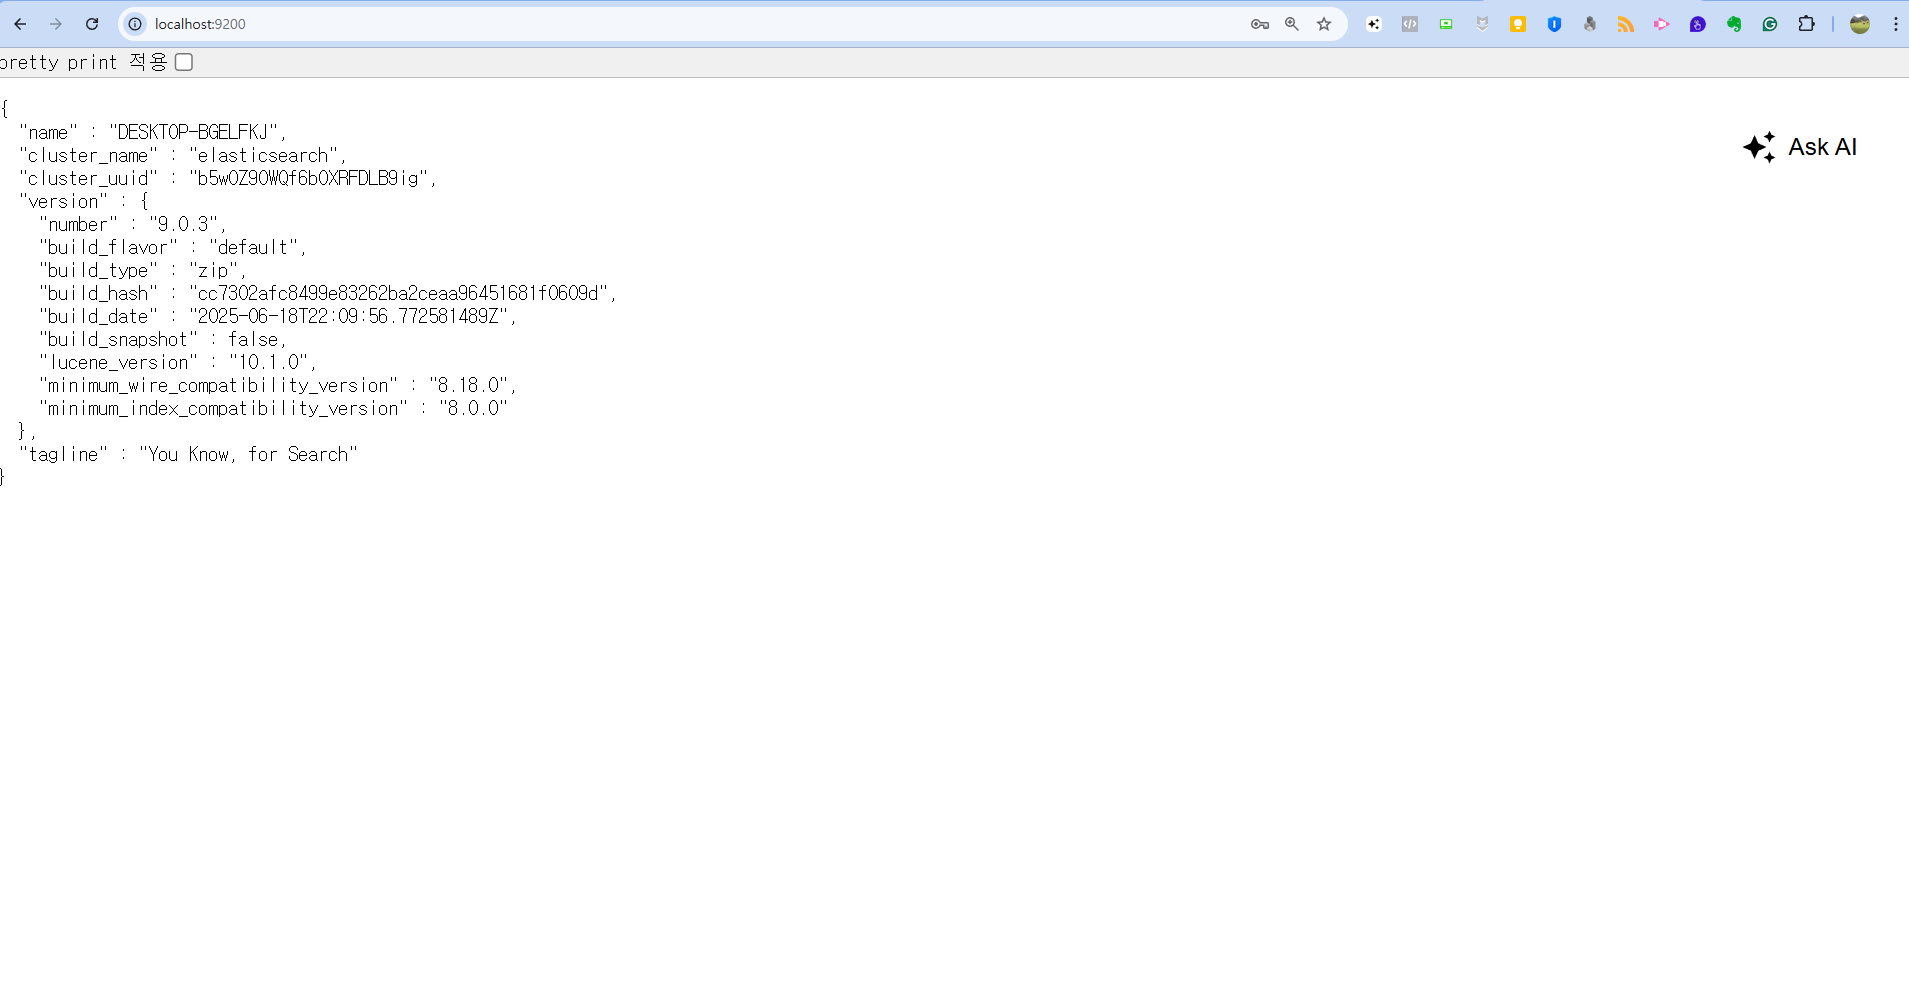
- Localhost 확인 : http://localhost:9200/
사용자 계정 만들기
- 확인이 되었다면 다음 코드 실행해서 사용자 계정을 만든다.
- 먼저 bin폴더로 이동한다. 그 후에 다음과 같이 명령어를 실행한다.
- 이 때, elasticsearch는 실행중이어야 한다.
C:~\elasticsearch-9.0.3\bin>elasticsearch-reset-password.bat -u elastic
This tool will reset the password of the [elastic] user to an autogenerated value.
The password will be printed in the console.
Please confirm that you would like to continue [y/N]y

Password for the [elastic] user successfully reset.
New value: 30Dzdl4dBkp-mSveC_s_
- 위 번호를 사용해도 되고, 비밀번호 변경을 원하면 다음과 같이 비밀번호를 수정한다.
- 필자의 비밀번호는 123456으로 지정했다. (1234로 지정했더니 6글자로 변경 요청)
C:\Users\Admin\Desktop\elk_tutorials\elasticsearch-9.0.3\bin>elasticsearch-reset-password -u elastic -i
This tool will reset the password of the [elastic] user.
You will be prompted to enter the password.
Please confirm that you would like to continue [y/N]y

Enter password for [elastic]:
passwords must be at least [6] characters long
Try again.
Enter password for [elastic]:
Re-enter password for [elastic]:
Password for the [elastic] user successfully reset.
- localhost:9200에 접속하면 다음과 같이 나오면 정상적으로 설치는 확인할 수 있다.
Kibana 설치
Windows 10
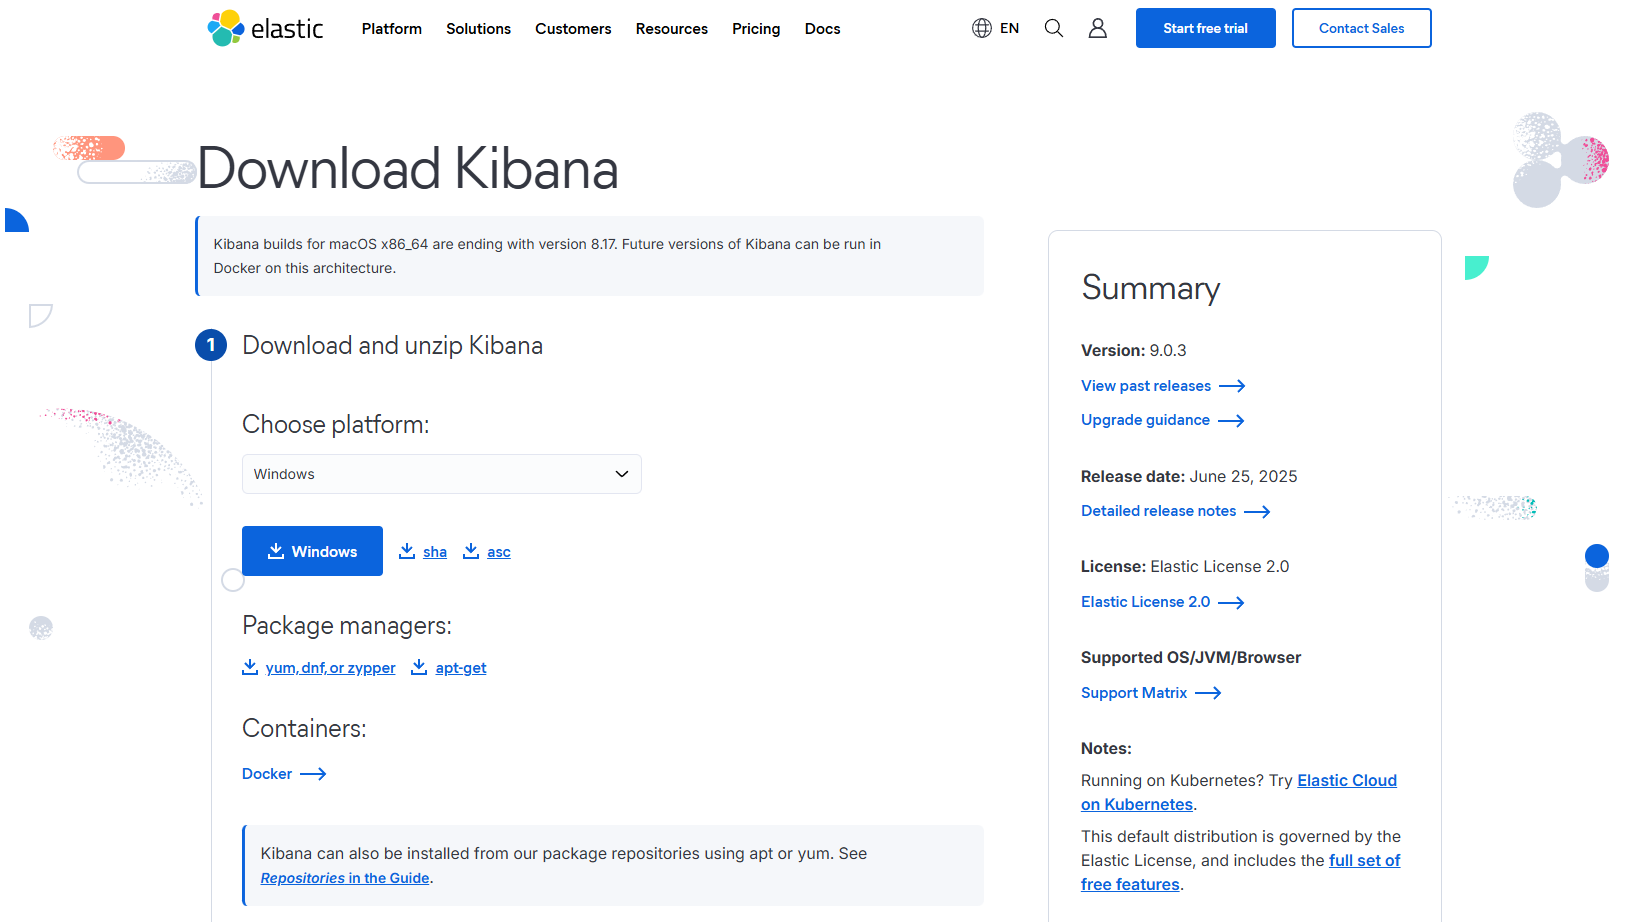
- Kibana 설치 : https://www.elastic.co/downloads/kibana
- Kibana 설정은 다음과 같이 설정한다.
- 파일 : config/kibana.yml
# For more configuration options see the configuration guide for Kibana in
# https://www.elastic.co/guide/index.html

# =================== System: Kibana Server ===================
# Kibana is served by a back end server. This setting specifies the port to use.
server.port: 5601

# Specifies the address to which the Kibana server will bind. IP addresses and host names are both valid values.
# The default is 'localhost', which usually means remote machines will not be able to connect.
# To allow connections from remote users, set this parameter to a non-loopback address.
server.host: "localhost"

...

# The Kibana server's name. This is used for display purposes.
server.name: "kibana"

# =================== System: Kibana Server (Optional) ===================
# Enables SSL and paths to the PEM-format SSL certificate and SSL key files, respectively.
# These settings enable SSL for outgoing requests from the Kibana server to the browser.
server.ssl.enabled: false
#server.ssl.certificate: /path/to/your/server.crt
#server.ssl.key: /path/to/your/server.key

# =================== System: Elasticsearch ===================
# The URLs of the Elasticsearch instances to use for all your queries.
elasticsearch.hosts: ["http://localhost:9200"]

# If your Elasticsearch is protected with basic authentication, these settings provide
# the username and password that the Kibana server uses to perform maintenance on the Kibana
# index at startup. Your Kibana users still need to authenticate with Elasticsearch, which
# is proxied through the Kibana server.
elasticsearch.username: "evan"
elasticsearch.password: "123456"

...
- 다음 명령어 실행
curl -u elastic:123456 -X PUT "http://localhost:9200/_security/user/evan" ^
  -H "Content-Type: application/json" ^
  -d "{\"roles\":[\"kibana_admin\", \"kibana_system\"]}"
- 코드 해석을 하면 다음과 같다.
- curl - HTTP 요청을 보내는 명령어
- -u elastic:123456 - 기본 인증 (Basic Authentication)
- 사용자명: elastic
- 비밀번호: 123456
- X PUT - HTTP 메서드 (PUT 요청) : 리소스를 생성하거나 업데이트할 때 사용
- “http://localhost:9200/_security/user/evan” : 요청 URL
- Elasticsearch 보안 API 엔드포인트
- evan이라는 새로운 사용자를 생성/수정
- -H “Content-Type: application/json” : HTTP 헤더
- 요청 본문이 JSON 형식임을 명시
- -d “{"roles":["kibana_admin", "kibana_system"]}” - 요청 본문 (JSON 데이터)
- evan 사용자에게 두 개의 역할을 부여 : kibana_admin, kibana_system
- kibana_admin: Kibana 관리자 권한
- kibana_system: Kibana 시스템 권한
- evan 사용자에게 두 개의 역할을 부여 : kibana_admin, kibana_system
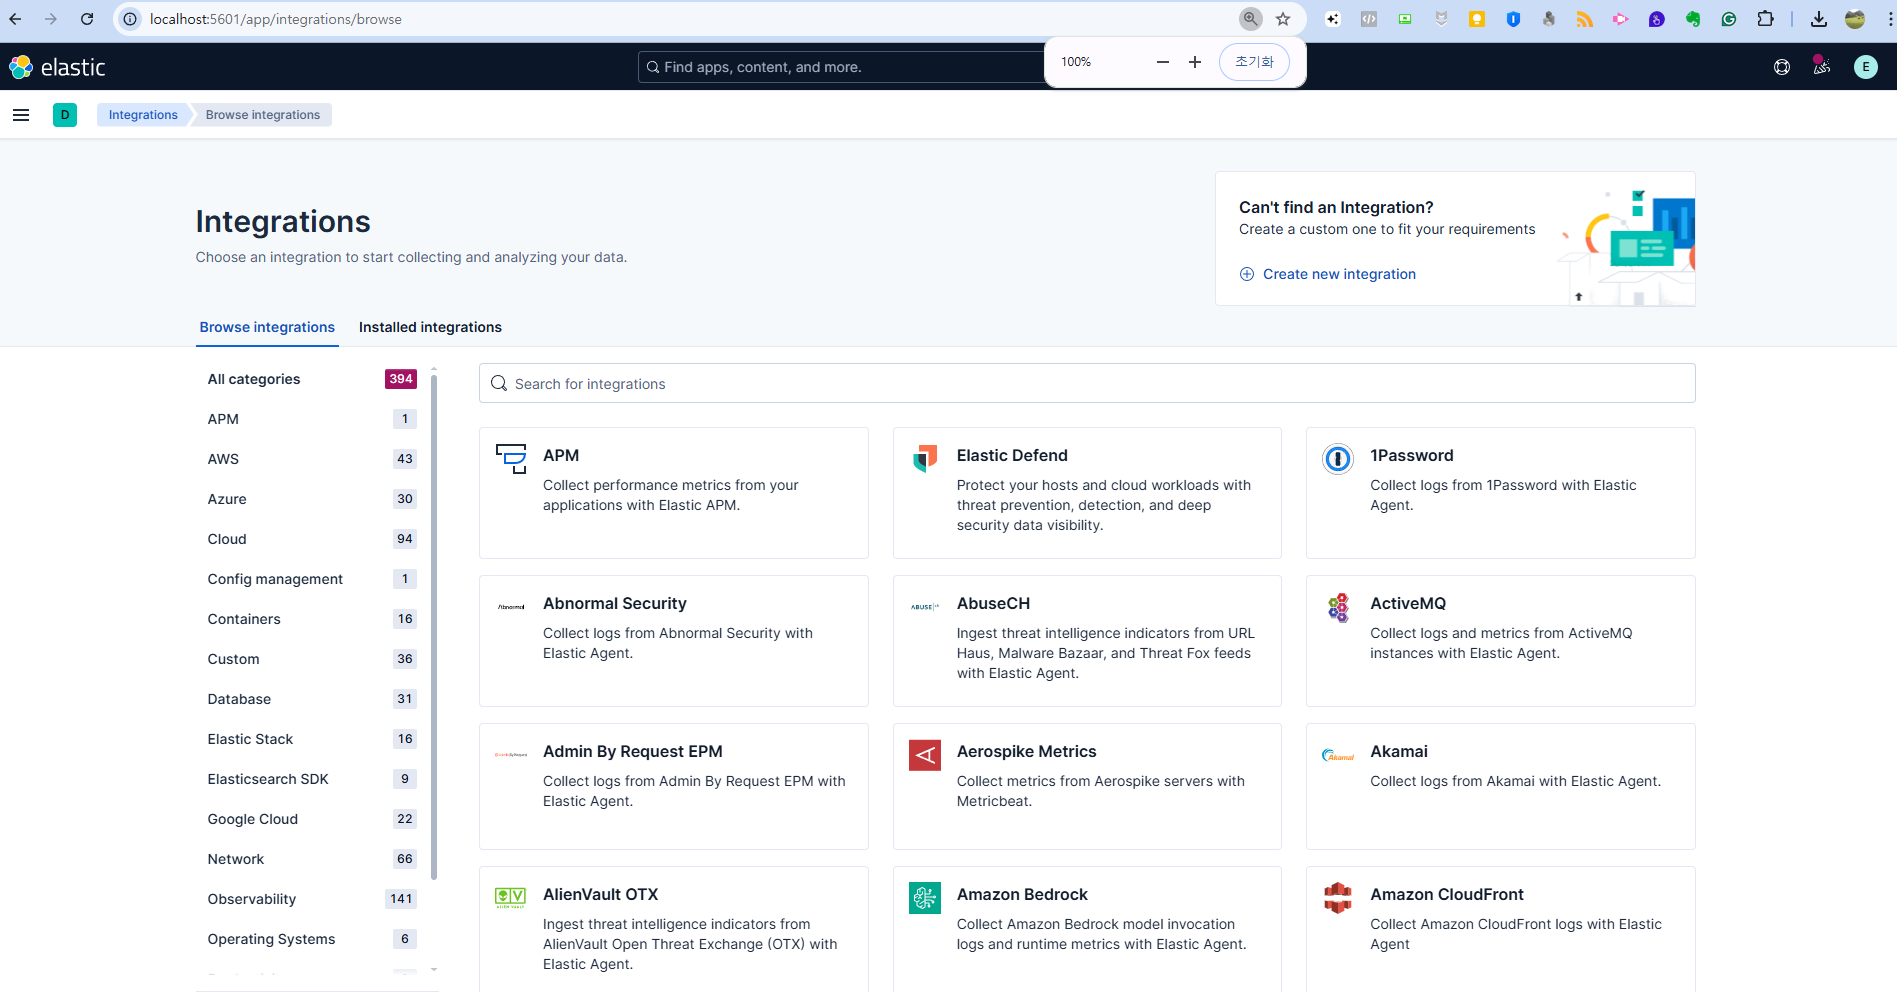
- kibana 실행 (http://localhost:5601)
Elasticsearch & Kibana 실행 상태 확인 스크립트
- 파일명 : check_elk.bat (Window 버전)
- 변경해야 할 건,
curl -u sara:230302여기 부분 수정 필요
@echo off
echo ================================
echo Checking Elasticsearch...
curl -u sara:230302 -s -o nul -w "%%{http_code}" http://localhost:9200 | findstr "200" > nul
if %errorlevel%==0 (
    echo Elasticsearch is running!
) else (
    echo Elasticsearch is NOT running!
)

echo.
echo ================================
echo Checking Kibana...
curl -u sara:230302 -s -o nul -w "%%{http_code}" http://localhost:5601/api/status | findstr "200" > nul
if %errorlevel%==0 (
    echo Kibana is running!
) else (
    echo Kibana is NOT running!
)

echo.
pause
- 파일명 : check_elk.sh
- 변경해야 할 건,
curl -u sara:230302여기 부분 수정 필요
#!/bin/bash

echo "==============================="
echo "Checking Elasticsearch..."
status_code=$(curl -u sara:230302 -s -o /dev/null -w "%{http_code}" http://localhost:9200)

if [ "$status_code" -eq 200 ]; then
    echo "Elasticsearch is running!"
else
    echo "Elasticsearch is NOT running!"
fi

echo
echo "==============================="
echo "Checking Kibana..."
status_code=$(curl -u sara:230302 -s -o /dev/null -w "%{http_code}" http://localhost:5601/api/status)

if [ "$status_code" -eq 200 ]; then
    echo "Kibana is running!"
else
    echo "Kibana is NOT running!"
fi
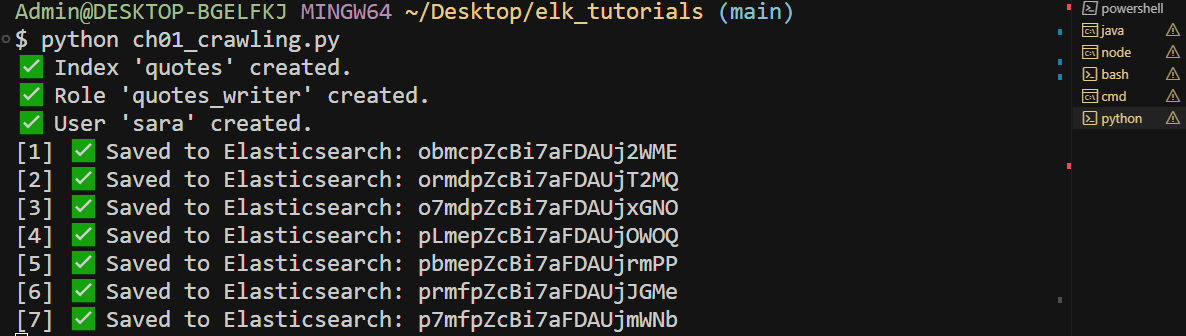
간단 예제
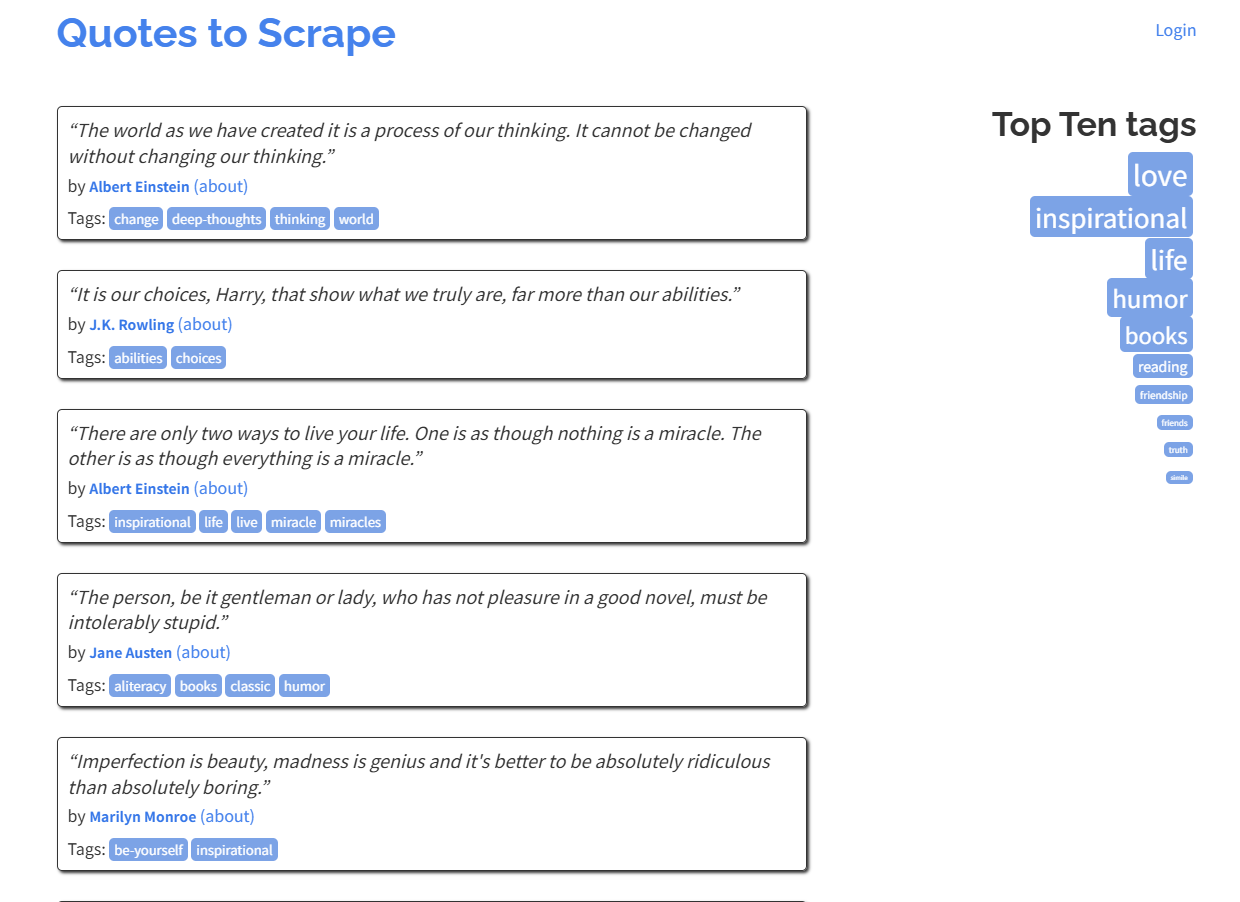
- 시나리오는 https://quotes.toscrape.com/page/1/ 웹페이지에서 한개씩 데이터 수집해서 elasticsearch에 저장, kibana에서 보여주는 시나리오
Python 코드
- 파일명
# 필요한 라이브러리들을 가져옵니다
import time                    # 시간 지연을 위한 라이브러리
import requests               # HTTP 요청을 위한 라이브러리
from bs4 import BeautifulSoup # HTML 파싱을 위한 라이브러리
from elasticsearch import Elasticsearch  # Elasticsearch 클라이언트

# Elasticsearch에 관리자 계정(elastic)으로 연결합니다
# localhost:9200은 Elasticsearch의 기본 주소입니다
es_admin = Elasticsearch("http://localhost:9200", basic_auth=("elastic", "123456"))
INDEX_NAME = "quotes"  # 저장할 인덱스 이름을 상수로 정의

# ✅ Step 1: 인덱스 생성 (이미 존재하면 생략)
# 인덱스가 존재하는지 확인하고, 없으면 새로 생성합니다
if not es_admin.indices.exists(index=INDEX_NAME):
    es_admin.indices.create(index=INDEX_NAME)  # 새 인덱스 생성
    print(f"✅ Index '{INDEX_NAME}' created.")
else:
    print(f"✅ Index '{INDEX_NAME}' already exists.")

# ✅ Step 2: 역할(Role) 생성 (quotes_writer)
# quotes 인덱스에 대한 읽기/쓰기 권한을 가진 역할을 생성합니다
try:
    es_admin.security.put_role(
        name="quotes_writer",  # 역할 이름
        body={
            "indices": [
                {
                    "names": [INDEX_NAME],  # 적용할 인덱스
                    "privileges": ["read", "write", "create_index", "auto_configure"]  # 권한 목록
                }
            ]
        }
    )
    print("✅ Role 'quotes_writer' created.")
except Exception as e:
    # 역할이 이미 존재하거나 생성에 실패한 경우 예외 처리
    print(f"⚠️ Role creation skipped or failed: {e}")

# ✅ Step 3: 사용자(User) 생성 (sara)
# sara라는 사용자를 생성하고 여러 역할을 부여합니다
try:
    es_admin.security.put_user(
        username="sara",  # 사용자명
        body={
            "password": "230302",  # 비밀번호
            "roles": ["kibana_admin", "kibana_system", "quotes_writer"],  # 부여할 역할들
            "full_name": "Sara"  # 전체 이름
        }
    )
    print("✅ User 'sara' created.")
except Exception as e:
    # 사용자가 이미 존재하거나 생성에 실패한 경우 예외 처리
    print(f"⚠️ User creation skipped or failed: {e}")

# ✅ Step 4: sara 계정으로 재연결
# 새로 생성한 sara 계정으로 Elasticsearch에 다시 연결합니다
es = Elasticsearch("http://localhost:9200", basic_auth=("sara", "230302"))

# ✅ Step 5: Quotes 수집 함수 정의
def get_quotes():
    """
    quotes.toscrape.com 웹사이트에서 명언들을 수집하는 함수

    Returns:
        list: 수집된 명언 요소들의 리스트
    """
    res = requests.get("http://quotes.toscrape.com")  # 웹사이트에 GET 요청
    soup = BeautifulSoup(res.text, "html.parser")     # HTML을 파싱
    return soup.select(".quote")                       # .quote 클래스를 가진 요소들을 선택

# ✅ Step 6: 30초마다 하나씩 저장
# 수집된 명언들을 가져옵니다
quotes = get_quotes()

# 각 명언을 순회하면서 Elasticsearch에 저장합니다
for i, q in enumerate(quotes):
    # 명언 데이터를 딕셔너리 형태로 구성합니다
    doc = {
        "text": q.select_one(".text").text.strip(),      # 명언 텍스트 추출
        "author": q.select_one(".author").text.strip(),  # 저자 이름 추출
        "tags": [tag.text for tag in q.select(".tag")]   # 태그들을 리스트로 추출
    }

    # Elasticsearch에 문서를 저장합니다
    res = es.index(index=INDEX_NAME, document=doc)
    print(f"[{i+1}] ✅ Saved to Elasticsearch: {res['_id']}")

    # 30초 대기 (다음 명언 저장 전)
    time.sleep(30)
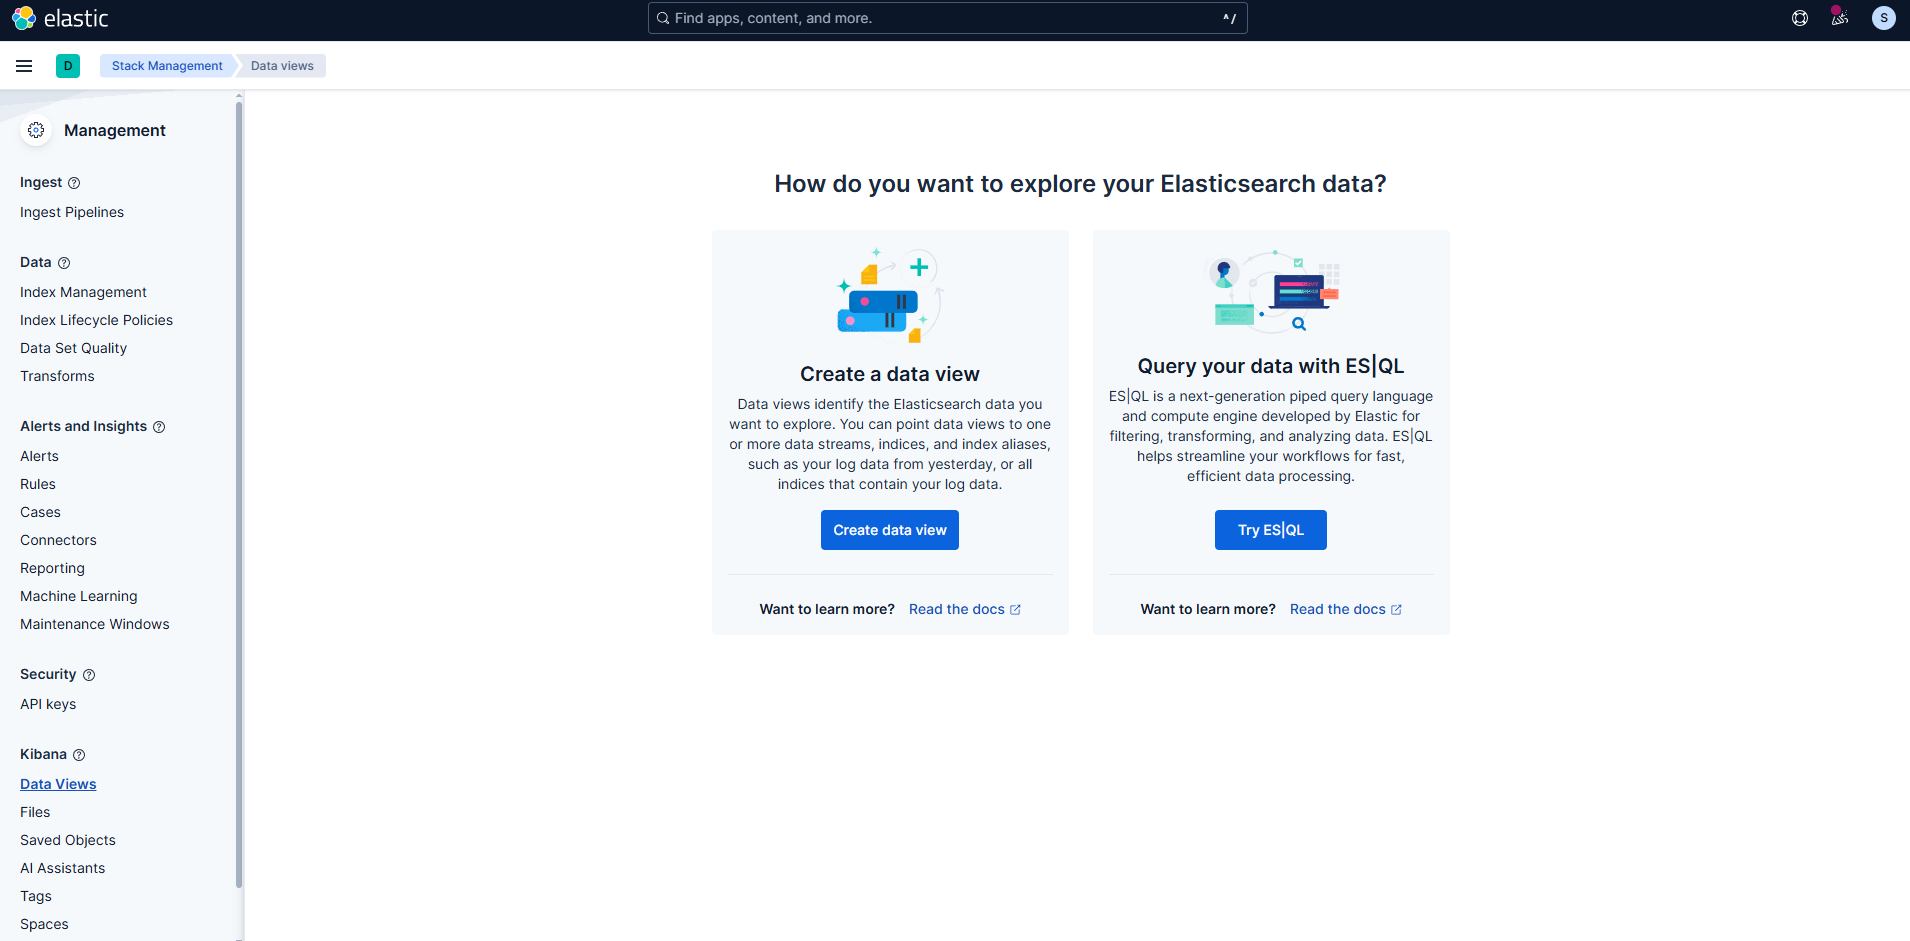
Kibana
- 왼쪽 메뉴에서 “Management” → “Stack Management” 클릭
- “Data Views” 클릭
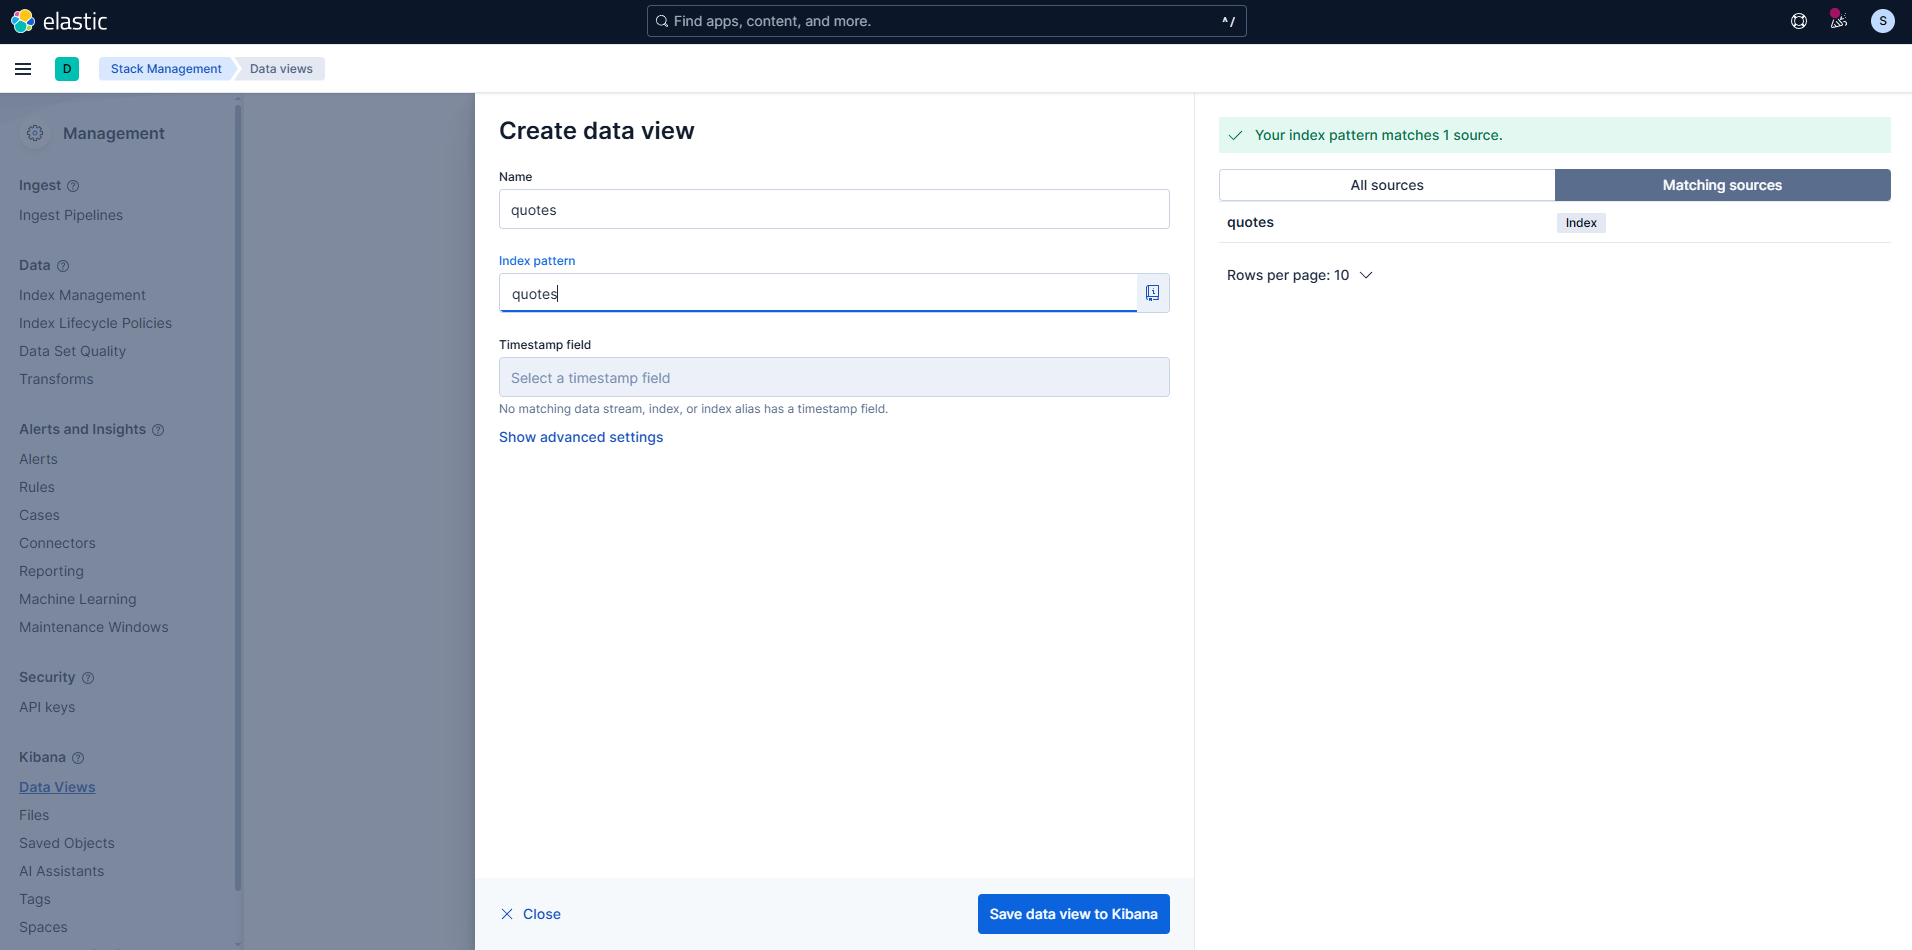
- 상단의 “Create data view” 버튼 클릭
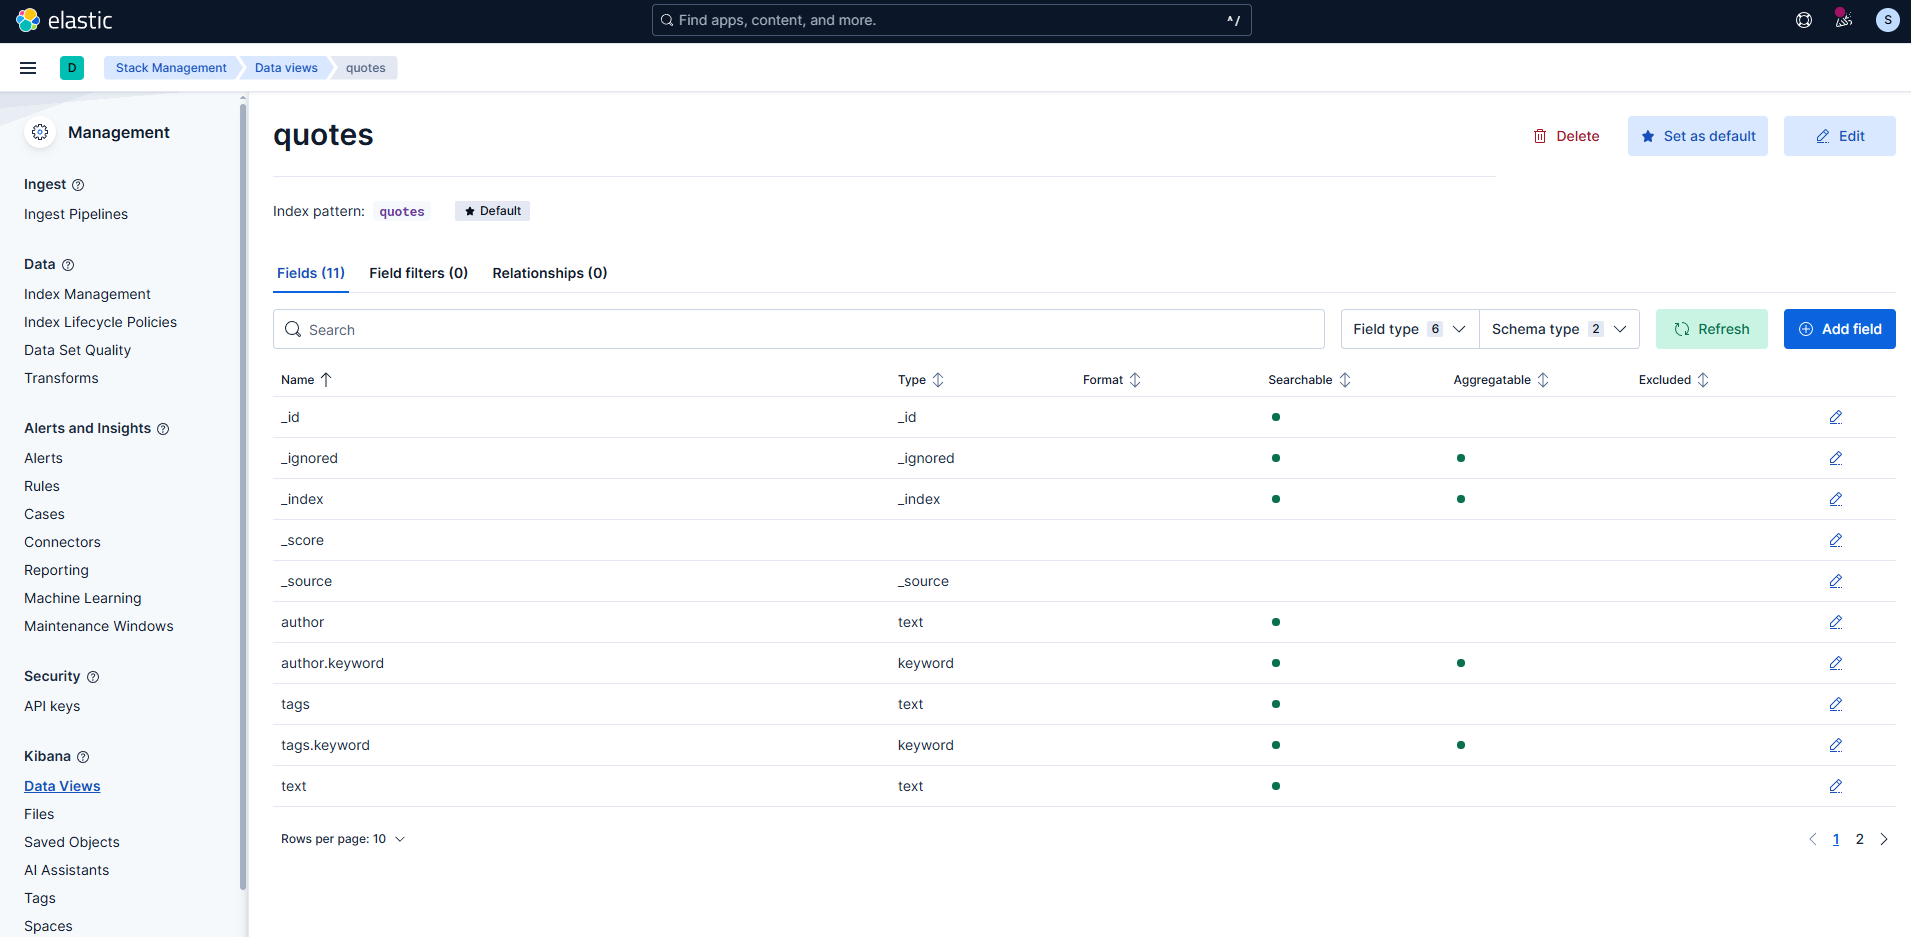
- 다음과 같이 입력 후 Save data view to Kibana 클릭
- Name : quotes
- Index pattern : quotes
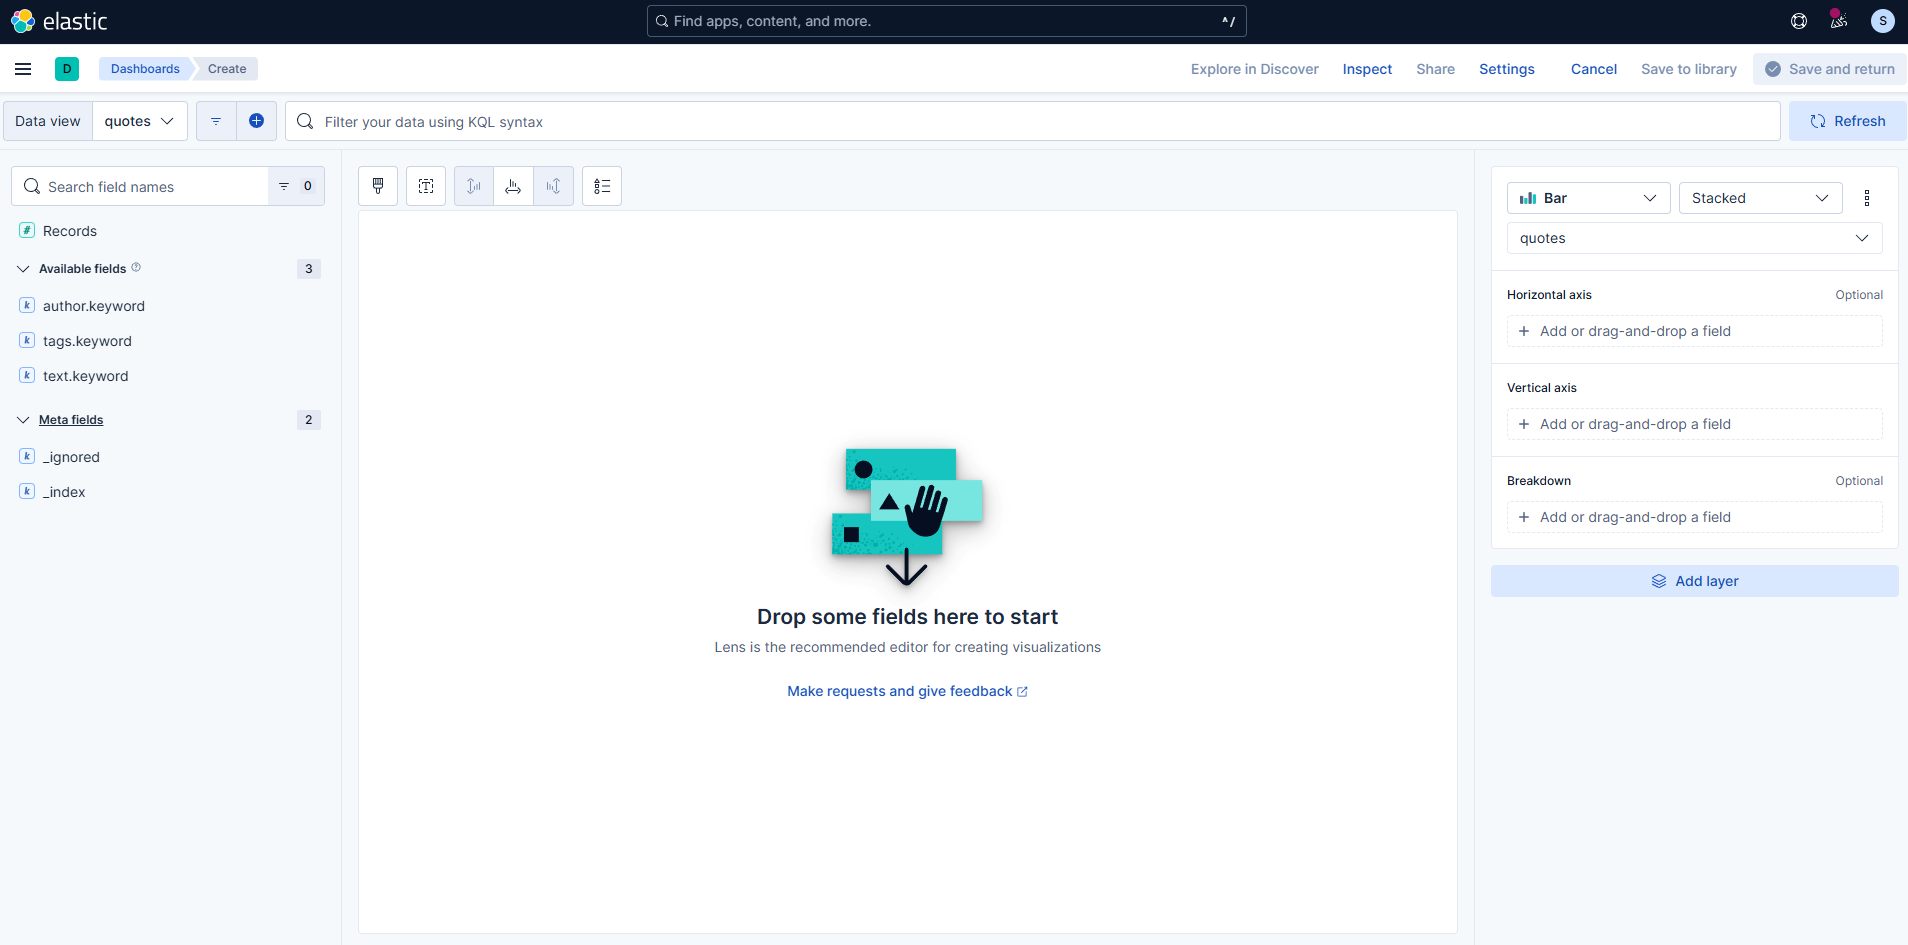
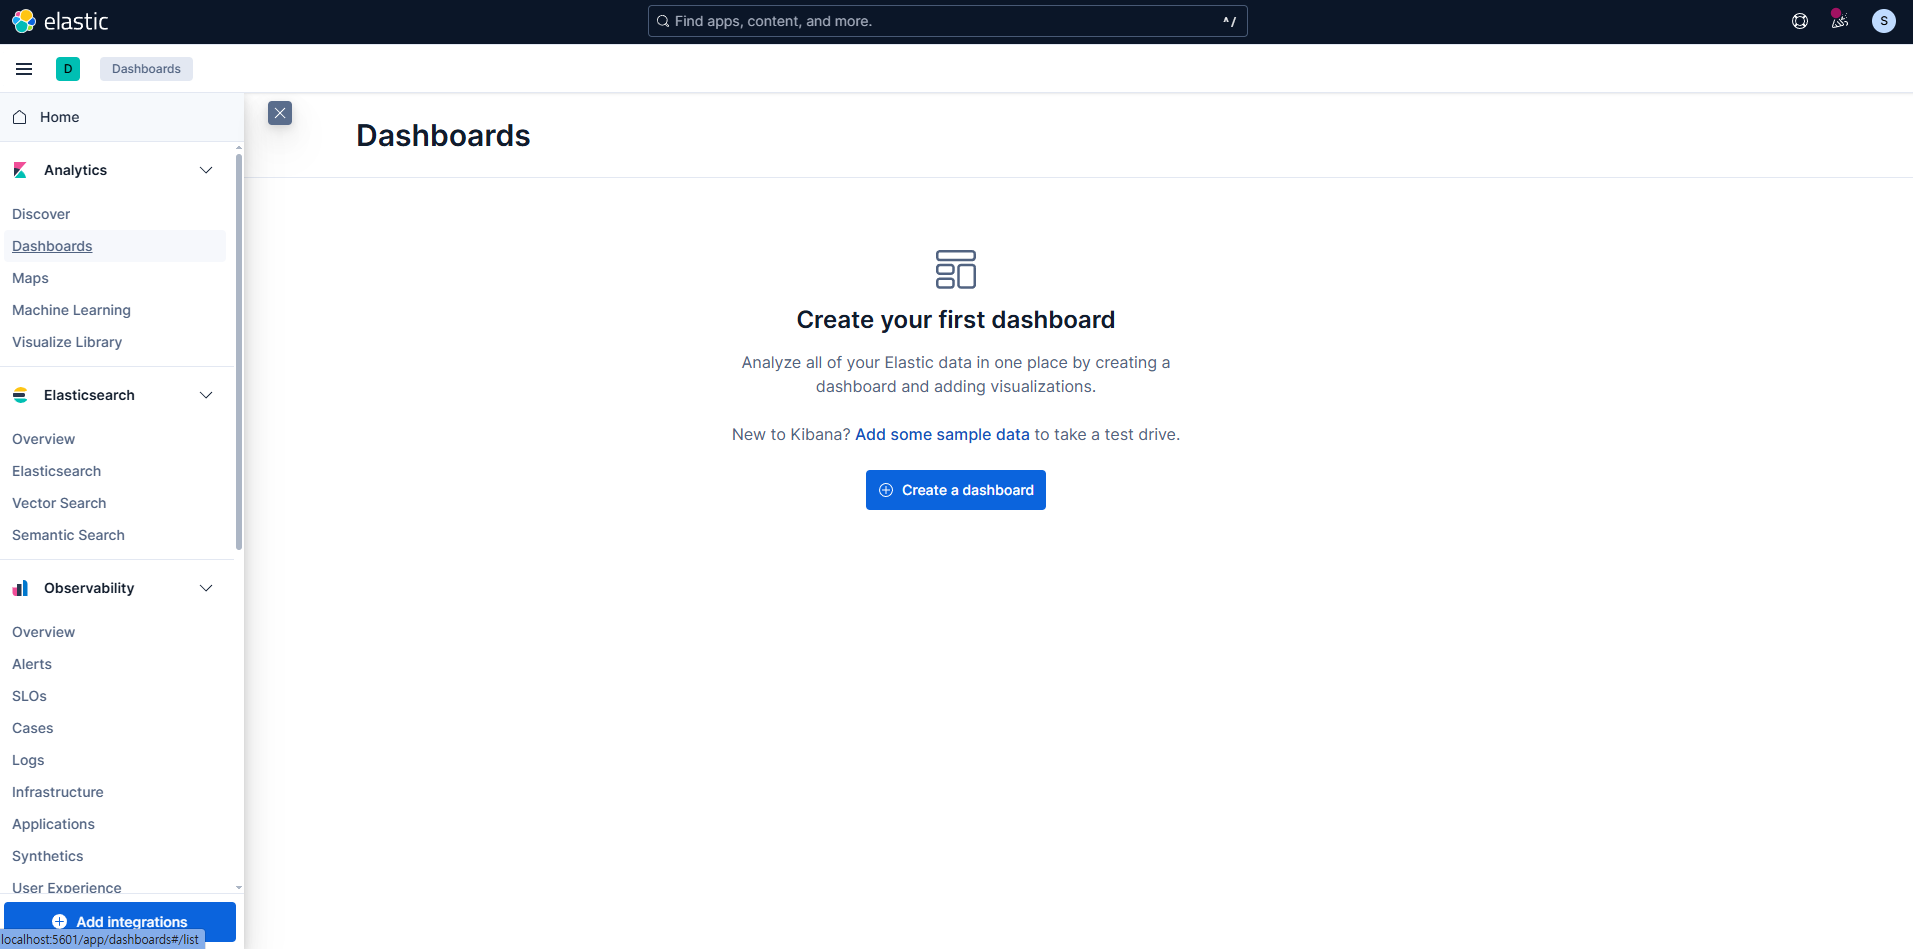
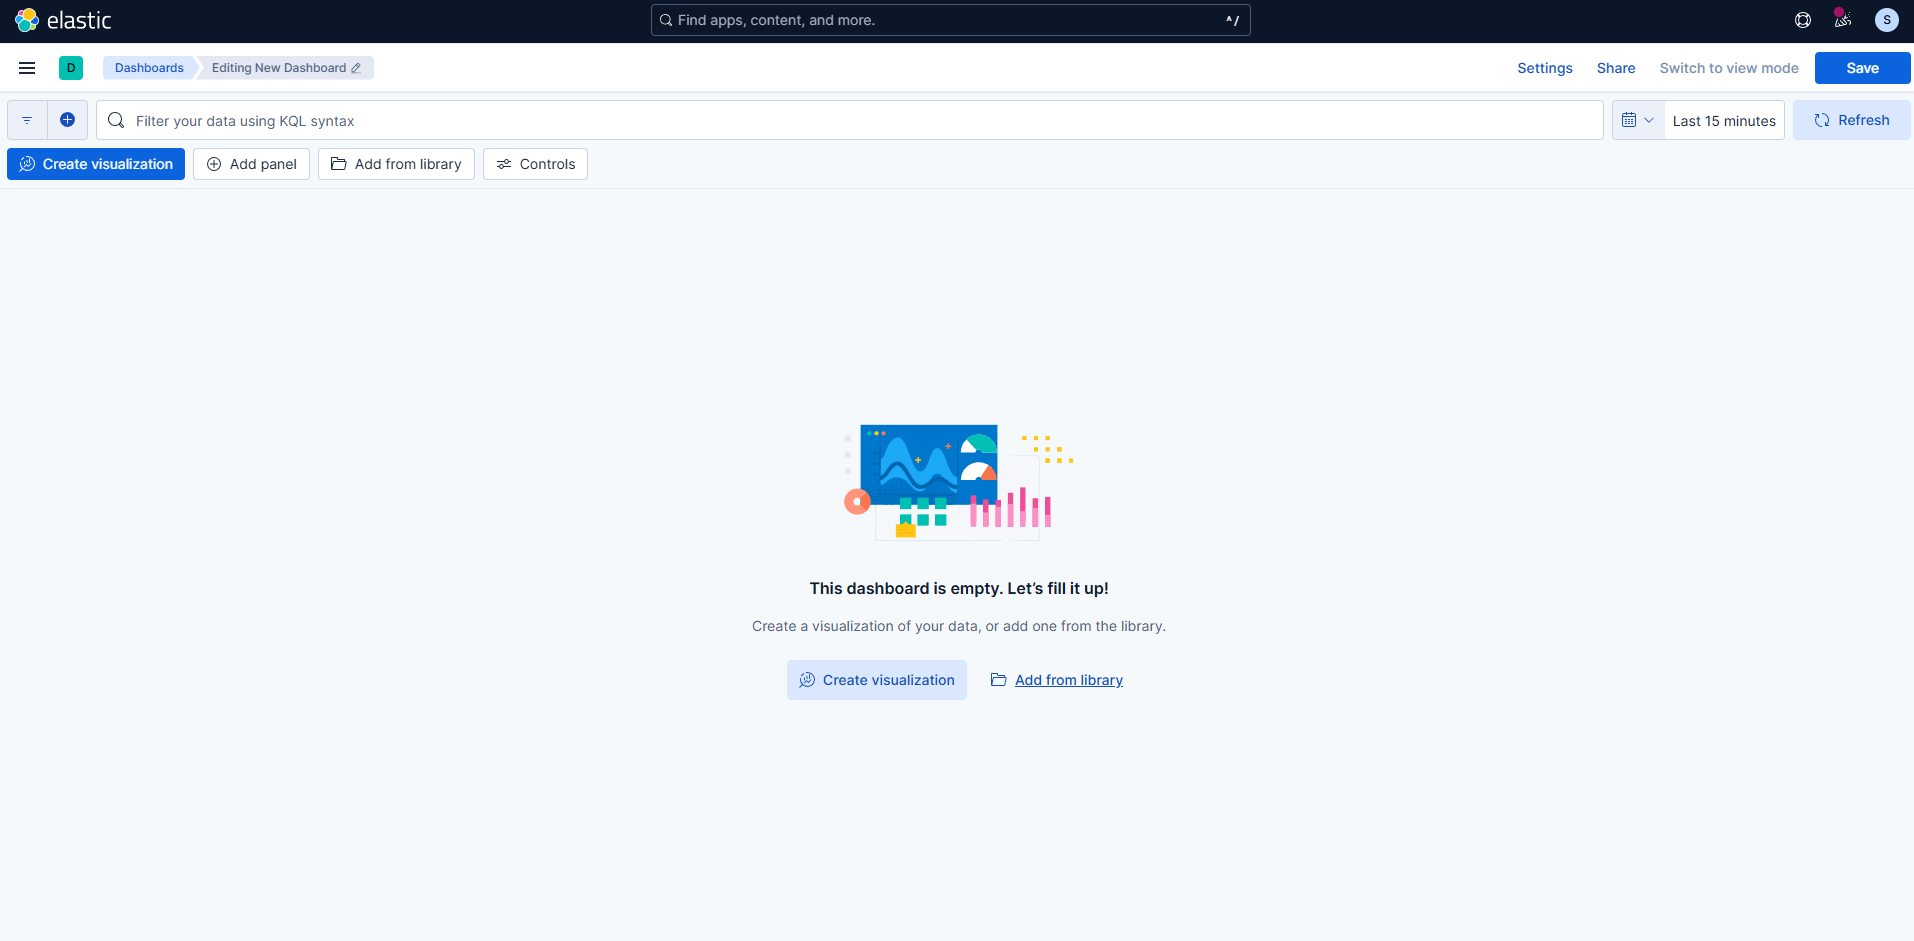
- 시각화로 진행하려면 Dashboards 선택 > Create a dashboard 클릭
- Create Visualization 선택
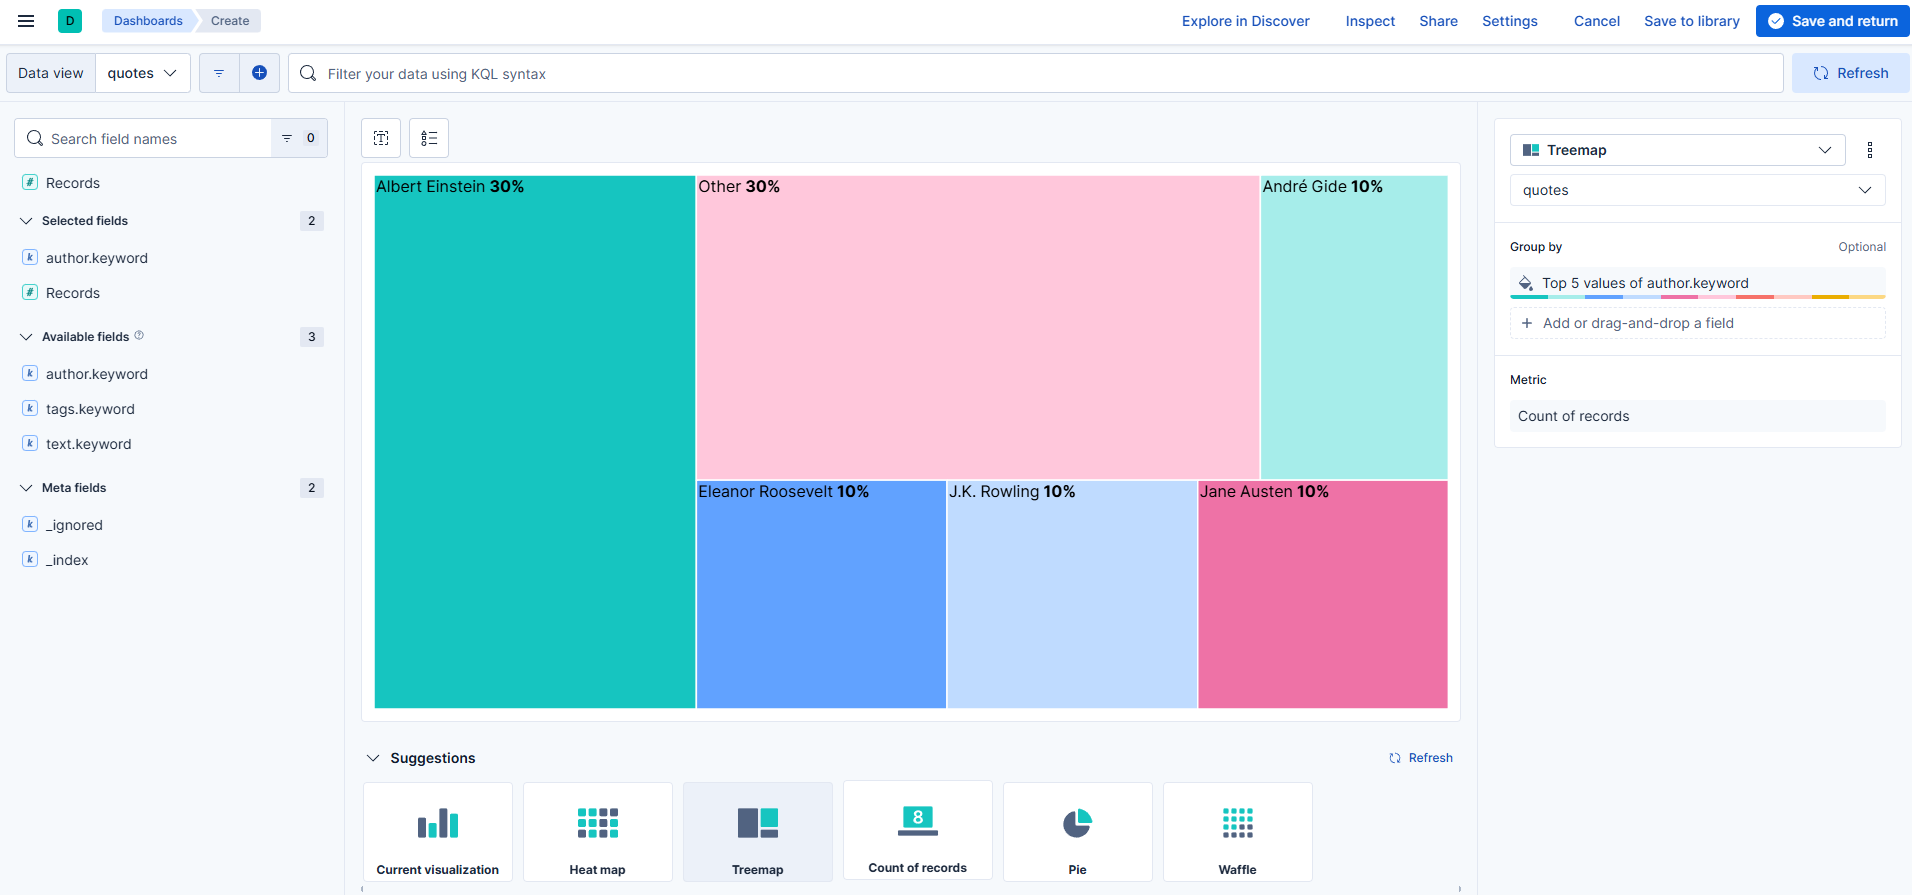
- 왼쪽에 있는 Available fields에 있는 필드를 드래그하면 시각화가 만들어진다.