AWS EC2 접속 (with pem & ppk file)
Page content
멀티캠퍼스 AWS 서버 관련 정리
실습용 서버 실행
- https://console.aws.amazon.com/console/home
- 계정 ID(12자리) 또는 계정 별칭 : your account
- ID : your id / PW : your password

-
실습용 서버 사용자 정보 참조하여 로그인 (강의 때 공유)
-
비밀번호 변경
- 본인 비밀번호는 반드시 기억한다. (강사비번 : ****)
- Slack 강사 DM으로 남겨주세요.

EC2 실행
- 우측 상단 리전 정보를 ‘오사카’로 변경 후 서비스 검색창에서 EC2 검색

- 변경된 상태에서 EC2 검색


- 위 서비스창에서 EC2 클릭 및 아래 화면에서 실행

- 표시된 인스턴스 실행

장비할당 관련
- 이름(Name) 순으로 정렬 후 할당된 서버 선택 (강의 때 참조)
필수 확인
- 서버의 경우 수업 시작 30분 전인 08:30부터 19시 까지 사용이 가능합니다.
- 추가 사용 필요 시, 연장 가능 여부 확인
- 주말 서버 사용 제한
- 오류 발생 시 서버 초기화 및 계정 초기화 등의 작업은 가능하나 어플리케이션상의 오류는 해결이 어려움
- 모듈, 라이브러리 등의 설치 시 발생하는 오류는 ubuntu 계정을 활용하여 설치 진행해주시면 됩니다.
- 서버 사용 시, 각 팀에서 서버는 동시 접속 가능
실습용 서버 실행
- 각 팀에 부여된 서버 위에 마우스 우클릭 후, 인스턴스 시작버튼 클릭
- 주의) 위쪽 아님
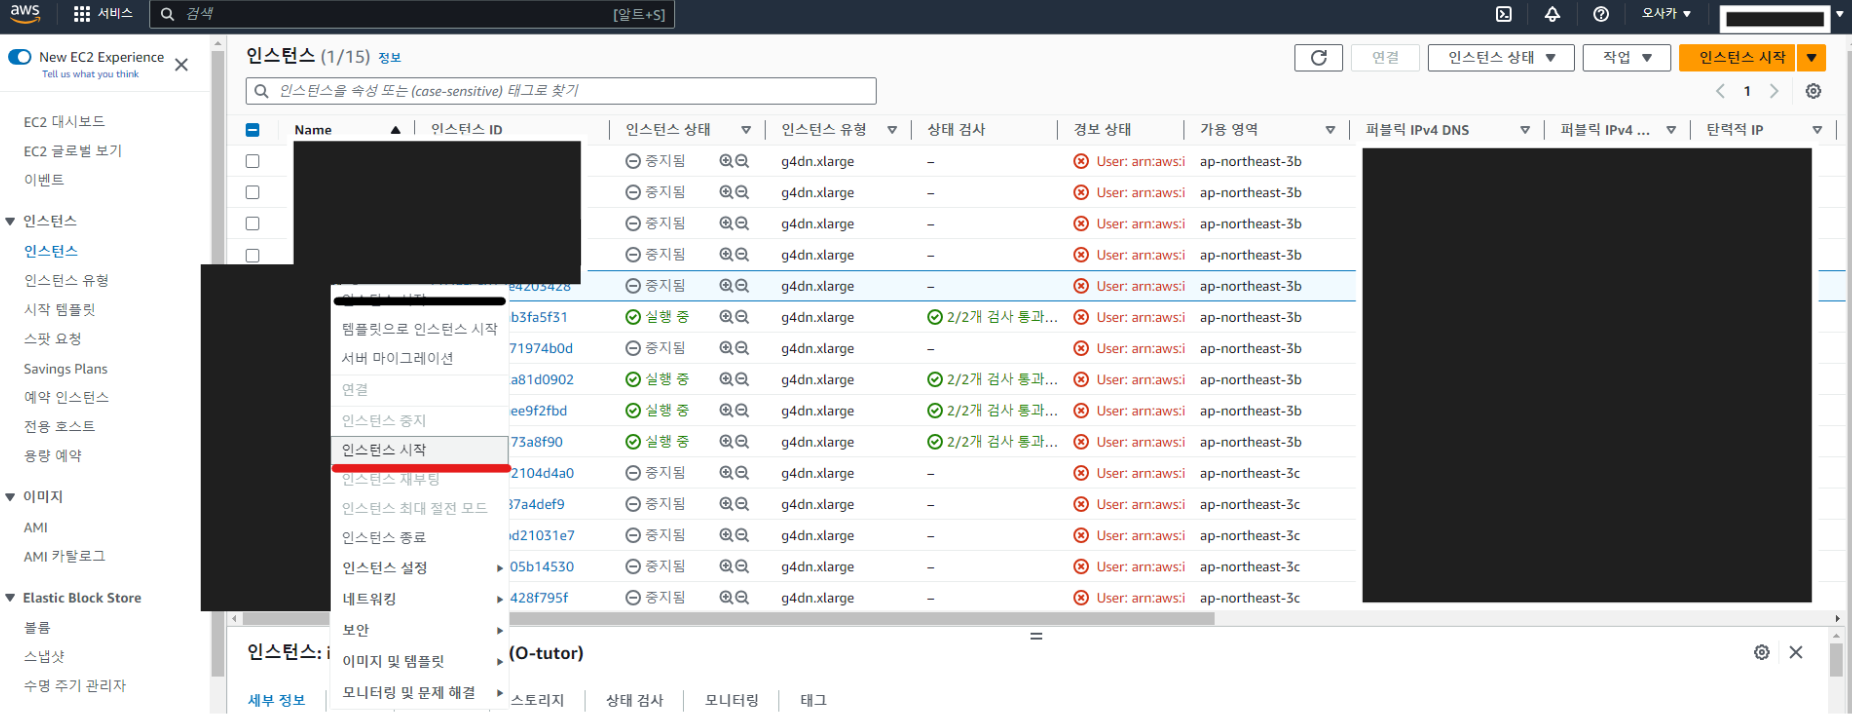

실습용 서버 동작 확인 및 실행
- 인스턴스 최종 실행 확인 위해 우측 상단 새로 고침 재 클릭


원격 서버 접속 - Windows
- 원격서버 접속 위해 암호화 키 개인 보관 및 Window 환경에서 콘솔프로그램인 PuTTY 다운로드
- 싸이트 : https://www.putty.org
- 아래화면에서
Download PuTTY클릭한다.

- 아래 화면에서 각 버전에 64-bit 다운로드를 받는다.

- 정보를 확인하는 것은 아래와 같이
설정 > 정보 > 장치 사양을 클릭한다.- 필자는 ARM이 아닌 것 확인.

- 설치 시작


Putty 실행
- 윈도우 검색창에서 PuTTY 실행

- HostName에 서버 IP 입력 (1.1.1.1)

- 좌측 SSH 메뉴 확장 후, Auth > Credentials 클릭, Private Key file for authentification에 업로드 후, Open 버튼 클릭

- Open 버튼 누를 시, 아래와 같은 팝업 메시지 나올 때, Accept 버튼 클릭

- 재접속할 때 마다 초기화가 되기 때문에, 설정 저장을 한다. 따라서, 아래와 같이 Saved Sessions 설정을 저장한다.
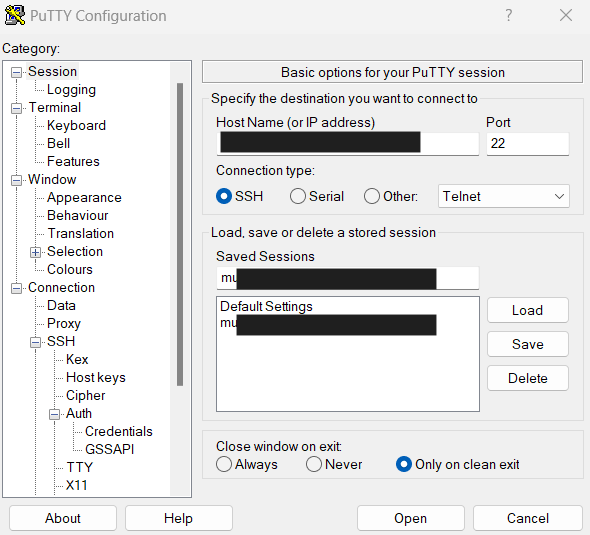
- 주어진 표를 보고 로그인을 진행한다.


logout입력 후 실행하면 터미널에서 빠져나온다.
원격 서버 접속 - Mac
- 기본 터미널 프로그램 실행 후 암호화 키 저장위치로 이동 후 권한 변경
- 암호화 키는 *.pem 이다.
chmod 400 저장위치/*.pem
- 터미널 창에서 실습 서버에 접속
ssh -i 저장위치/*.pem 터미널접속ID@서버IP -p 22
ssh -i *.pem aa@1.1.1.1 -p 22
- 서버 최초 접속 시, 아래와 같이 메시지가 나오면 yes를 눌러준다.
The authenticity of host '1.1.1.1 (1.1.1.1)' can't be established.
ED25519 key fingerprint is SHA256:sZo6lnulkMzyqOiM8kHoQNvTr/NRLurQWz+DzzZbWss.
This key is not known by any other names
Are you sure you want to continue connecting (yes/no/[fingerprint])? yes
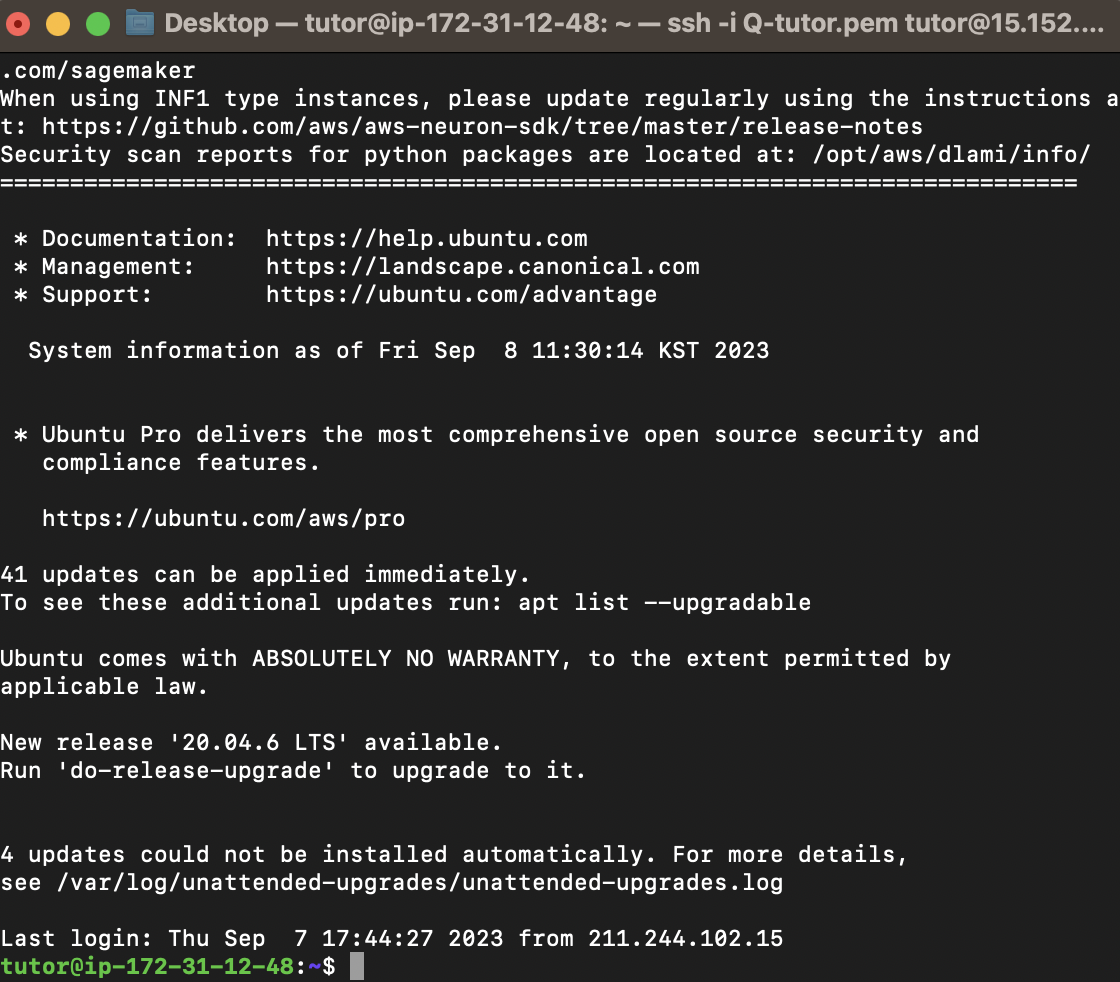
logout입력 후 실행하면 터미널에서 빠져나온다.- 정상적으로 접속이 된 상태다.
- 만약, Host Key Verification Failed 오류 발생 시 키 값 초기화
ssh-keygen -R 부여받은IP
Conda 가상환경 및 주요 라이브러리 설치
- conda 가상환경을 통해 설치를 진행한다.
- tutor28 대신에 std01 식으로 변경한다. (자율적으로 지정)
conda create -n tutor28 python=3.10.3
- 가상환경에 접속하는 방법은 아래 명령어를 입력한다.
tutor@ip-172-31-12-48:~$ conda activate tutor28
(tutor28) tutor@ip-172-31-12-48:~$
- 주요 라이브러리를 설치한다.
(tutor28) tutor@ip-172-31-12-48:~$ conda install numpy scipy scikit-learn pandas lightGBM
(tutor28) tutor@ip-172-31-12-48:~$ pip install xgboost streamlit chardet
- 이번에는 jupyter notebook을 설치한다.
(tutor28) tutor@ip-172-31-12-48:~$ conda install jupyter notebook
Jupyter Notebook 실행
- 주피터 노트북 사용을 위해서는 아래와 같이 명령어를 입력한다.
- port 번호만 수정한다.
jupyter-notebook --ip=0.0.0.0 --no-browser --port=8900 &
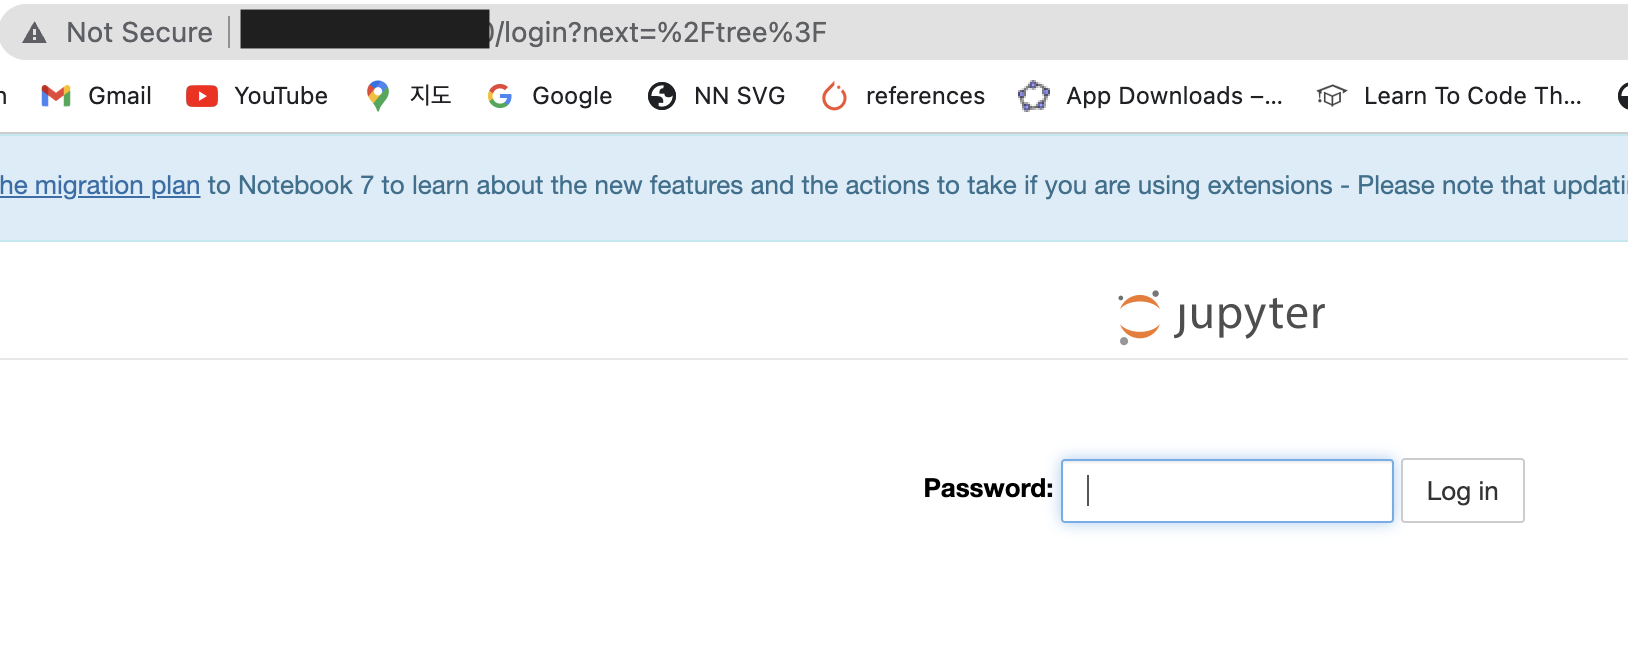
- Password를 입력하라고 나오면 주어진 배포된 패스워드를 입력하면 로그인이 된다.
Code Test
- 아래와 같이 테스트를 해본다.
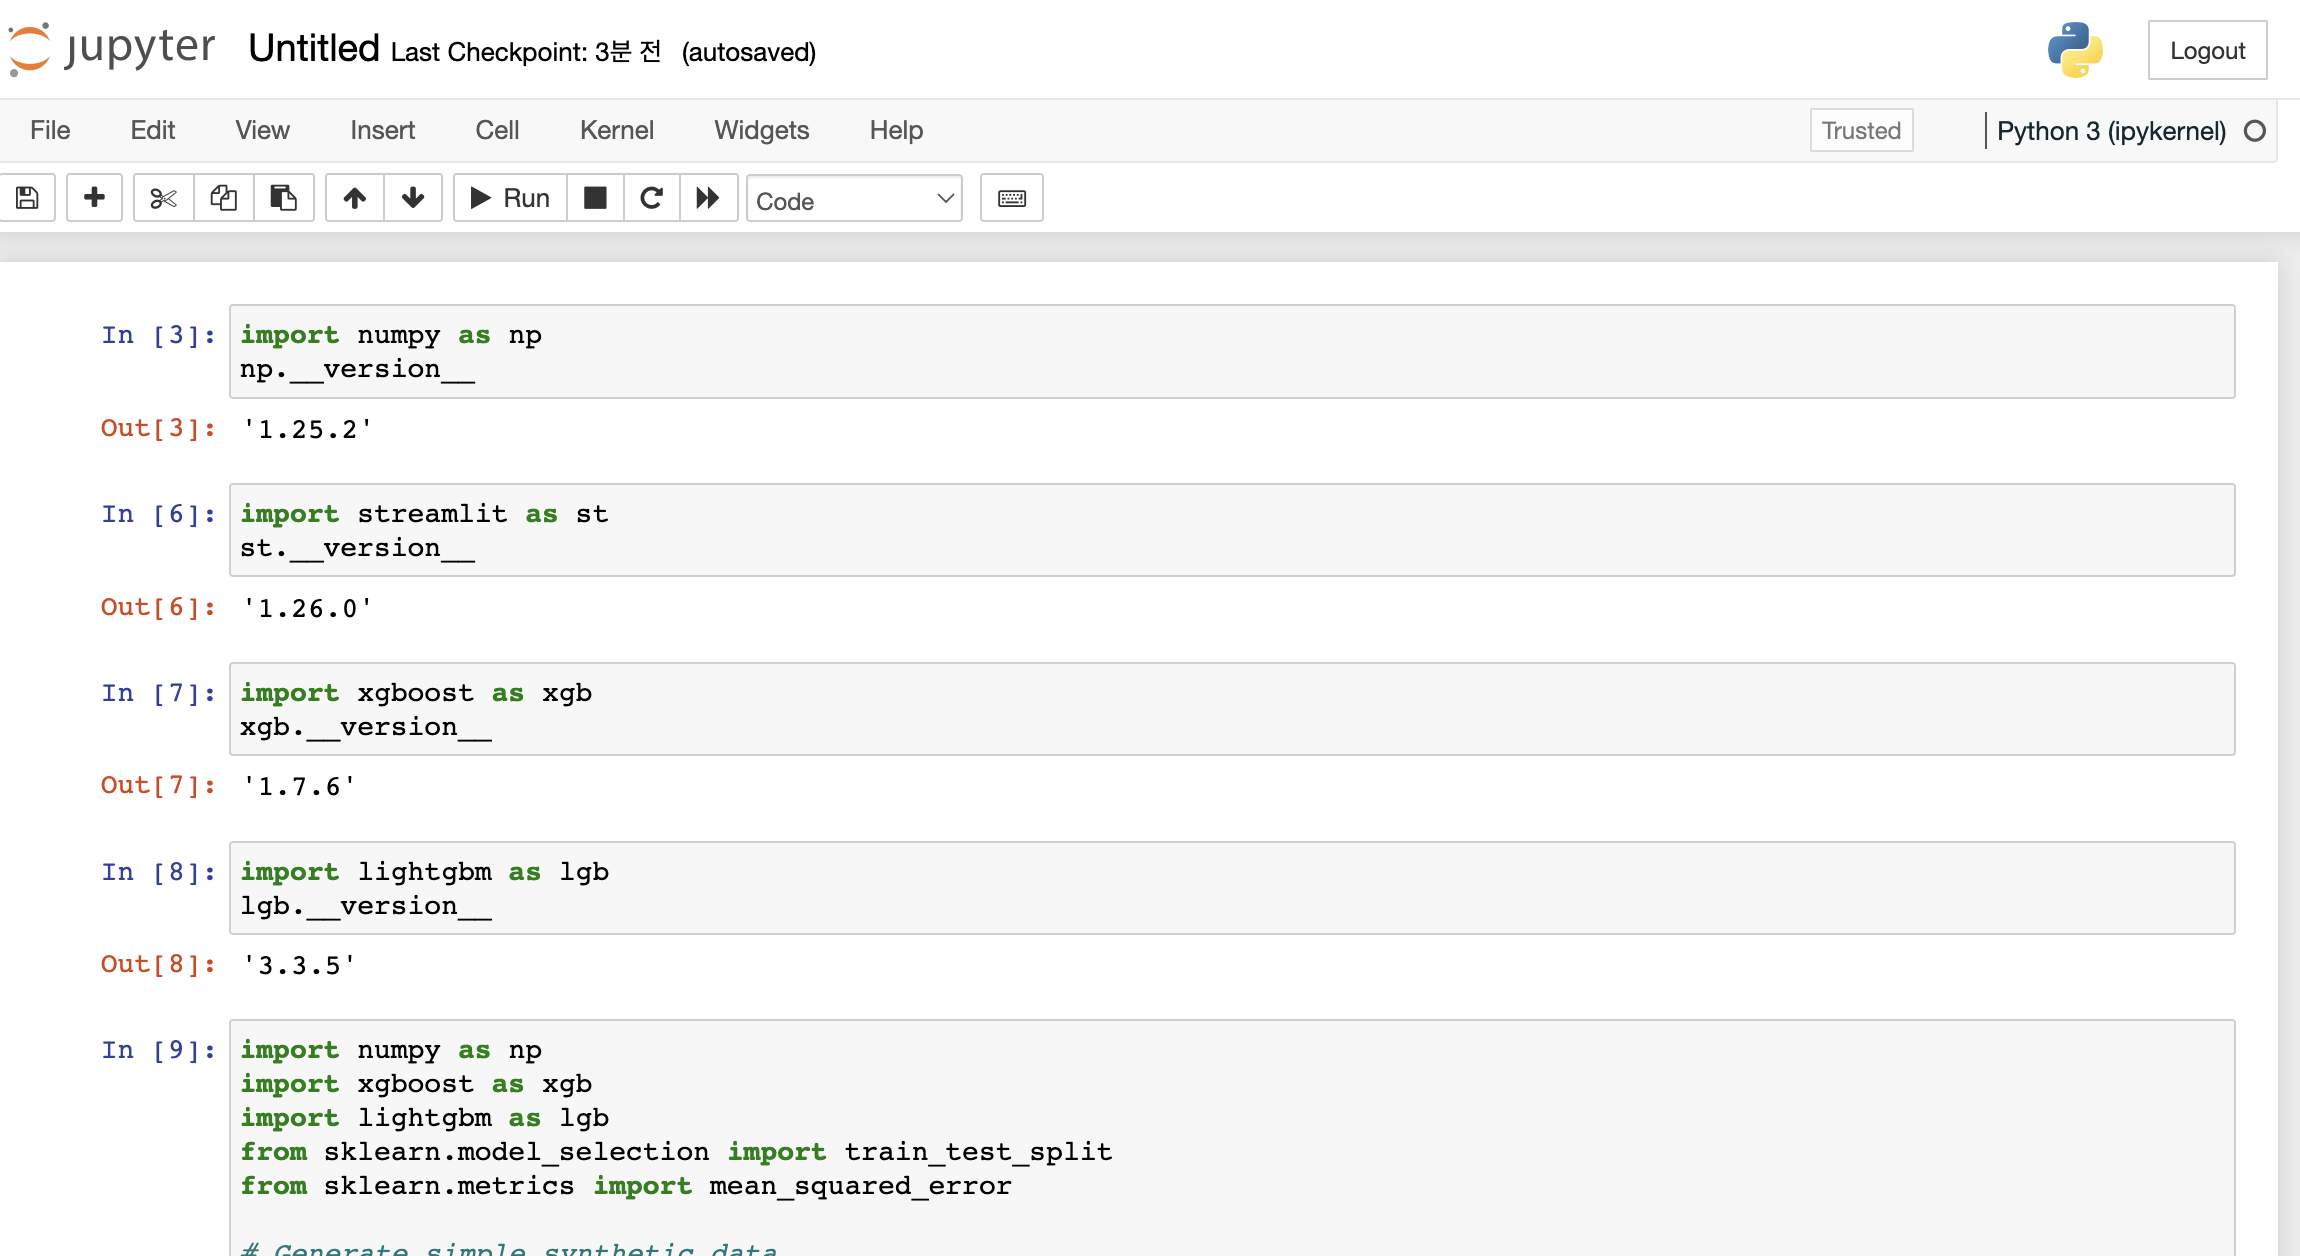
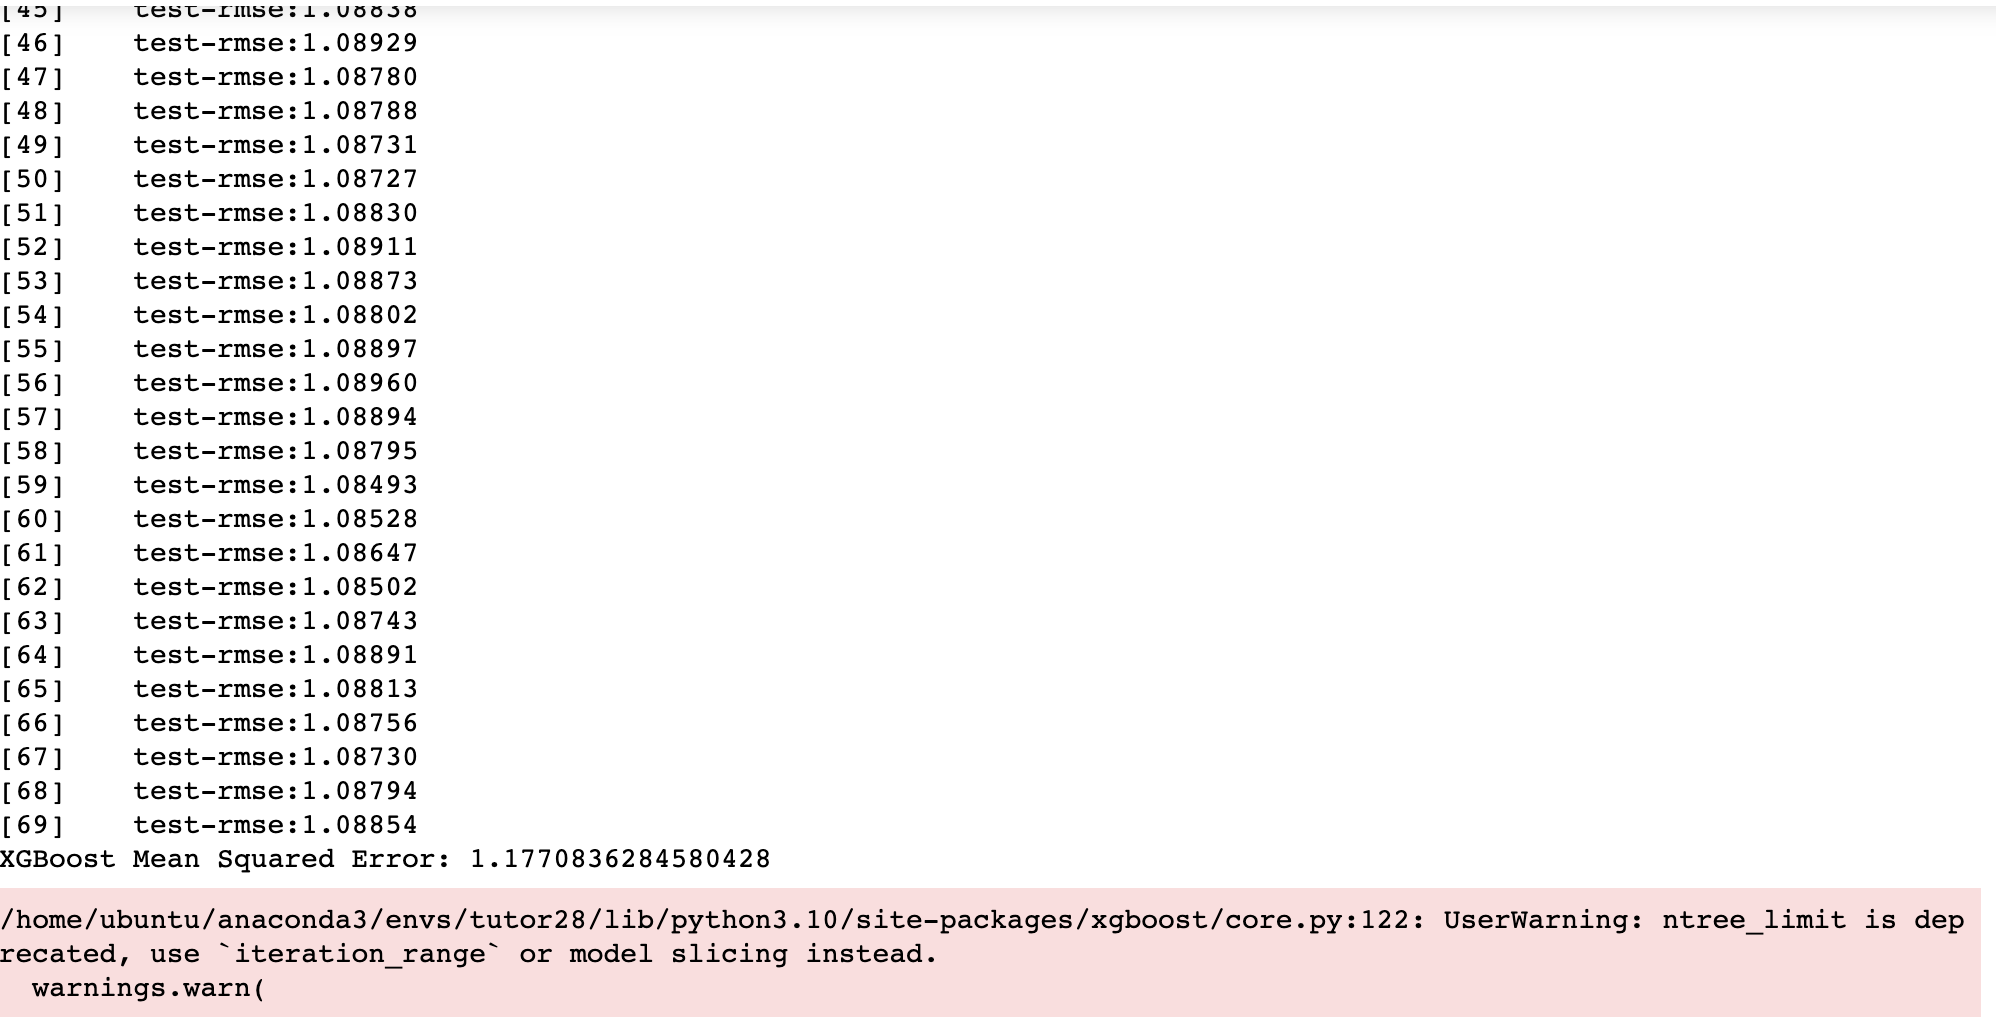
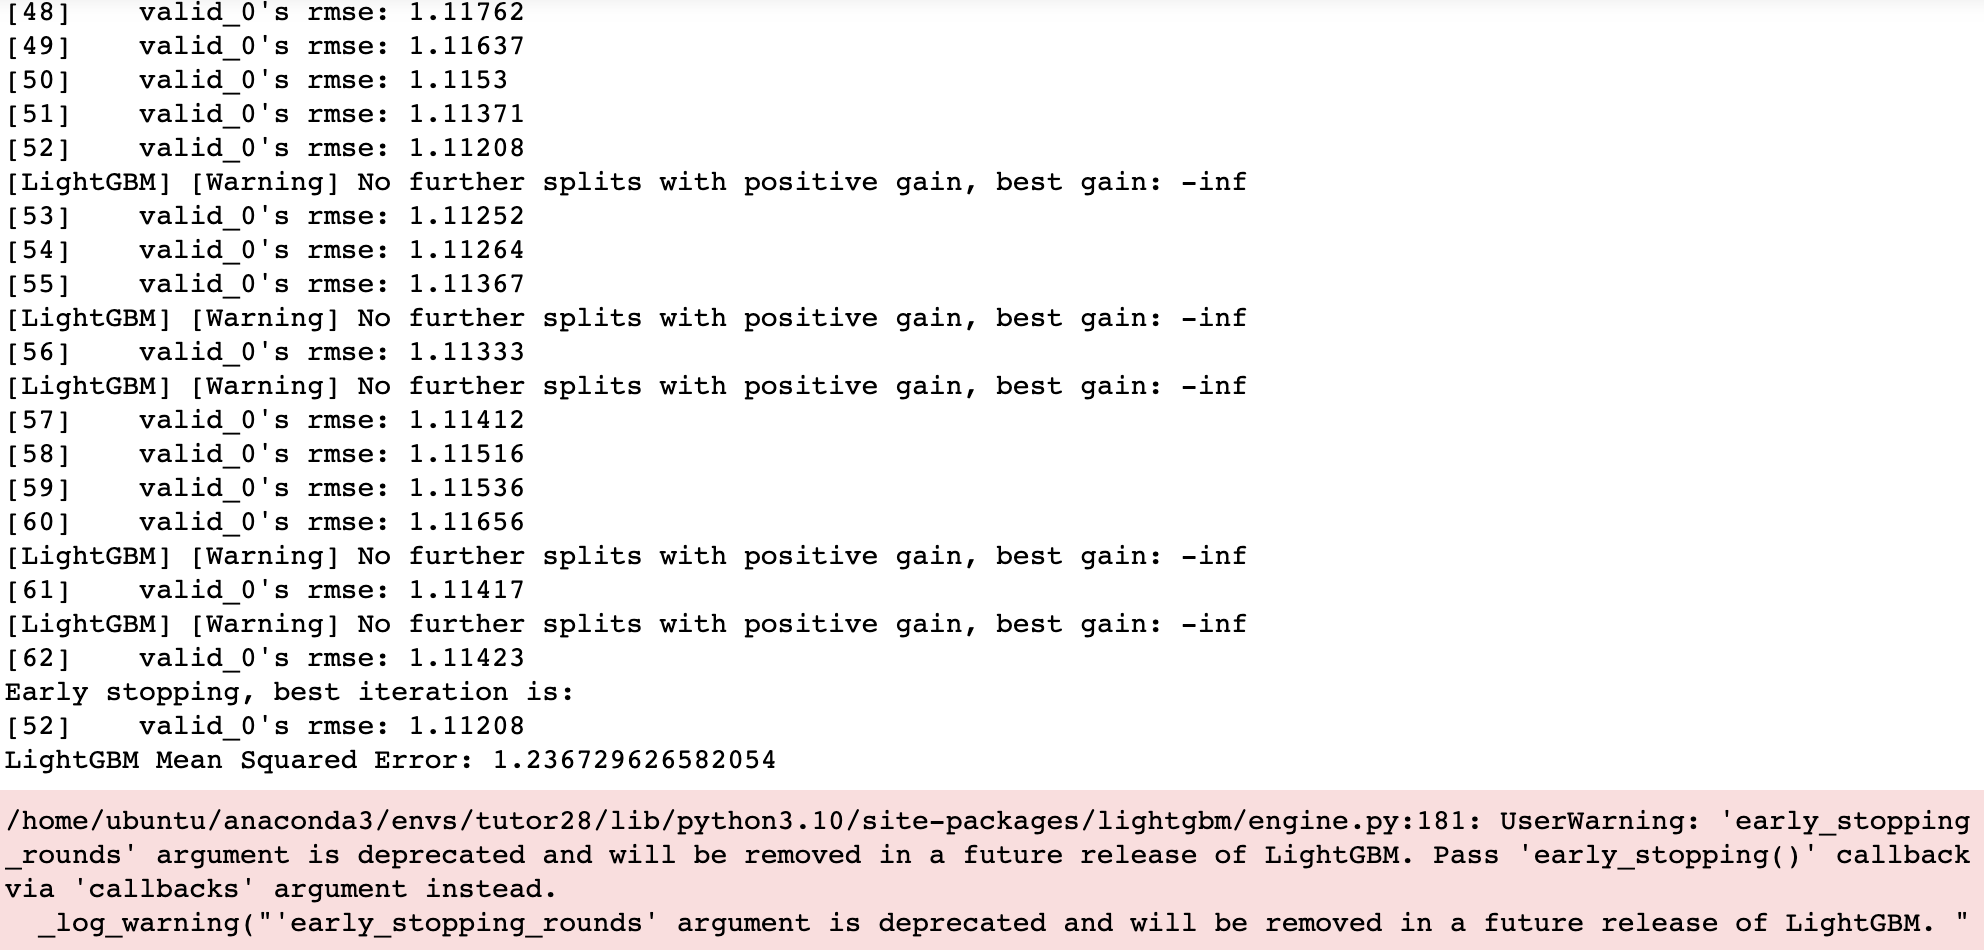
- 머신러닝 코드 샘플은 아래와 같다.
import numpy as np
import xgboost as xgb
import lightgbm as lgb
from sklearn.model_selection import train_test_split
from sklearn.metrics import mean_squared_error

# Generate simple synthetic data
np.random.seed(42)
n_samples = 1000
X = np.random.rand(n_samples, 5)  # 5 features
y = 2*X[:, 0] + 3*X[:, 1] + 0.5*X[:, 2] + np.random.randn(n_samples)  # Linear combination with noise

# Split the data into training and testing sets
X_train, X_test, y_train, y_test = train_test_split(X, y, test_size=0.2, random_state=42)

# Create XGBoost DMatrix
dtrain = xgb.DMatrix(X_train, label=y_train)
dtest = xgb.DMatrix(X_test, label=y_test)

# Specify XGBoost parameters
params = {
    "objective": "reg:squarederror",
    "eval_metric": "rmse",
    "max_depth": 3,
    "learning_rate": 0.1,
    "subsample": 0.8
}

# Train the XGBoost model
num_boost_round = 100
bst = xgb.train(params, dtrain, num_boost_round, evals=[(dtest, "test")], early_stopping_rounds=10)

# Predict on the test set
y_pred = bst.predict(dtest, ntree_limit=bst.best_ntree_limit)

# Evaluate the model
mse = mean_squared_error(y_test, y_pred)
print(f"XGBoost Mean Squared Error: {mse}")

# Create LightGBM datasets
train_data = lgb.Dataset(X_train, label=y_train)
test_data = lgb.Dataset(X_test, label=y_test, reference=train_data)

# Specify LightGBM parameters
params = {
    "objective": "regression",
    "metric": "rmse",
    "num_leaves": 31,
    "learning_rate": 0.05,
    "feature_fraction": 0.9
}

# Train the LightGBM model
num_round = 100
bst = lgb.train(params, train_data, num_round, valid_sets=[test_data], early_stopping_rounds=10)

# Predict on the test set
y_pred = bst.predict(X_test, num_iteration=bst.best_iteration)

# Evaluate the model
mse = mean_squared_error(y_test, y_pred)
print(f"LightGBM Mean Squared Error: {mse}")
django 설치 및 테스트 확인
- django를 설치한다.
conda install django
- 장고 프로젝트를 설정한다.
django-admin startproject djangogmail
- 해당 프로젝트에서 1개의 app을 만든다.
cd djangogmail/
python manage.py startapp main
- 우선 djangogmail에 접속 후, settings.py를 vi 편집기로 연다.
cd djangogmail/
vi settings.py
- 아래 코드에서 public 호스트로 변경해준다.
ALLOWED_HOSTS = ['1.1.1.1']
- 앱을 등록해준다.
# Application definition

INSTALLED_APPS = [
    'django.contrib.admin',
    'django.contrib.auth',
    'django.contrib.contenttypes',
    'django.contrib.sessions',
    'django.contrib.messages',
    'django.contrib.staticfiles',
    'main'
]
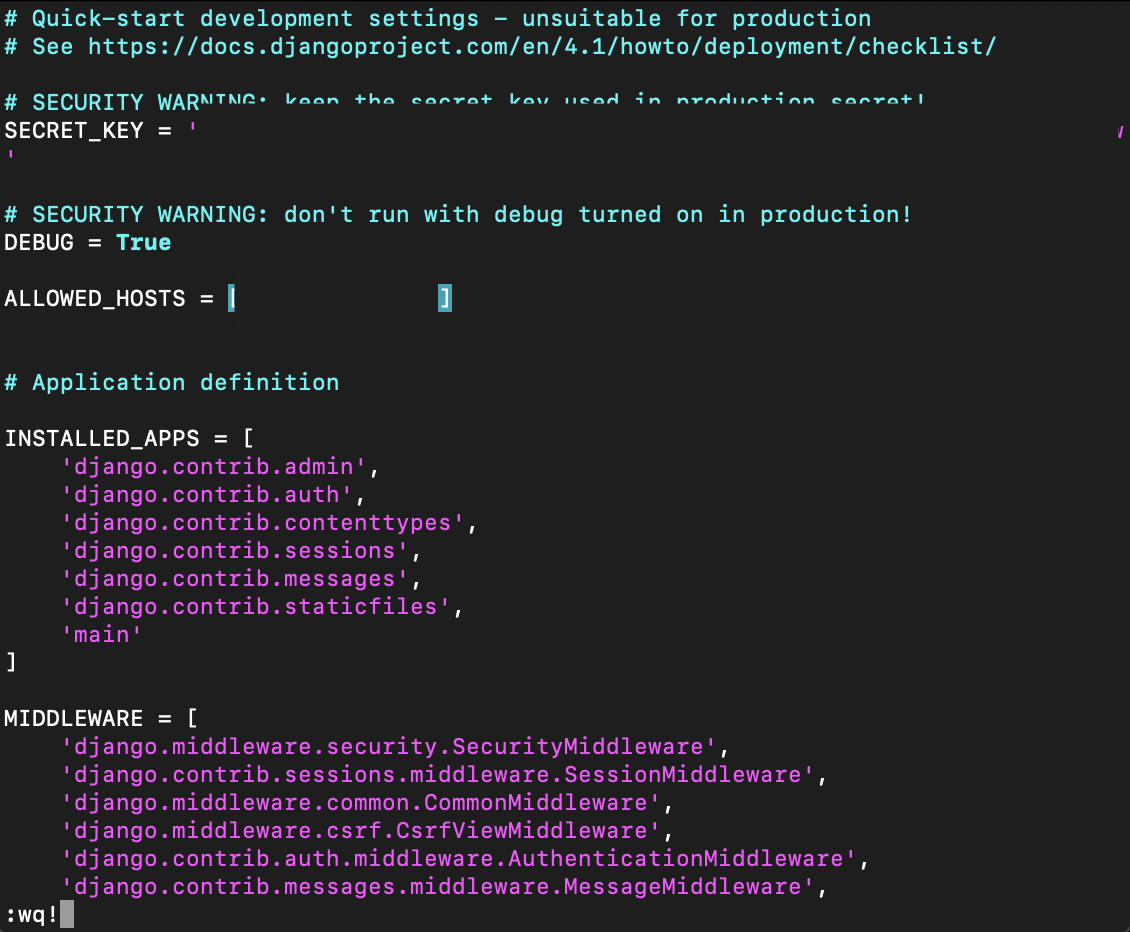
- 작성이 완료된 후에는
wq!를 눌러 저장한다. - 실행은 아래와 같이 한다.
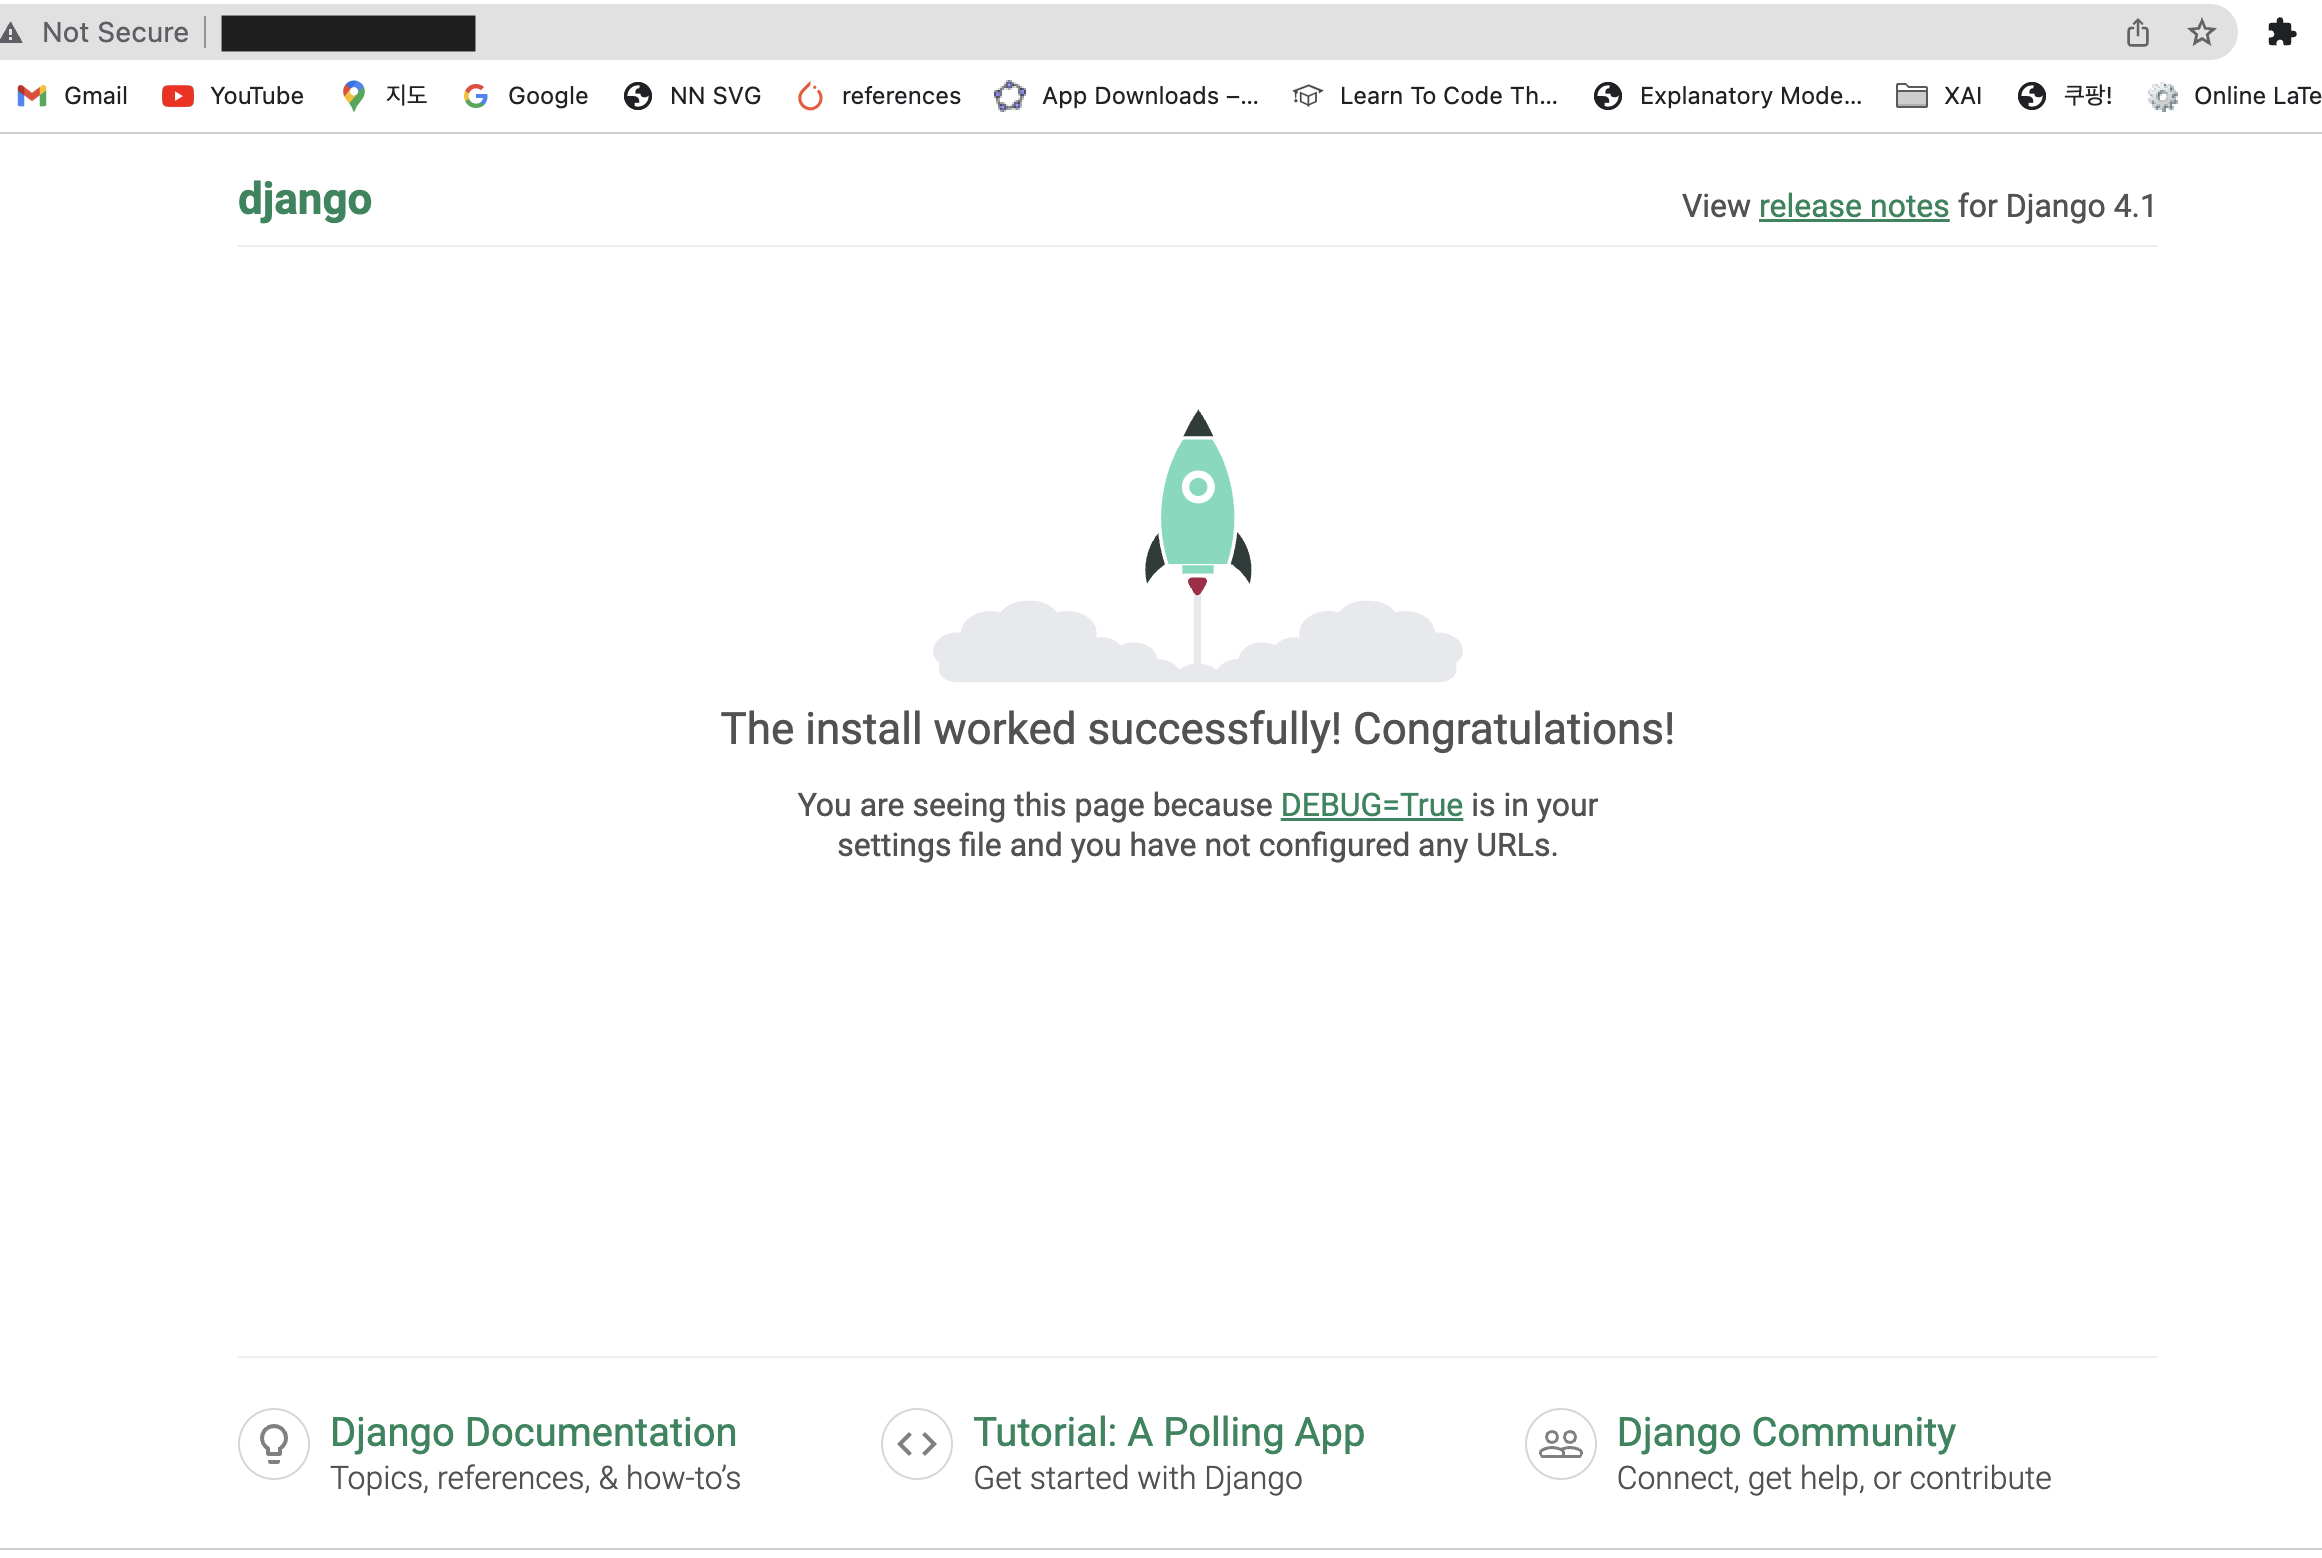
python manage.py runserver 0:8000
