MySQL 삭제, 재설치 가이드 on M1
Page content
개요
- M1에서 MySQL을 설치 하고 Workbench에 접속하는 과정을 설명한다.
- 데이터 로드 시,
ASCII에러 과정 해결하는 방법도 살펴본다. (임시방편)
사전학습
- brew 명령어를 알고 있는 분에 한해 작성을 하였다.
주의
- 아래 코드 복사할 시,
$는 제외 후 복사한다.
MySQL 실행 확인 후 프로세스 Kill
- 먼저 MySQL이 실행중인지를 확인한다.
$ brew services list
Name  Status  User File
mysql started evan ~/Library/LaunchAgents/homebrew.mxcl.mysql.plist
- 서비스를 강제 종료한다.
$ brew services stop mysql
Stopping `mysql`... (might take a while)
==> Successfully stopped `mysql` (label: homebrew.mxcl.mysql)
관련 파일 삭제
- 재 설치를 위해서는 기존에 설치된 파일 목록 등을 모두 제거한다.
$ which mysql
/opt/homebrew/bin/mysql
- Homebrew로 기존에 설치했다면 아래 명령어를 실행한다.
$ brew uninstall --force mysql
Uninstalling mysql... (323 files, 312.8MB)
- 다음 라인을 한줄씩 실행한다.
sudo rm -rf /usr/local/mysql
sudo rm -rf /usr/local/bin/mysql
sudo rm -rf /usr/local/var/mysql
sudo rm -rf /usr/local/Cellar/mysql
sudo rm -rf /usr/local/mysql*
sudo rm -rf /tmp/mysql.sock.lock
sudo rm -rf /tmp/mysqlx.sock.lock
sudo rm -rf /tmp/mysql.sock
sudo rm -rf /tmp/mysqlx.sock
sudo rm ~/Library/LaunchAgents/homebrew.mxcl.mysql.plist
sudo rm -rf /Library/StartupItems/MySQLCOM
sudo rm -rf /Library/PreferencePanes/My*
MySQLWorkbench 삭제
- Applications 폴더에서 해당 MySQLWorkbench 파일을 찾아 삭제한다.
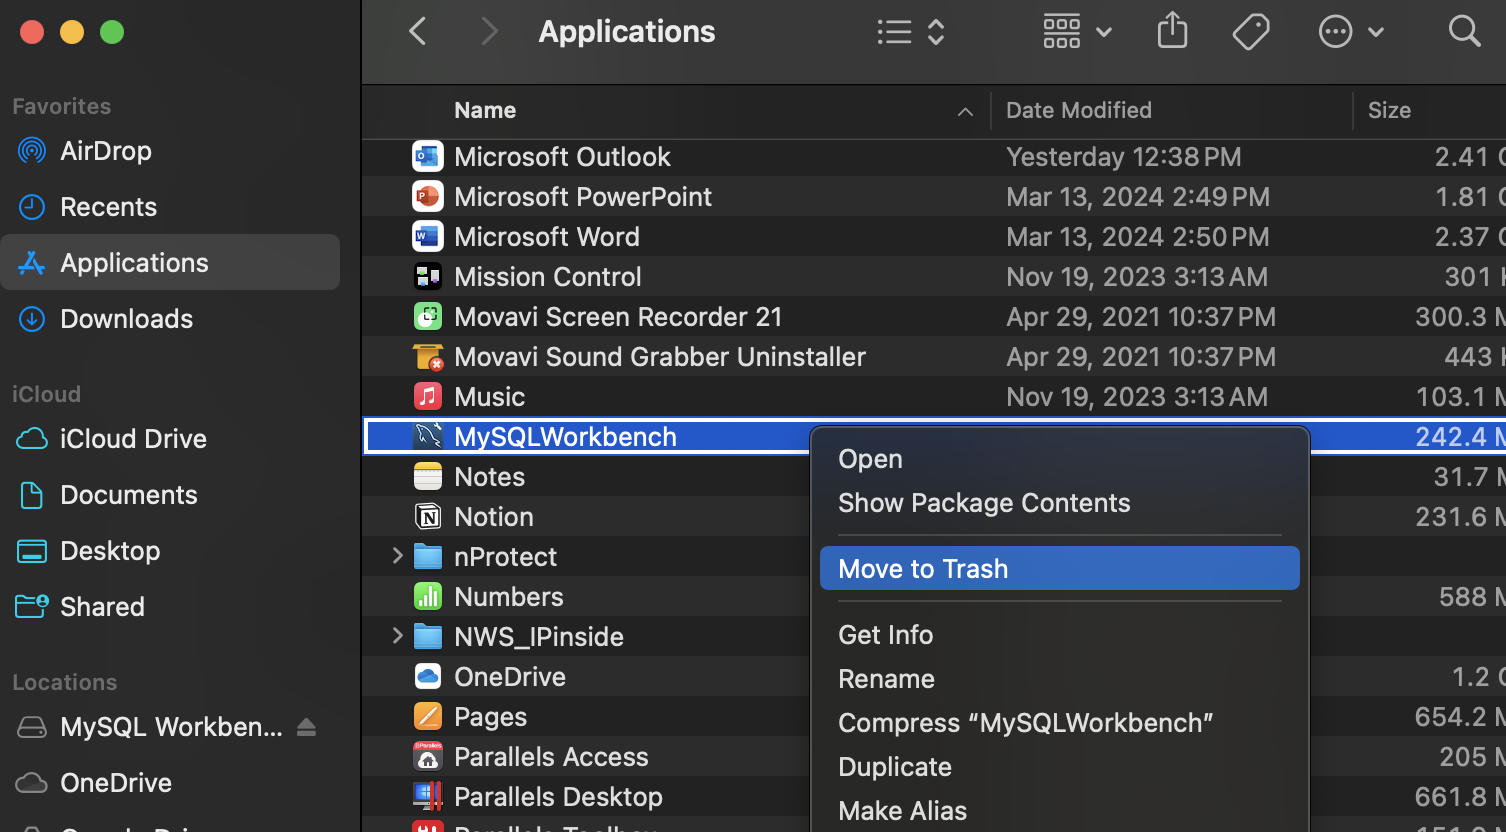
- 위 작업이 모두 끝났다면 재부팅을 진행한다.
brew 명령어를 활용한 재설치
- 재설치는 아래와 같이 진행한다.
$ brew install mysql
==> Auto-updating Homebrew...
Adjust how often this is run with HOMEBREW_AUTO_UPDATE_SECS or disable with
HOMEBREW_NO_AUTO_UPDATE. Hide these hints with HOMEBREW_NO_ENV_HINTS (see `man brew`).
==> Auto-updated Homebrew!
Updated 3 taps (homebrew/services, homebrew/core and homebrew/cask).
==> New Formulae
gitu                       libscfg                    policy_sentry
jtbl                       mantra                     vfox
==> New Casks
capcut

You have 15 outdated formulae and 1 outdated cask installed.

==> Downloading https://ghcr.io/v2/homebrew/core/mysql/manifests/8.3.0_1
Already downloaded: /Users/evan/Library/Caches/Homebrew/downloads/f43247f7870132d01463e879b650b2cc73f402040bc580d91865bf19bd88f2e6--mysql-8.3.0_1.bottle_manifest.json
==> Fetching mysql
==> Downloading https://ghcr.io/v2/homebrew/core/mysql/blobs/sha256:33919f057802
Already downloaded: /Users/evan/Library/Caches/Homebrew/downloads/2fa9ce3308a665dafc1e9d08f5f7475e37dad6badced797f0808c9230d4d44bf--mysql--8.3.0_1.arm64_sonoma.bottle.tar.gz
==> Pouring mysql--8.3.0_1.arm64_sonoma.bottle.tar.gz
==> Caveats
We've installed your MySQL database without a root password. To secure it run:
    mysql_secure_installation

MySQL is configured to only allow connections from localhost by default

To connect run:
    mysql -u root

To start mysql now and restart at login:
  brew services start mysql
Or, if you don't want/need a background service you can just run:
  /opt/homebrew/opt/mysql/bin/mysqld_safe --datadir\=/opt/homebrew/var/mysql
==> Summary
🍺  /opt/homebrew/Cellar/mysql/8.3.0_1: 323 files, 312.8MB
==> Running `brew cleanup mysql`...
Disable this behaviour by setting HOMEBREW_NO_INSTALL_CLEANUP.
Hide these hints with HOMEBREW_NO_ENV_HINTS (see `man brew`).
- mysql 서비스를 시작한다.
$ brew services start mysql
==> Successfully started `mysql` (label: homebrew.mxcl.mysql)
- 설치 후에는 PASSWORD 등록을 하기 위해 아래 명령어를 실행한다.
- VALIDATE PASSWORD PLUGIN 설치여부 질문이 나올 시 N을 선택하고, 나머지는 모두 Y를 선택한다 (옵션 확인 후, 개인 선택).
$ mysql_secure_installation

Securing the MySQL server deployment.

Enter password for user root:

VALIDATE PASSWORD COMPONENT can be used to test passwords
and improve security. It checks the strength of password
and allows the users to set only those passwords which are
secure enough. Would you like to setup VALIDATE PASSWORD component?

Press y|Y for Yes, any other key for No: N
Using existing password for root.
Change the password for root ? ((Press y|Y for Yes, any other key for No) : y

New password:

Re-enter new password:
By default, a MySQL installation has an anonymous user,
allowing anyone to log into MySQL without having to have
a user account created for them. This is intended only for
testing, and to make the installation go a bit smoother.
You should remove them before moving into a production
environment.

Remove anonymous users? (Press y|Y for Yes, any other key for No) : y
Success.

Normally, root should only be allowed to connect from
'localhost'. This ensures that someone cannot guess at
the root password from the network.

Disallow root login remotely? (Press y|Y for Yes, any other key for No) :  y
Success.

By default, MySQL comes with a database named 'test' that
anyone can access. This is also intended only for testing,
and should be removed before moving into a production
environment.

Remove test database and access to it? (Press y|Y for Yes, any other key for No) : N

 ... skipping.
Reloading the privilege tables will ensure that all changes
made so far will take effect immediately.

Reload privilege tables now? (Press y|Y for Yes, any other key for No) : y
Success.

All done!
Test
- MySQL 접속 테스트를 해본다.
$ mysql -u root -p
Enter password:
Welcome to the MySQL monitor.  Commands end with ; or \g.
Your MySQL connection id is 8
Server version: 8.3.0 Homebrew

Copyright (c) 2000, 2024, Oracle and/or its affiliates.

Oracle is a registered trademark of Oracle Corporation and/or its
affiliates. Other names may be trademarks of their respective
owners.

Type 'help;' or '\h' for help. Type '\c' to clear the current input statement.

mysql> SELECT @@datadir;
+--------------------------+
| @@datadir                |
+--------------------------+
| /opt/homebrew/var/mysql/ |
+--------------------------+
1 row in set (0.00 sec)
- 위와 같이 정상적으로 접속 후 쿼리문 결과가 나오면 접속은 된 것이다.
MySQL Workbench 접속
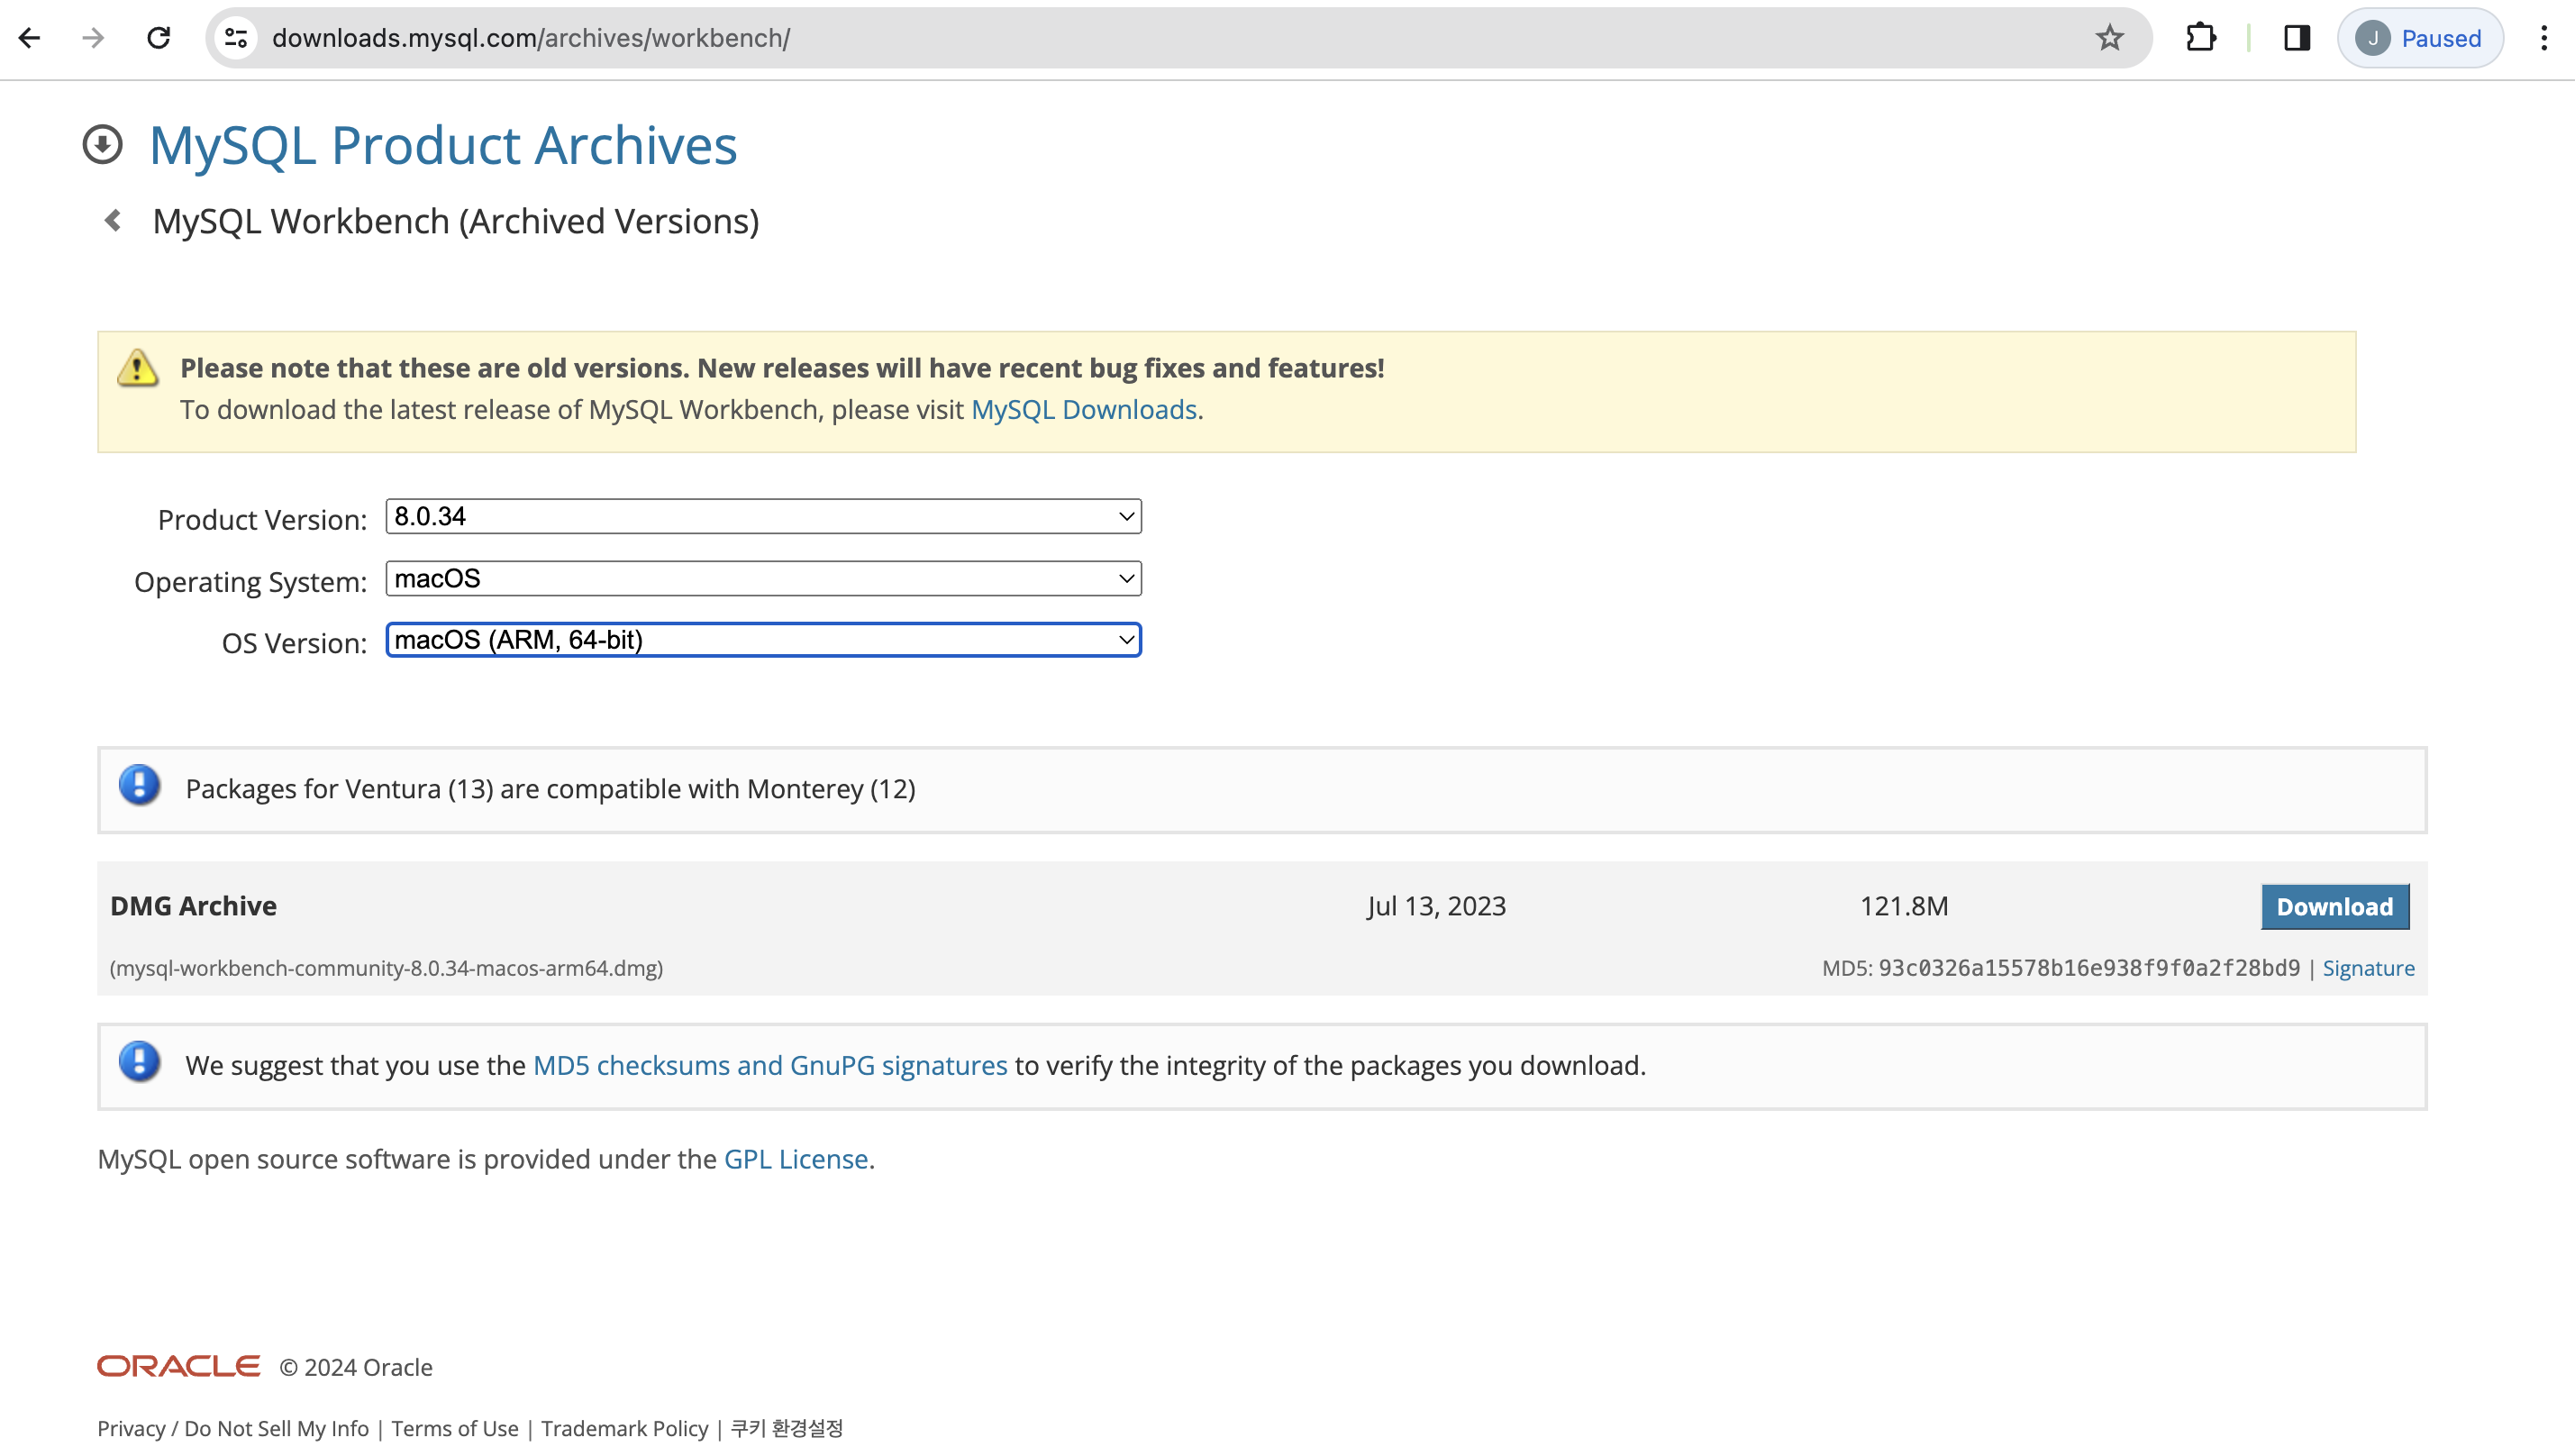
- 이번에는 Workbench를 다운로드 받는다.
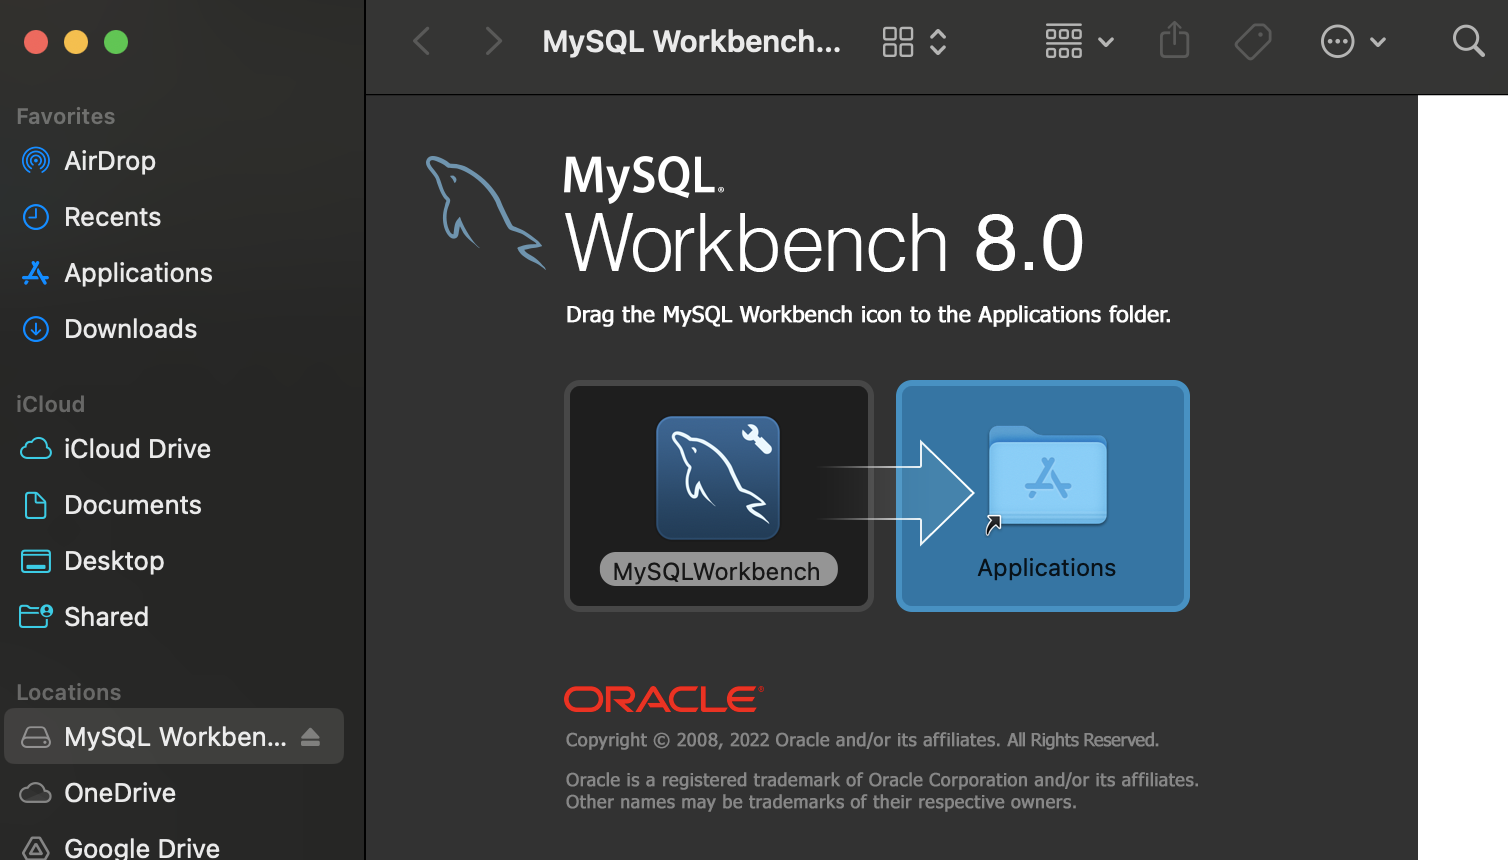
- 아래 그림에서 해당 앱을 Applications으로 이동시키면 된다.
- Launchpad에서 MySQLWorkbench를 선택한다.
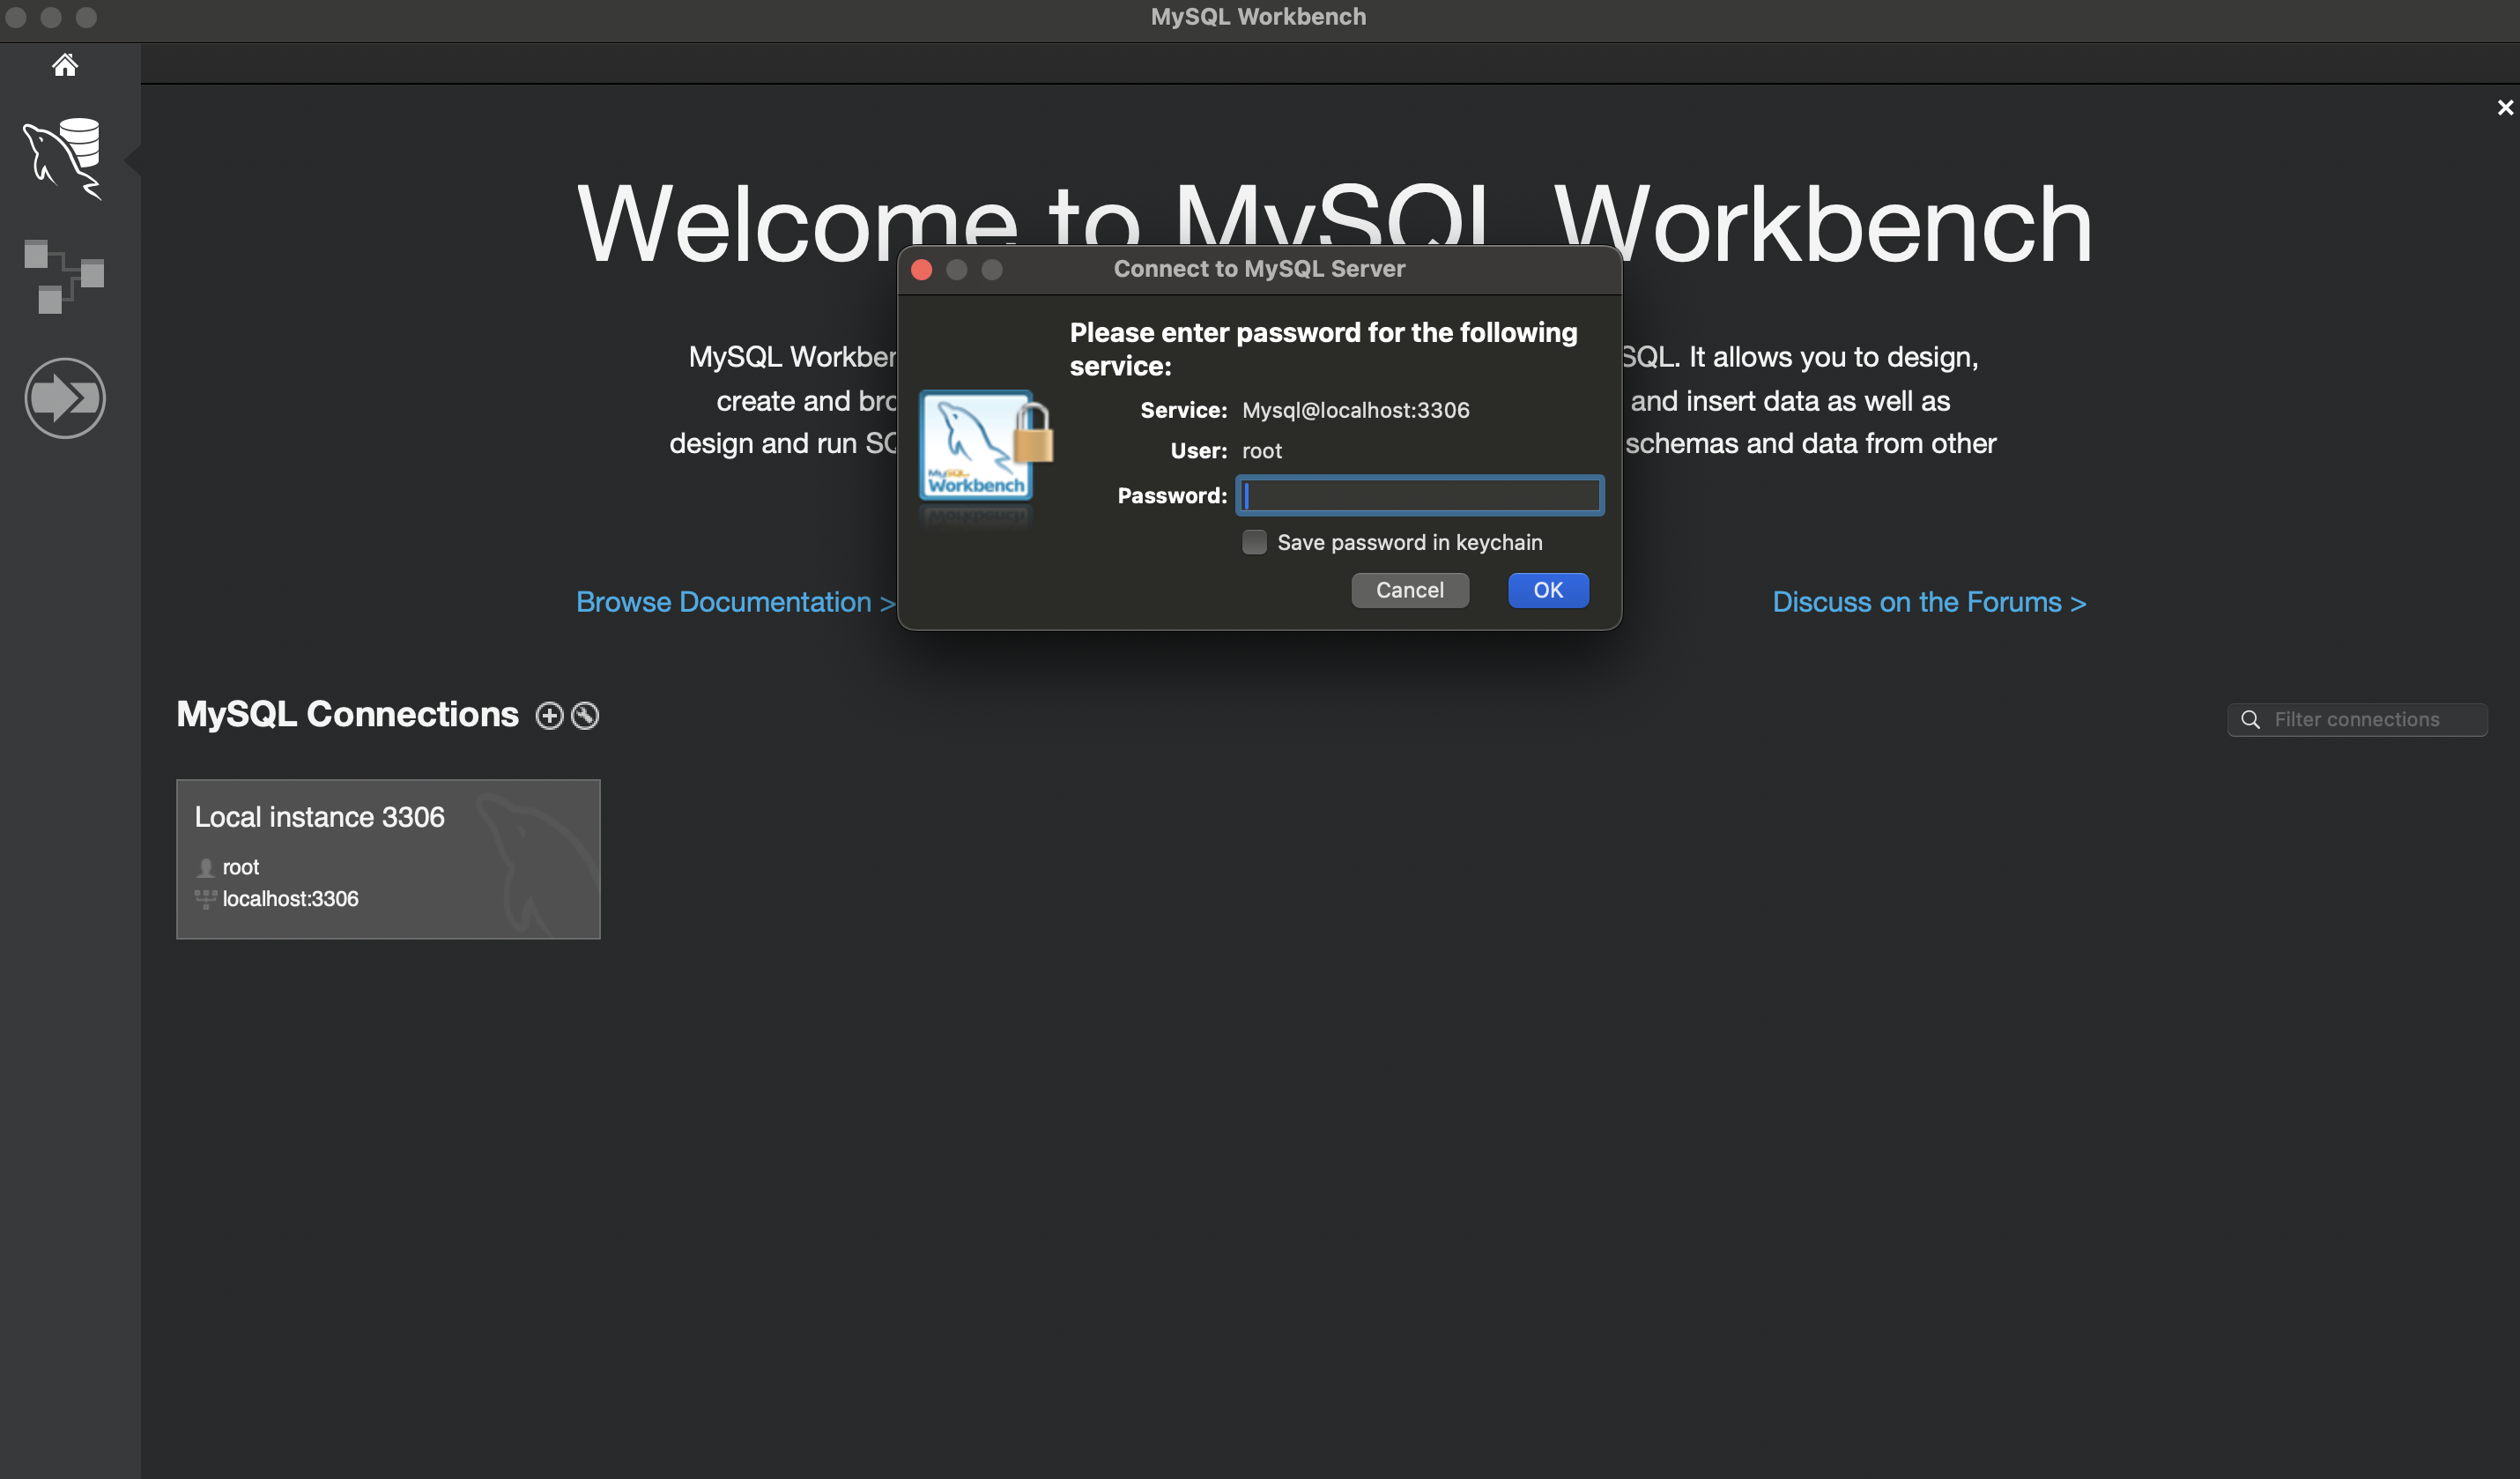
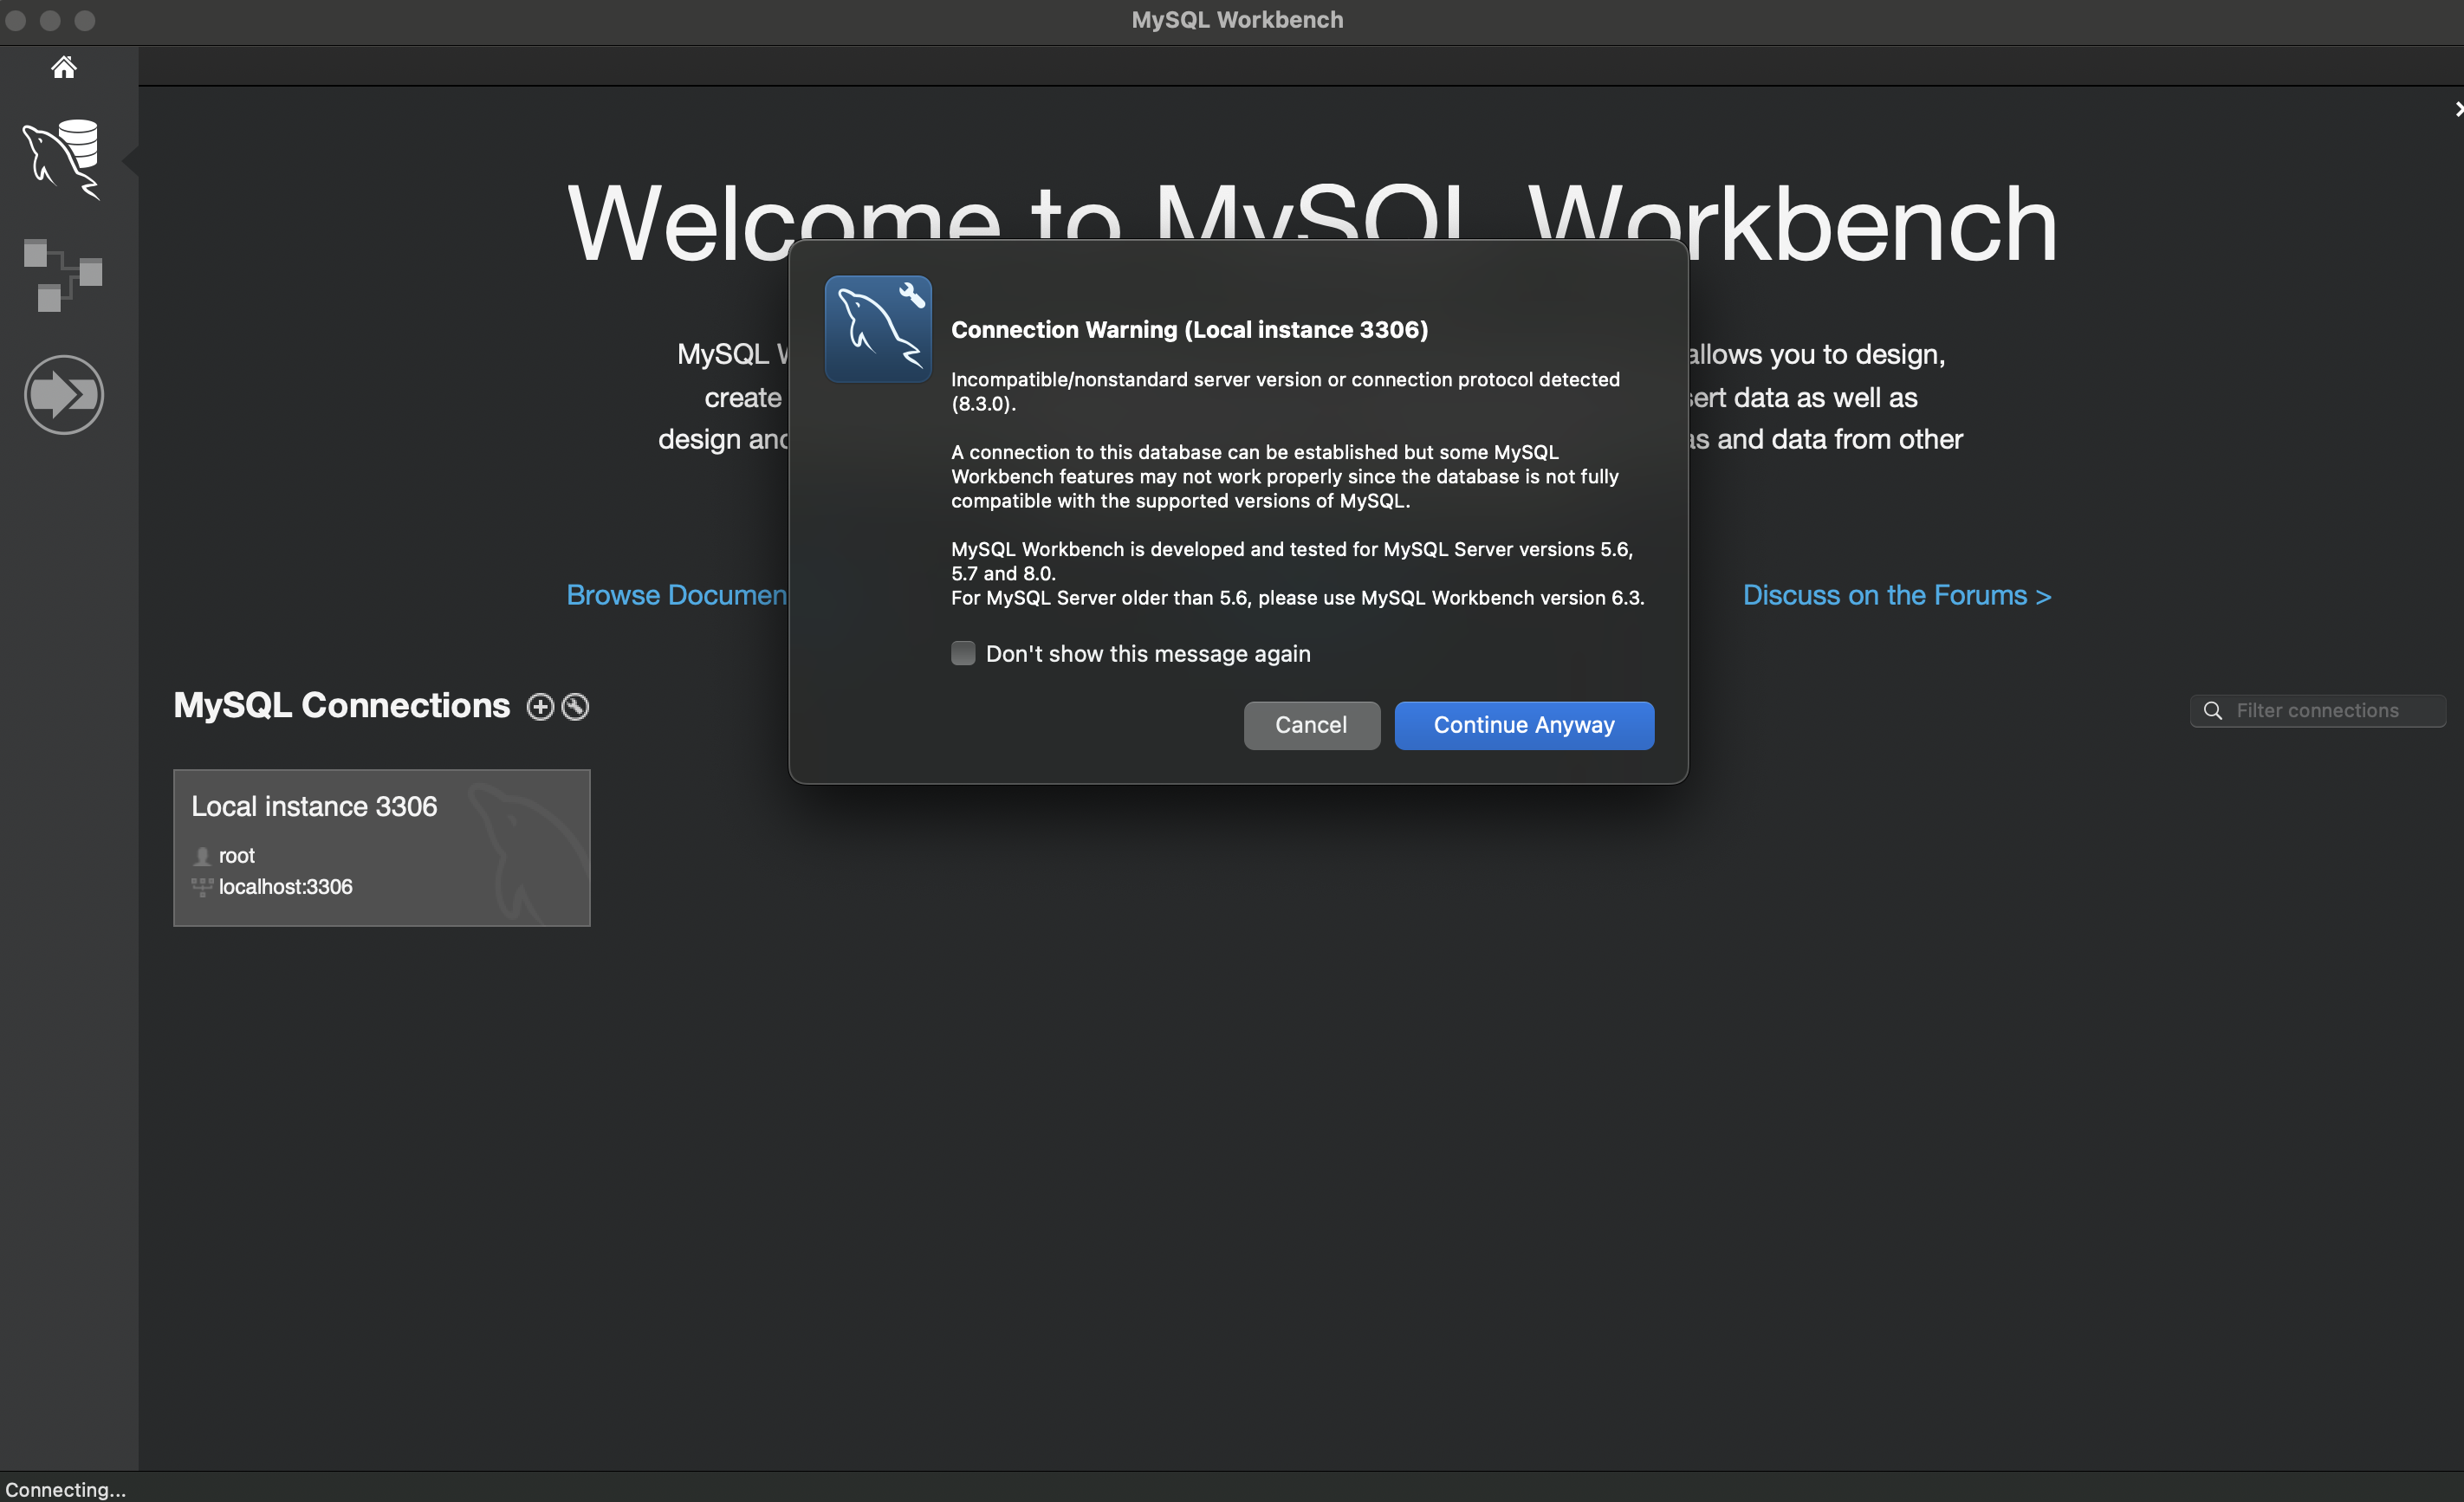
- 위 그림에서 Password를 입력하면 된다. 그 후 Continue Anyway 버튼을 클릭한다.
파일 업로드 실패 현상
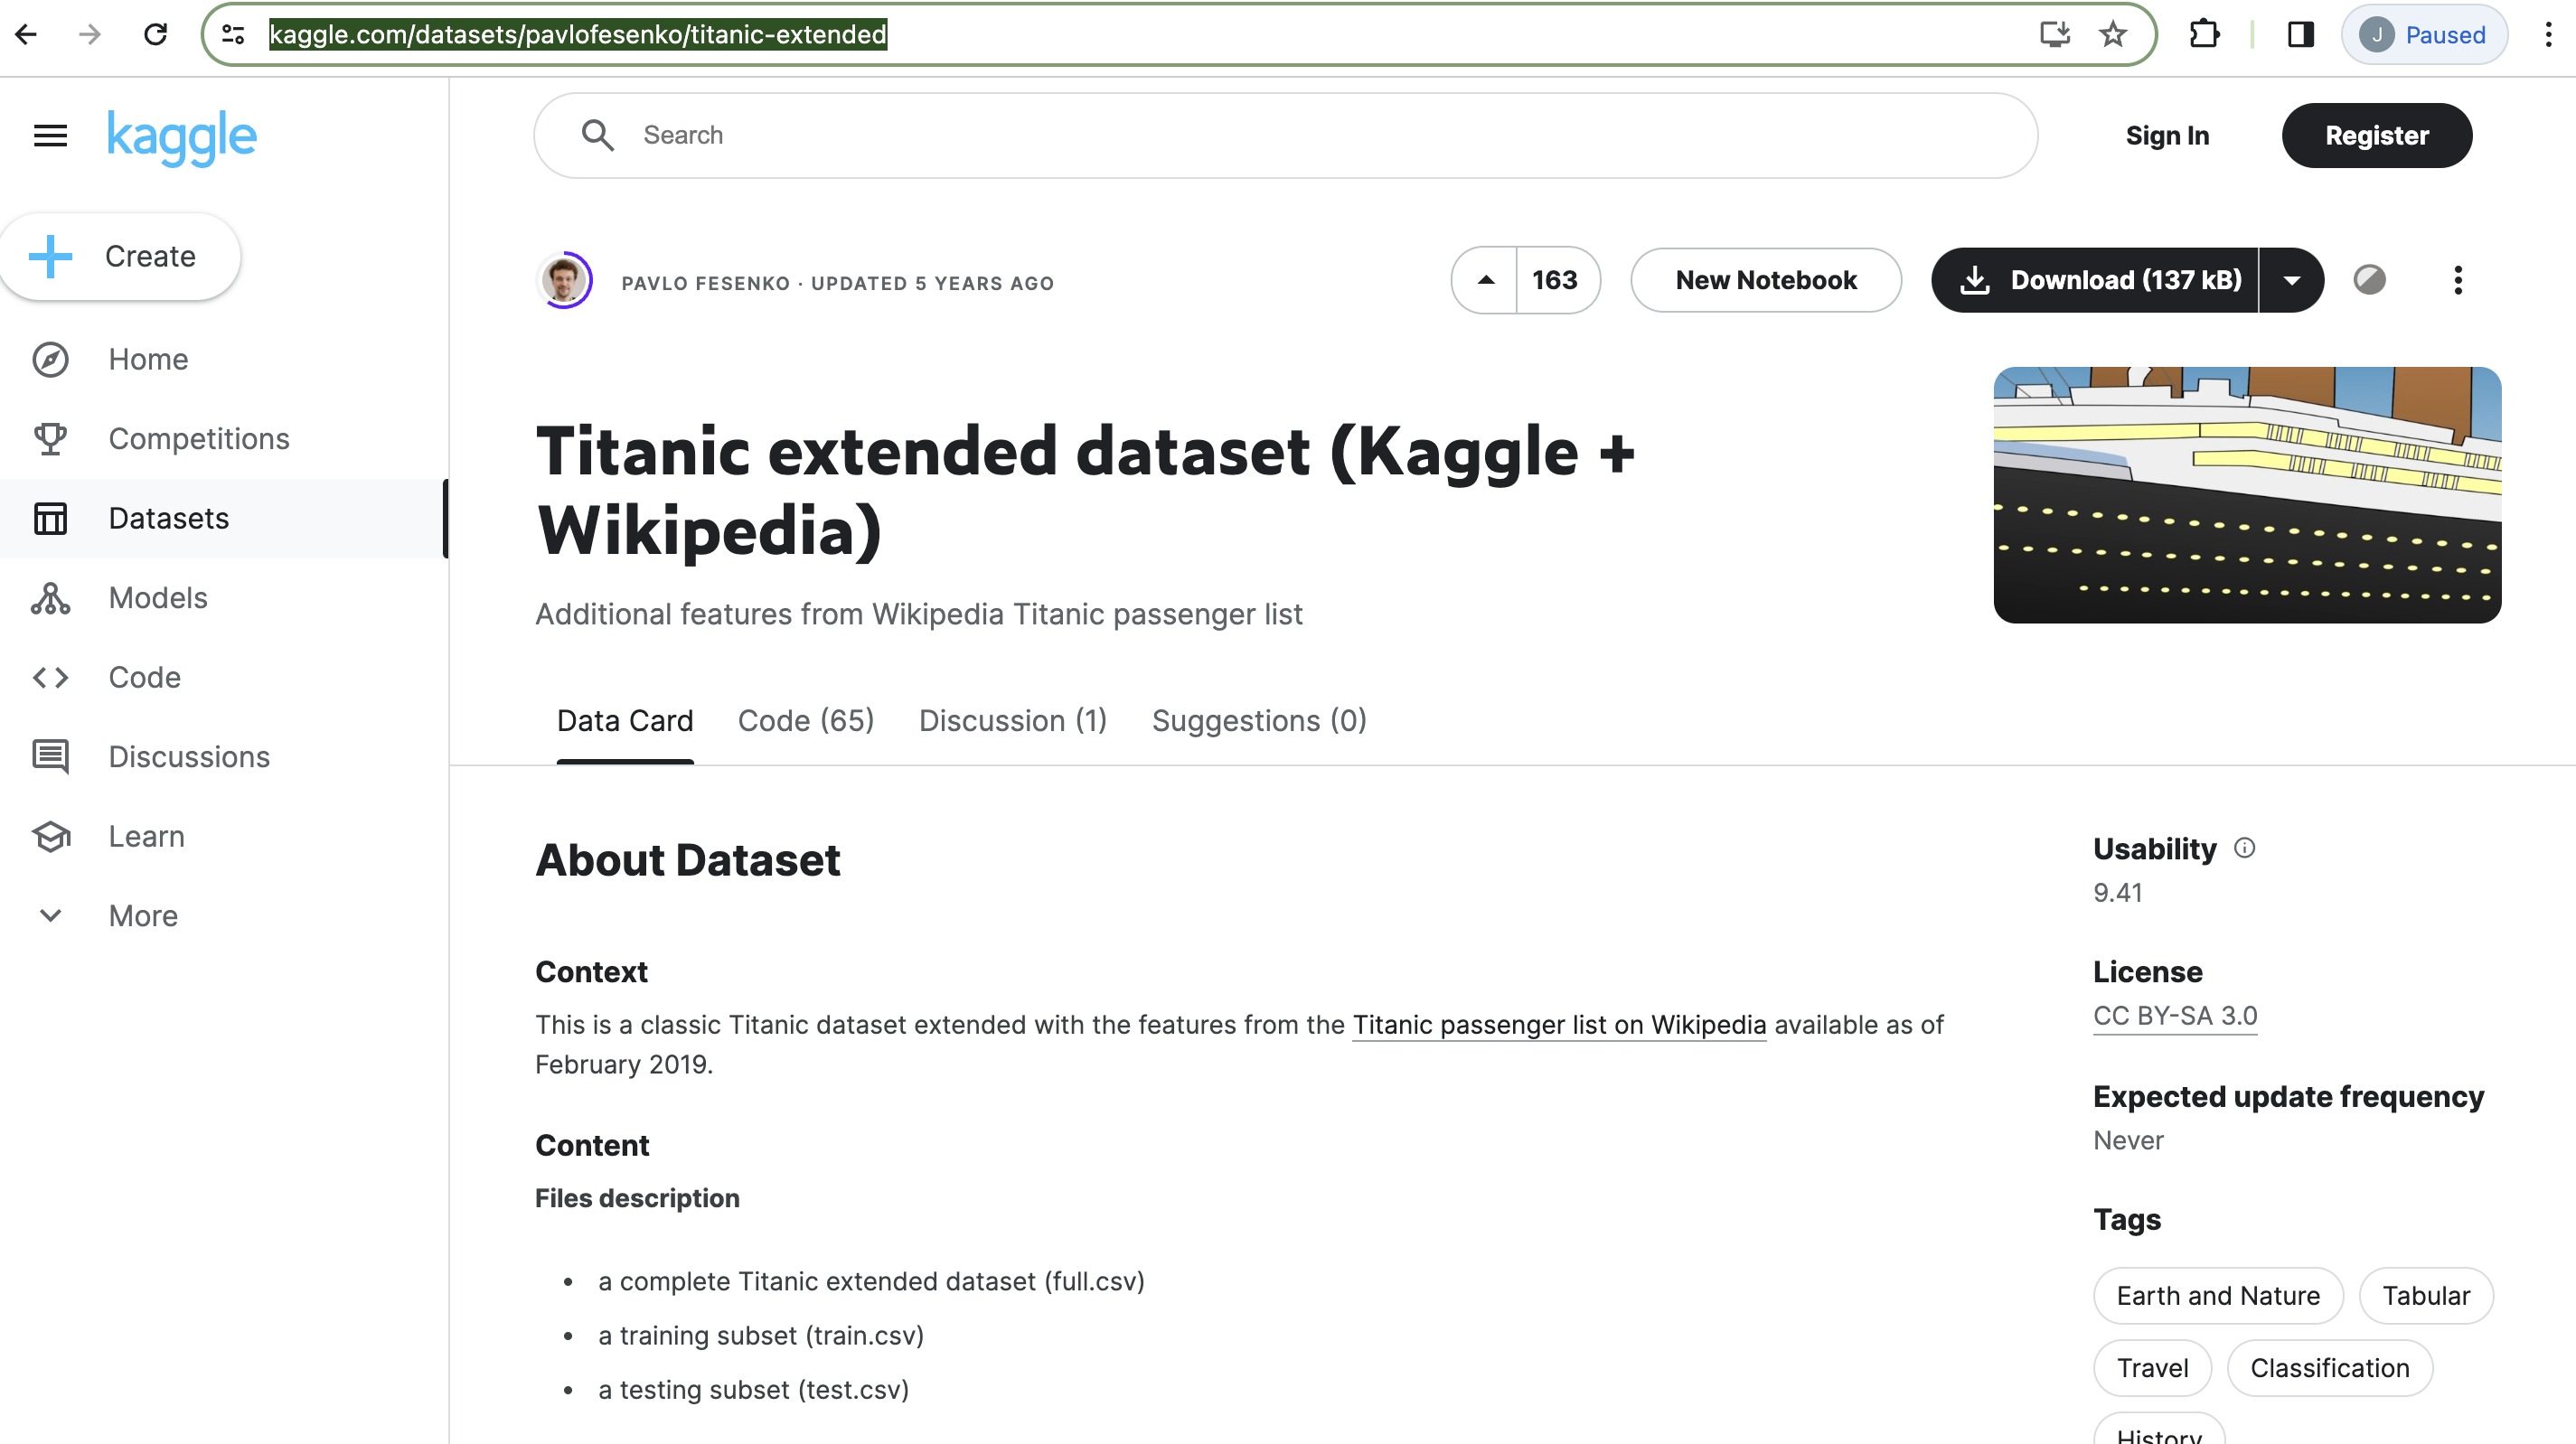
- 이제 titanic 데이터를 다운로드 받고 업로드를 한다.
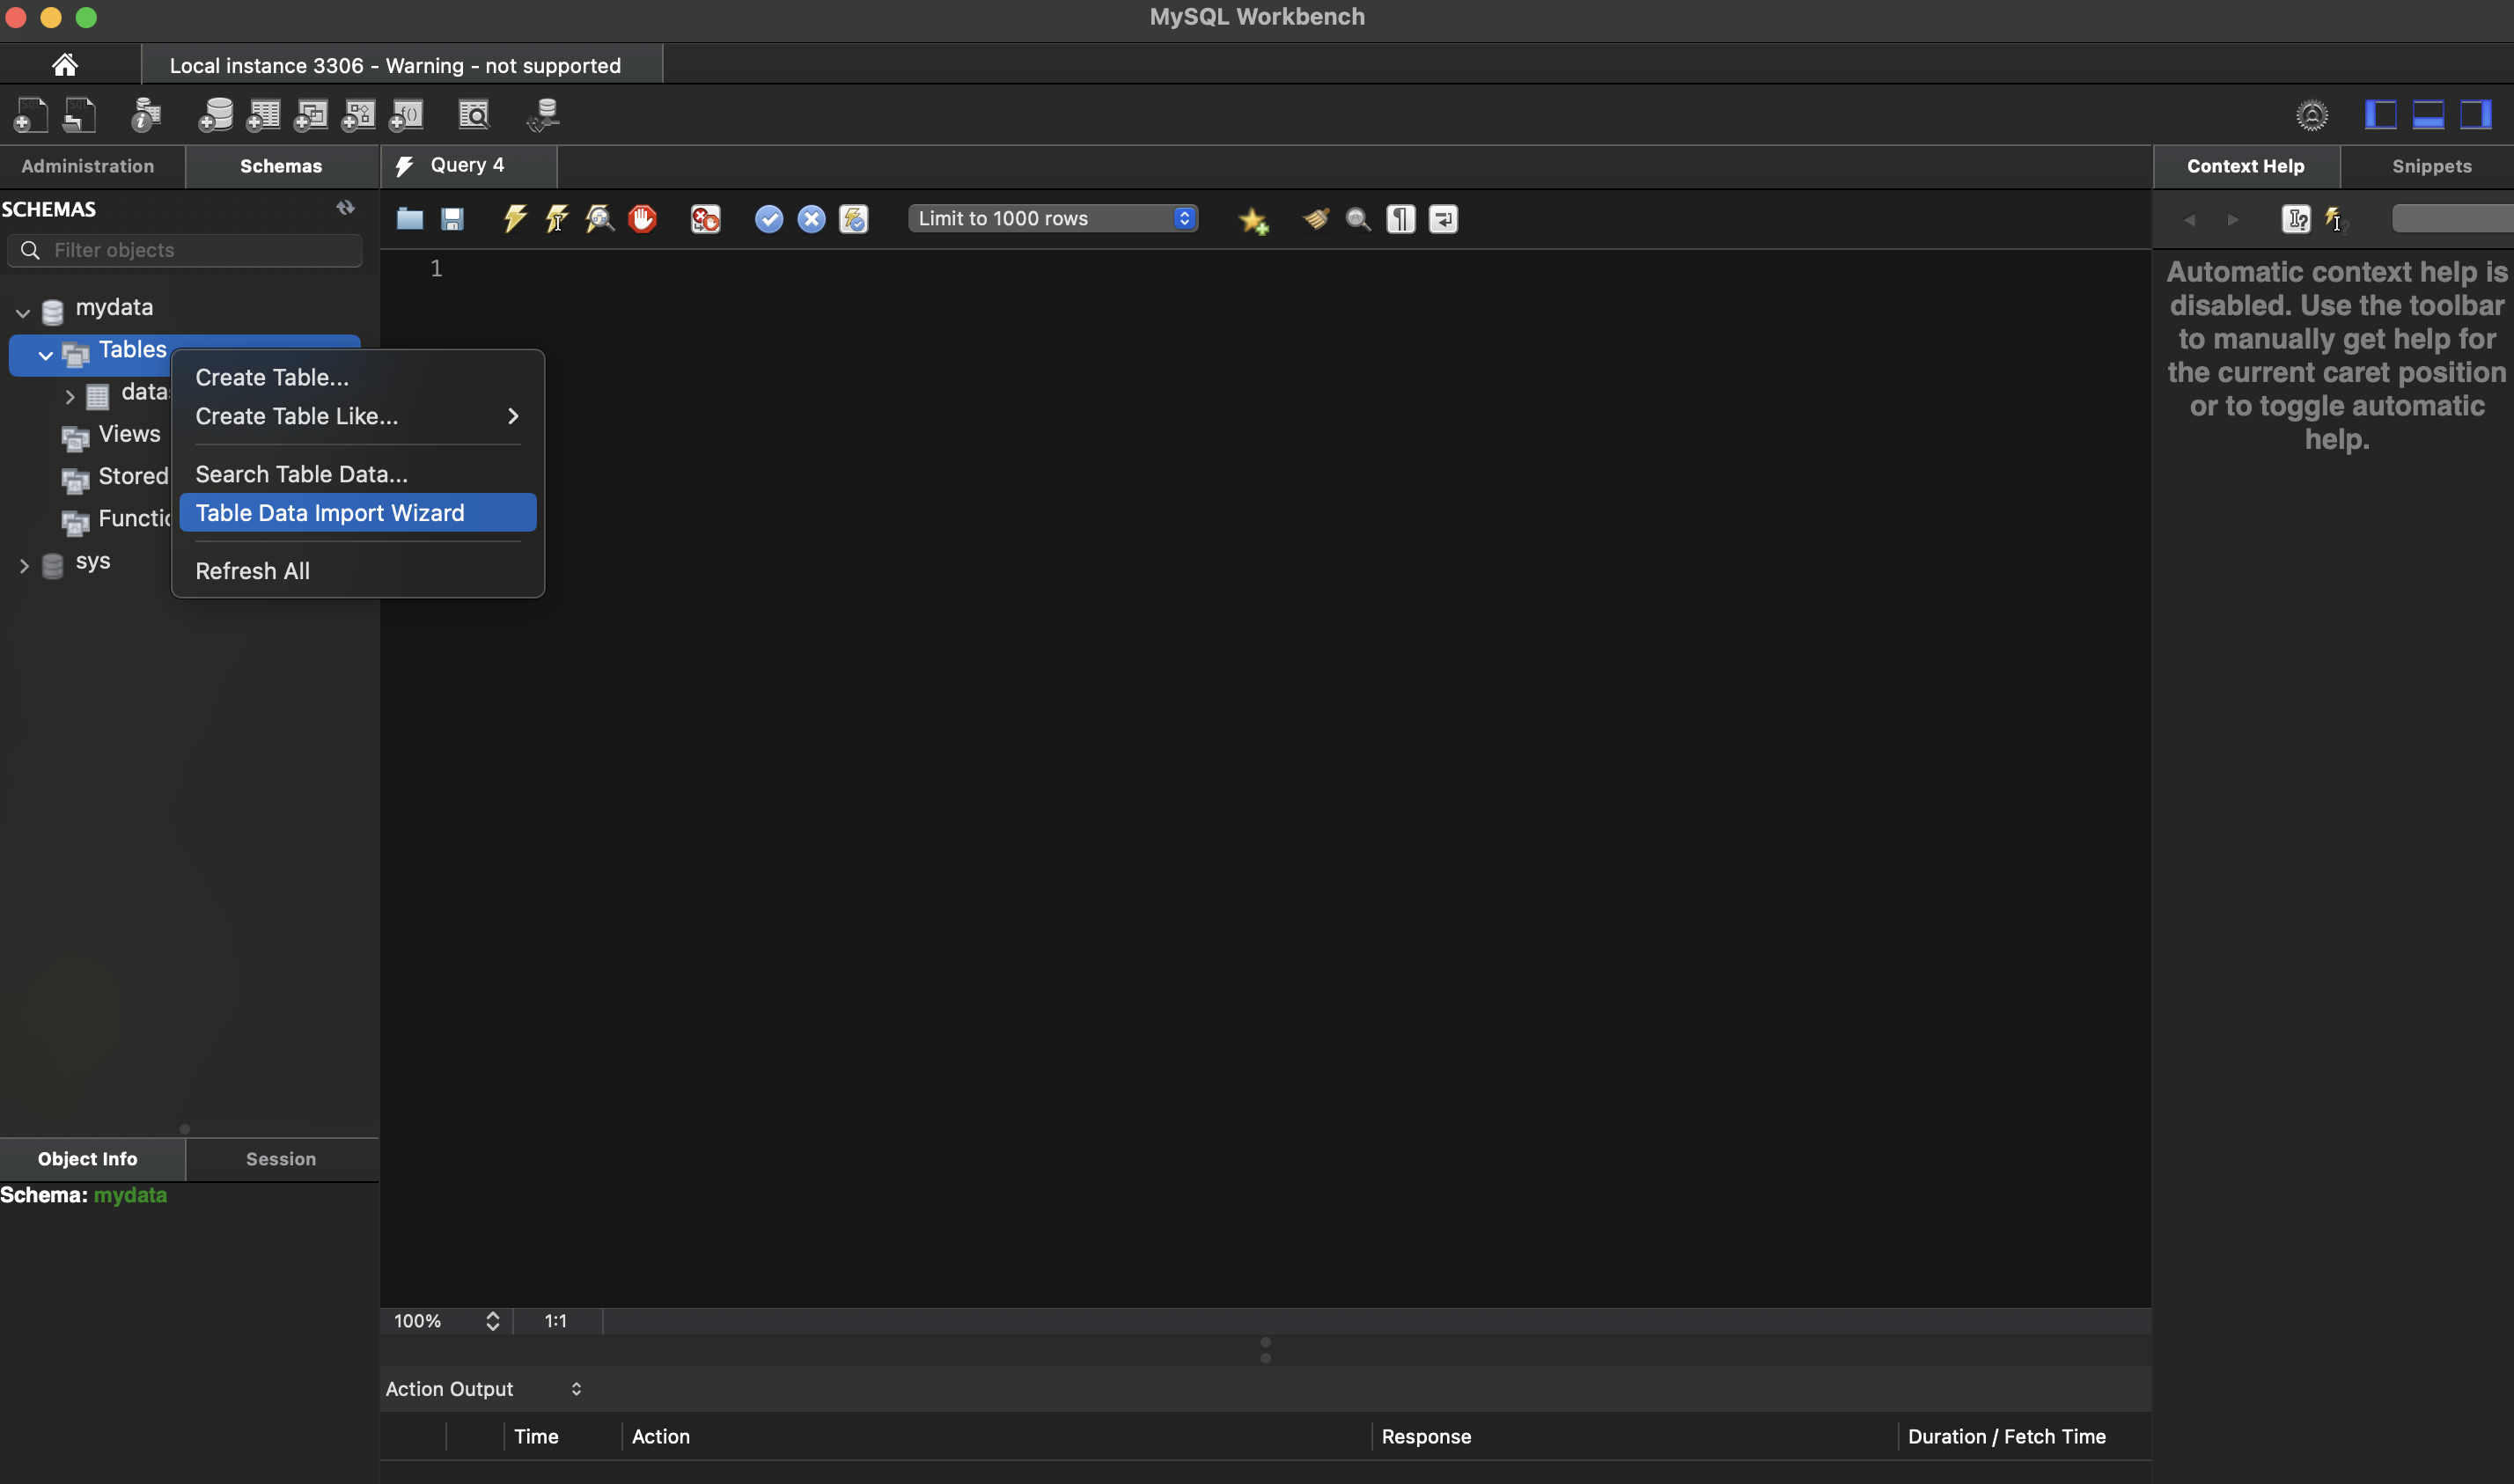
- 아래와 같이 Table Data Import Wizard를 통해 타이타닉 데이터를 업로드 하면 에러 메시지가 하나 발생한다.
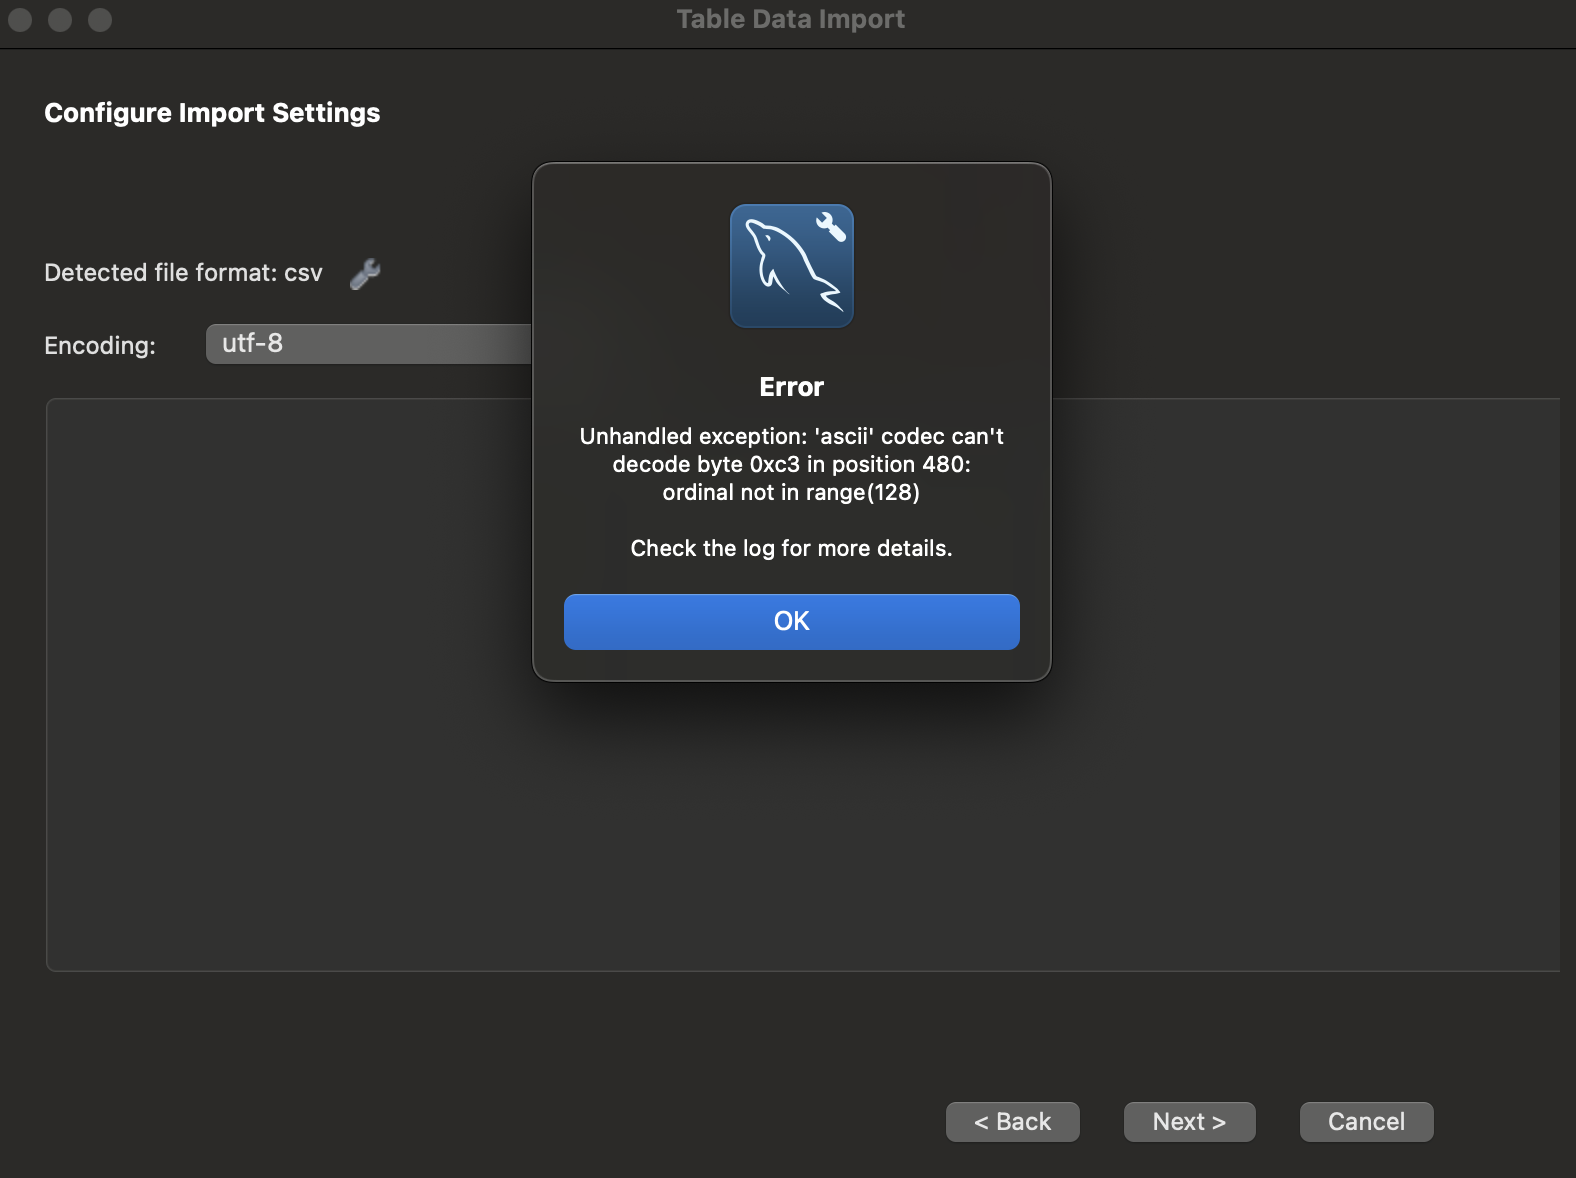
- 이럴 경우 Workbench를 종료 후, 터미널에서 아래 명령어를 실행하여 Workbench.app을 다시 연다.
$ pwd # 경로 체크용
/Users/user

$ open /Applications/MySQLWorkbench.app
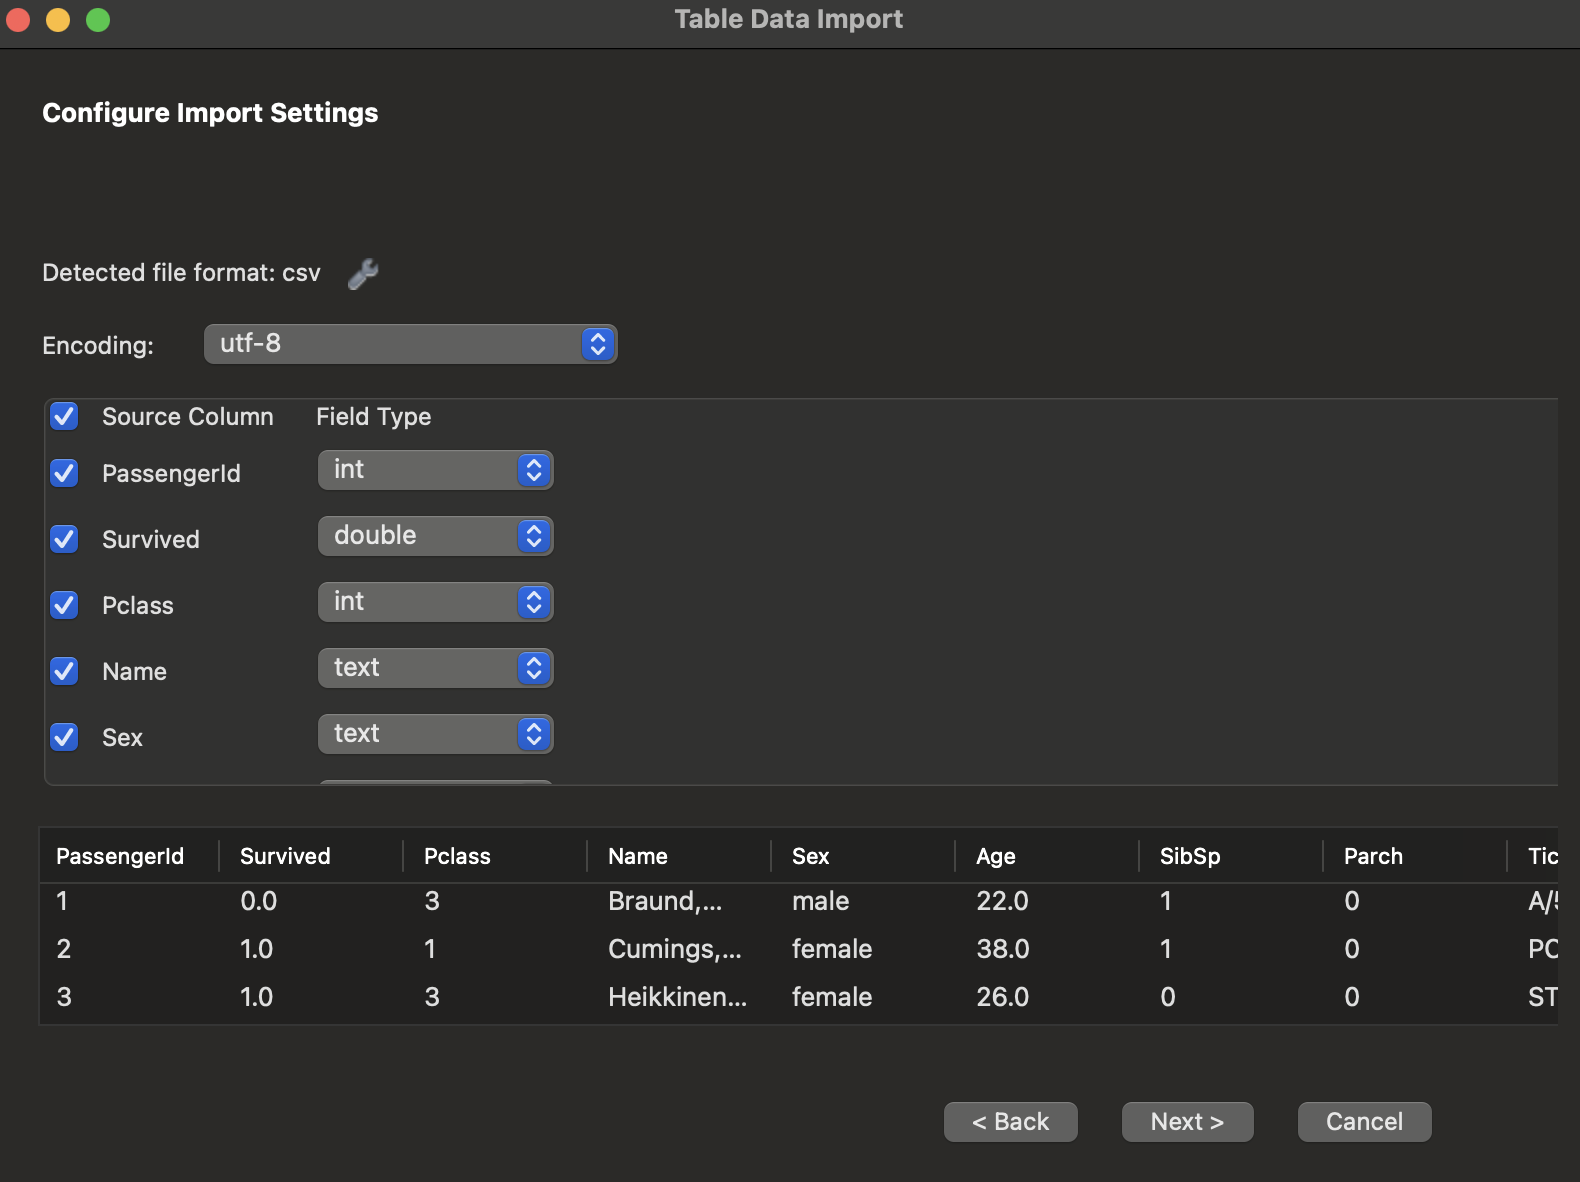
- 같은 방법으로 재 실행하면 아래와 같이 에러 없이 잘 되는 것을 확인할 수 있다.
