Apache Airflow Installation
Page content
강의 홍보
- 취준생을 위한 강의를 제작하였습니다.
- 본 블로그를 통해서 강의를 수강하신 분은 게시글 제목과 링크를 수강하여 인프런 메시지를 통해 보내주시기를 바랍니다.
스타벅스 아이스 아메리카노를 선물로 보내드리겠습니다.
- [비전공자 대환영] 제로베이스도 쉽게 입문하는 파이썬 데이터 분석 - 캐글입문기

개요
- NiFi와 같은 용도의 소프트웨어이며, 현재 가장 인기 있는 오픈소스 데이터 파이프라인 도구라고 할 수 있다.
- 보통은 시스템에 경로를 설정한다. 그런데, 본 장에서는 가상환경 설정 후 진행하는 것으로 했다.
- 가상 환경은
virtualenv를 통해서 진행한다. - 그 후에 가상 환경에 접속한다.
$ source venv/bin/activate
(venv) $
Step 01. 환경변수 설정
- 우선
pip으로 설치 하기에 앞서서 환경 변수를 임시로 설정한다. - 해당 환경 변수가 설정된 곳으로 airflow 설치 관련 폴더 및 파일들이 다운로드 될 것이다.
(venv) $ export AIRFLOW_HOME="$(pwd)"
(venv) $ echo $AIRFLOW_HOME
/Users/evan/Desktop/data_engineering_python/install_files/airflow
Step 02. 라이브러리 설치
- 이제 airflow 설치를 진행한다.
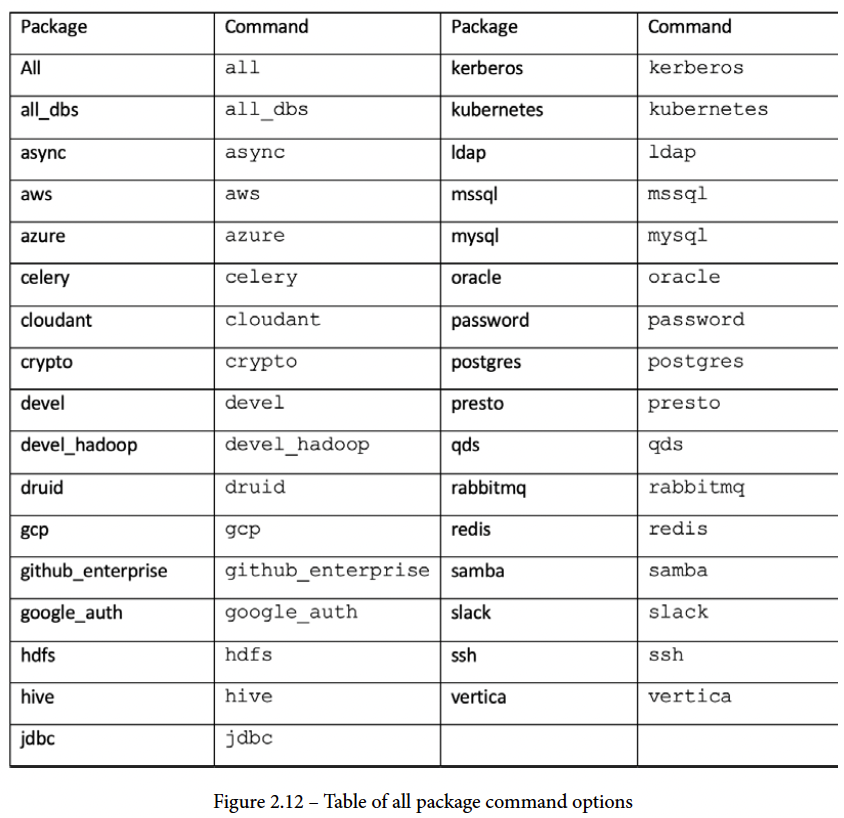
- 이때, 설치 명령어에 따른 옵션은 아래 그림에서 살펴보기를 바란다.

- 본 장에서는 PostgreSQL, Slack, Celery 라이브러리를 설치한다.
(venv) $ pip3 install 'apache-airflow[postgres, slack, celery]'
Collecting apache-airflow[celery,postgres,slack]
.
.
my-utils-0.37.8 swagger-ui-bundle-0.0.8 tabulate-0.8.9 tenacity-6.2.0 termcolor-1.1.0 text-unidecode-1.3 tornado-6.1 unicodecsv-0.14.1 urllib3-1.26.6 vine-1.3.0 werkzeug-1.0.1 zipp-3.5.0
WARNING: You are using pip version 21.1.3; however, version 21.2.4 is available.
You should consider upgrading via the '/Users/evan/Desktop/data_engineering_python/venv/bin/python -m pip install --upgrade pip' command.
(venv) $
- 설치된 버전을 확인한다.
(venv) $ airflow version
2.1.3
Step 03. Airflow DB 초기화
Airflow실행 전, DB초기화를 진행한다.
(venv) $ airflow db init
DB: sqlite:////Users/evan/Desktop/data_engineering_python/airflow.db
.
.
Initialization done
(venv) $ ls
airflow.cfg             airflow.db              logs                    webserver_config.py
Step 04. Airflow Web Server
- Apache NiFi 기본 포트도 8080이지만, Airflow도 마찬가지로 기본 포트는 8080이다.
- 만약 동시에 실행을 시켜야 한다면 NiFi 포트 또는 Airflow의 포트를 변경해야 한다.
(venv) $ airflow webserver # or airflow webserver -p 8081
(venv) $
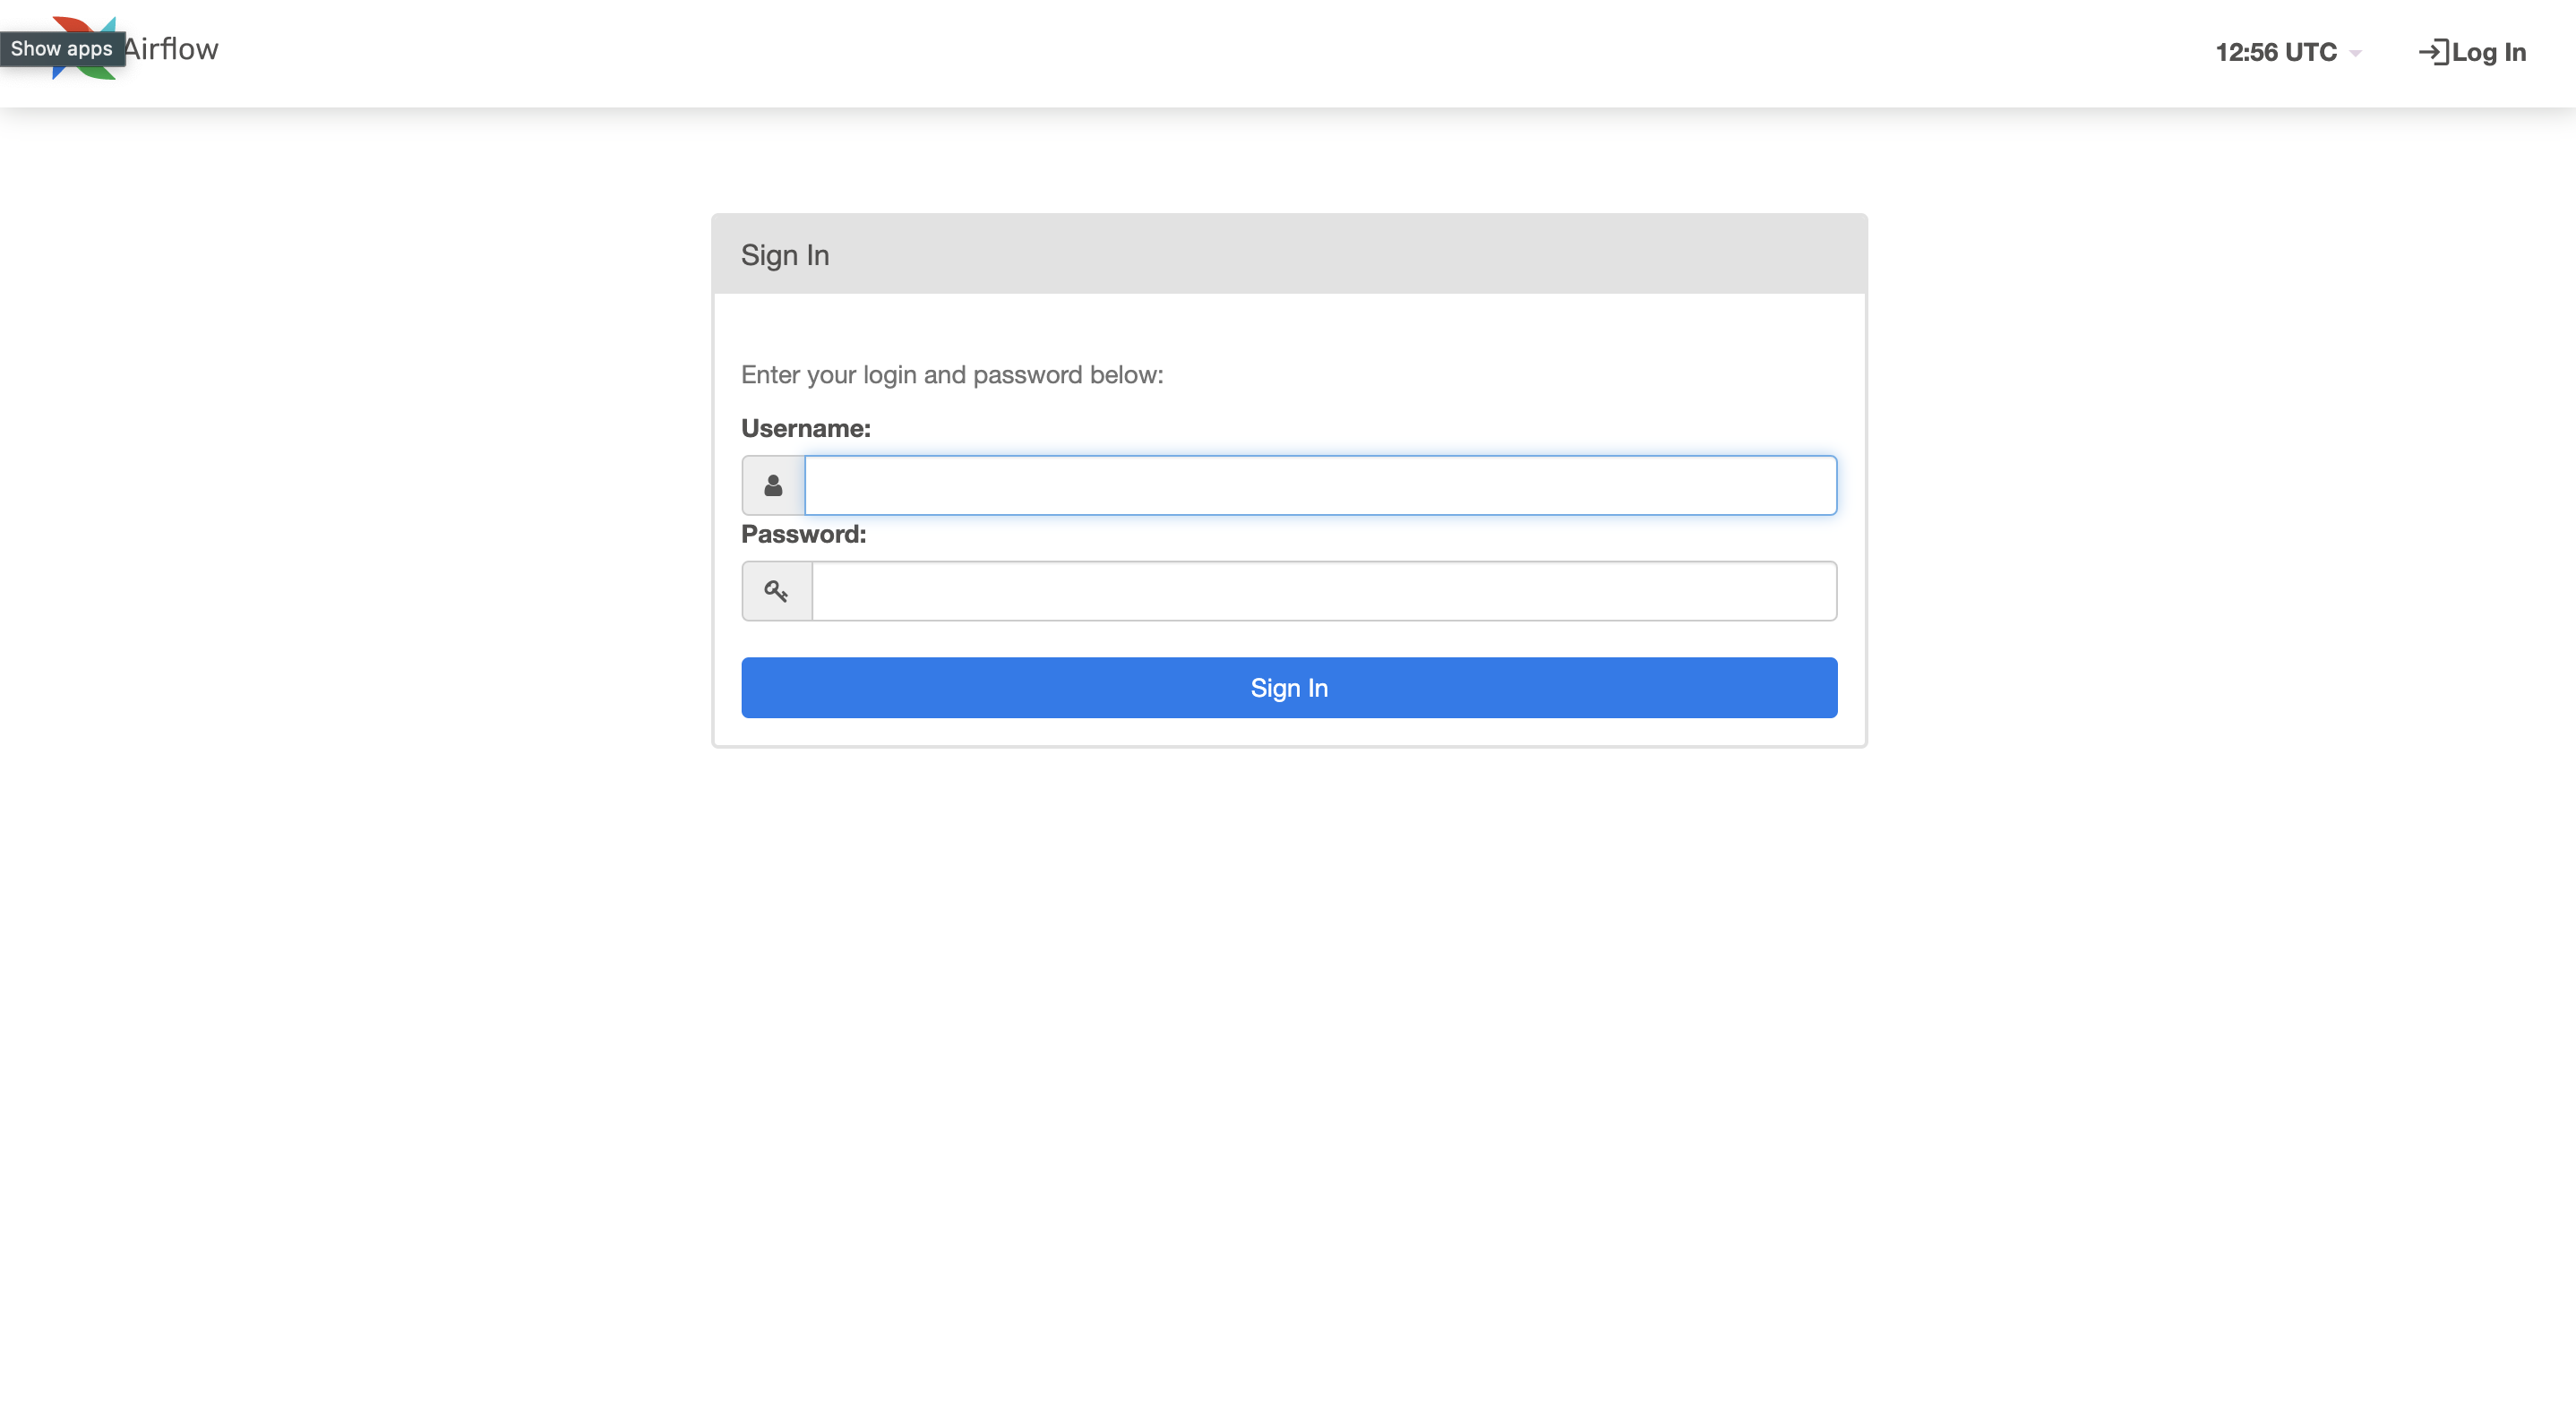
- 이렇게 실행하면 Login 창이 나올 것이다.

- 이 화면이 나온다면 airflow user create를 실행해본다.
- 옵션을 확인하였다면 이제 사용자를 생성한다.
- 그리고, ID와 PW를 입력 후 접속 한다.
(venv) $ airflow users create
.
.
To create an user with "Admin" role and username equals to "admin", run:
$ airflow users create \
          --username admin \
          --firstname FIRST_NAME \
          --lastname LAST_NAME \
          --role Admin \
          --email admin@example.org
.
.
.
(venv) $ airflow users create --username evan --password evan --firstname evan --lastname Jung --role Admin --email admin@example.org
[2021-09-06 22:01:01,014] {manager.py:788} WARNING - No user yet created, use flask fab command to do it.
Admin user evan created
(venv) $ airflow webserver -p 8081

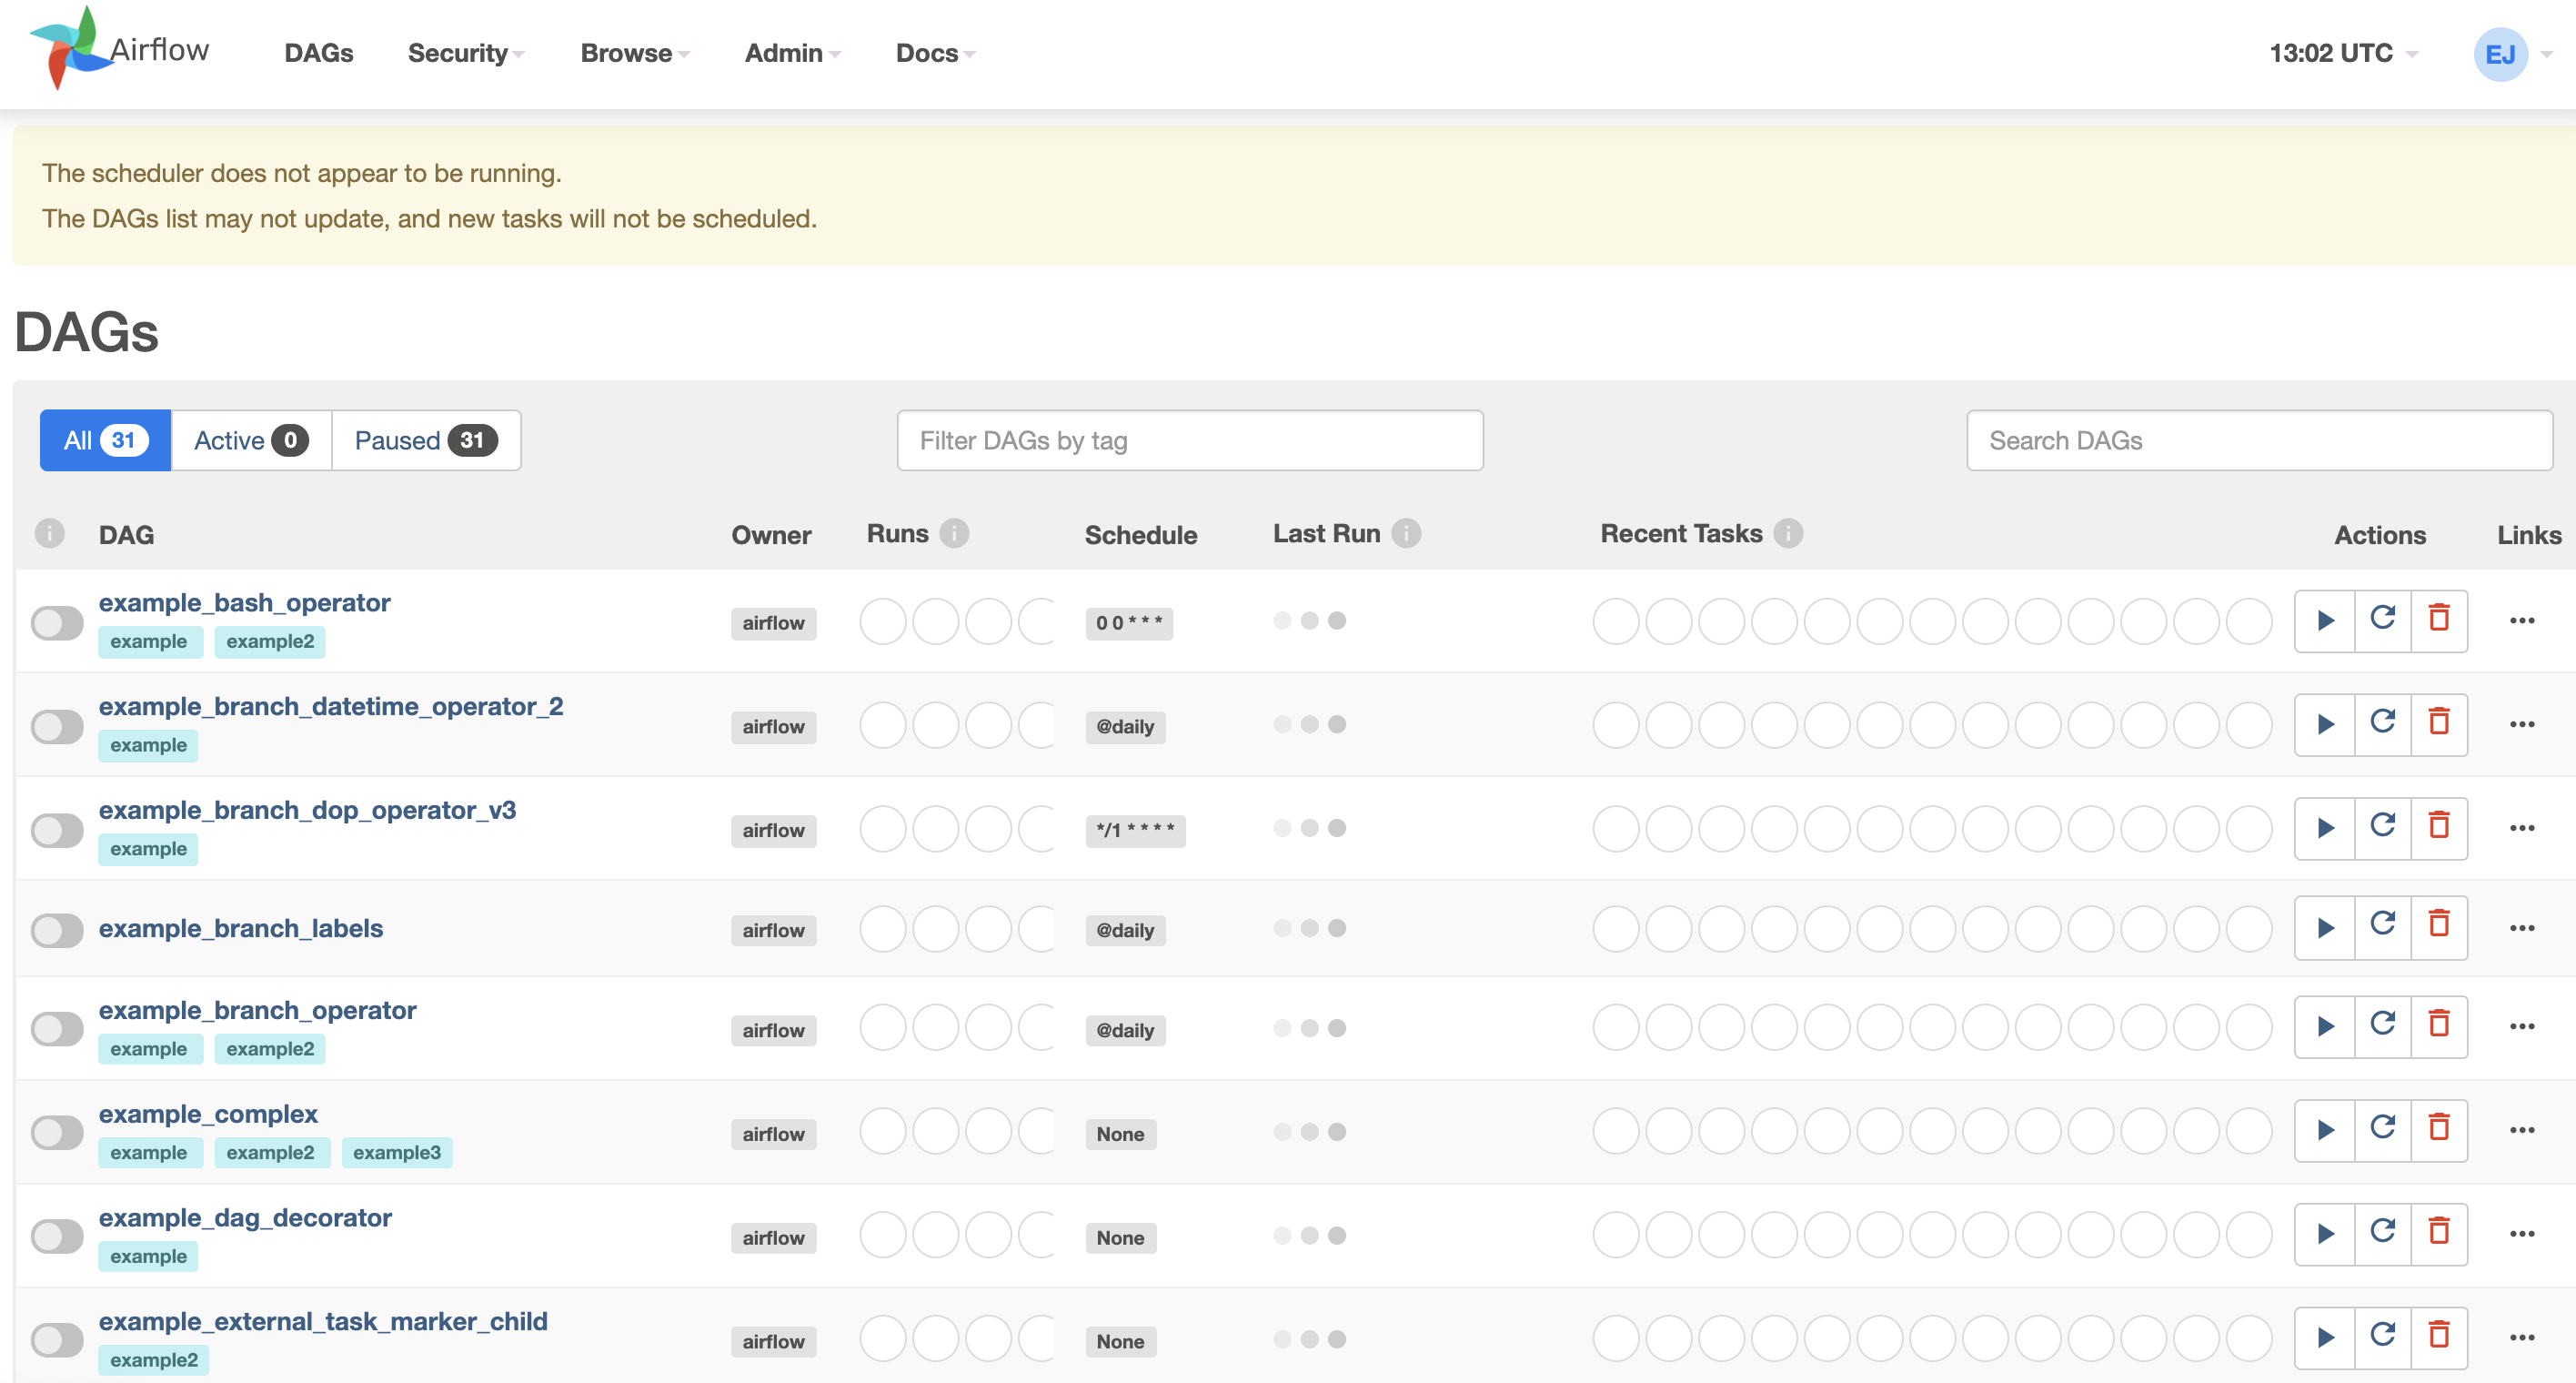
- 각각의 예제들은 한번씩 실행하면 되지만, 추후에 파이썬 코드로 실제로 작성할 것이기 때문에 크게 신경쓰지 않는다.
- 만약에 위 예제들을 처음부터 안 보이게 하고 싶다면,
airflow.cfg파일을 아래와 같이 조금만 수정하도록 한다.load_eaxmples = True—>load_examples = False
# load_examples = True
load_examples = False
- 그러나, airflow.cfg 파일은 즉시 실행되지 않기 때문에
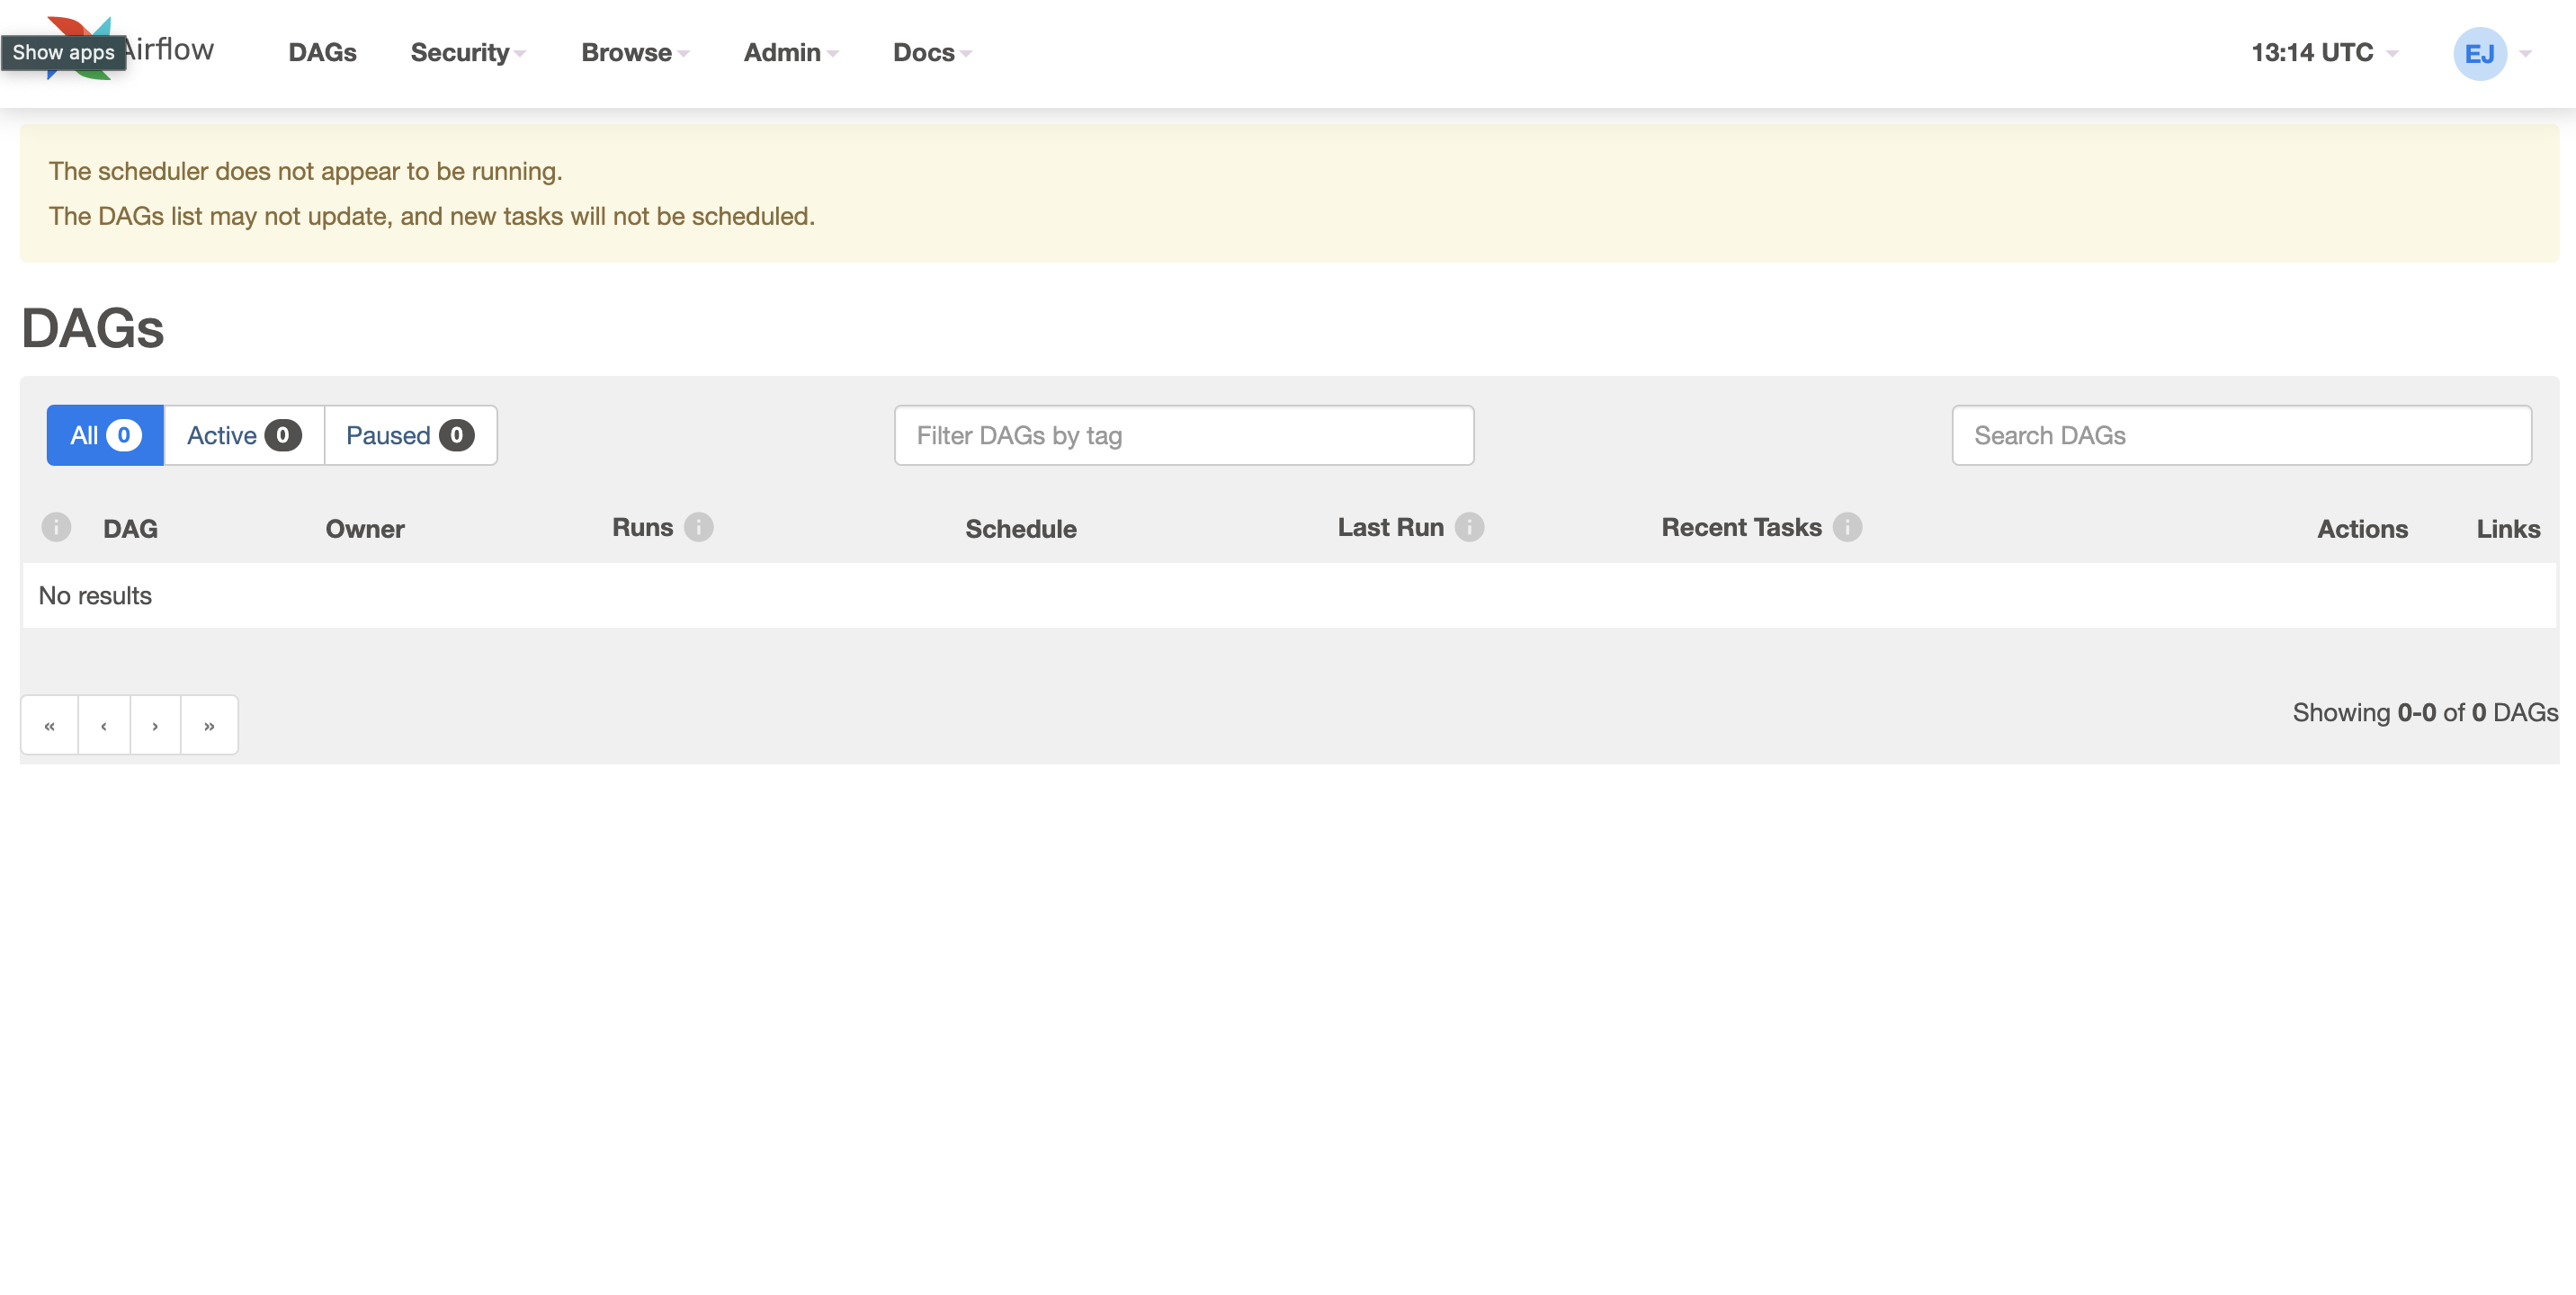
airflow db reset후 다시 웹서버를 실행한다. - 예제들이 모두 사라진 새로운 화면을 보게 될 것이다.

References
- Data Engineering with Python by Paul Crickard, https://www.packtpub.com/product/data-engineering-with-python/9781839214189
- Data Pipelines with Apache Airflow by Bas P. Harenslak and Julian Rutger de Ruiter, https://www.manning.com/books/data-pipelines-with-apache-airflow
