Programmings

Deep Learning Loss Function

딥러닝 손실 함수 (Loss Function) 개요

딥러닝에서 손실 함수는 모델의 예측과 실제 값 사이의 차이를 측정하는 중요한 요소. 다양한 종류의 손실 함수가 있으며, 문제의 특성에 따라 적절한 함수를 선택해야 함.

주요 손실 함수 설명

평균 제곱 오차 (Mean Squared Error, MSE)

  • 유형 : 회귀

  • 공식 :

    $$ \text{MSE} = \frac{1}{n} \sum_{i=1}^{n} (y_i - \hat{y}_i)^2 $$

  • 설명:

    • $y_i$ : 실제 값
    • $\hat{y}_i$ : 예측 값
    • $n$ : 데이터 포인트의 수
  • 사용 용도

Docker-Compose와 Dockerfile을 활용한 Flask-MySQL 연동 예제

개요

  • Docker-Compose와 Dockerfile의 주요 기능을 이해한다.
  • 각 파일의 위치와 주요 기능을 이해한다.
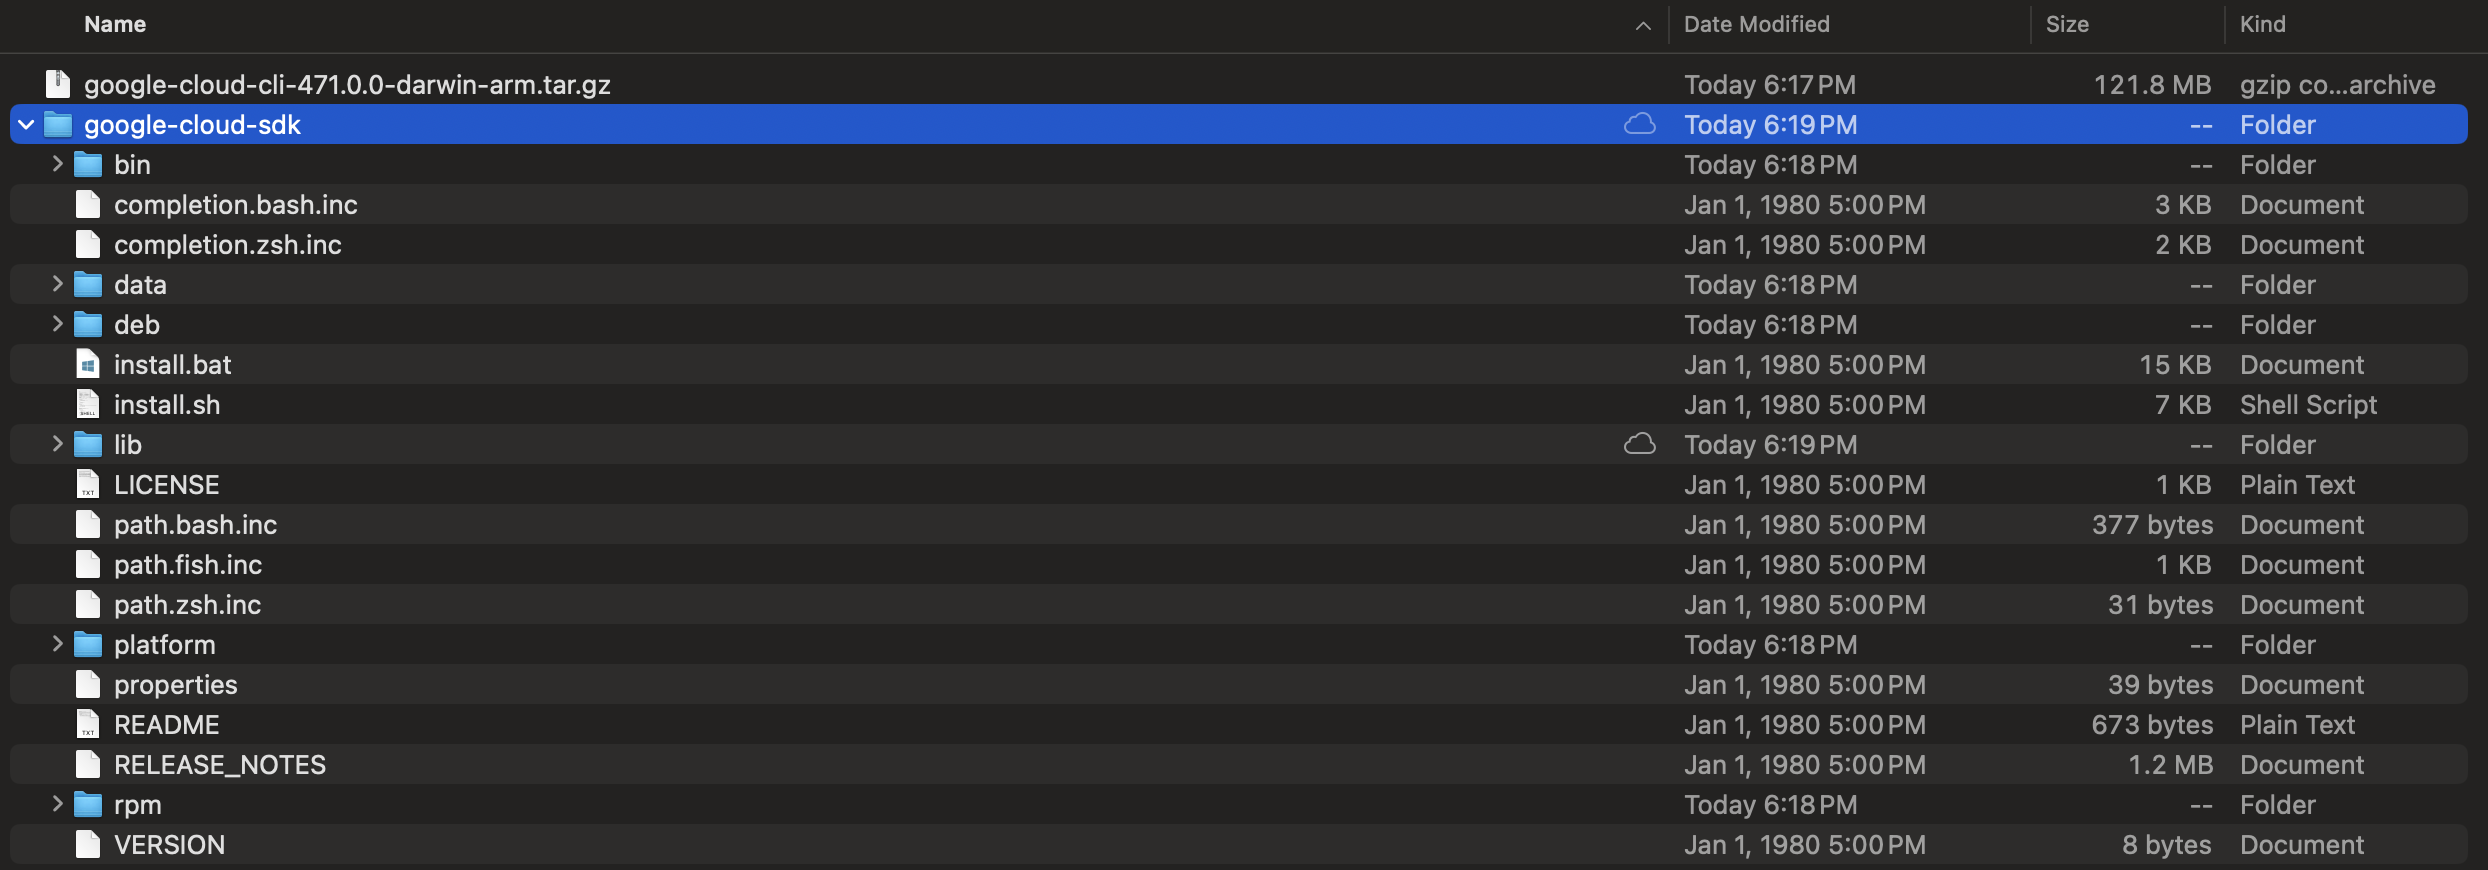
전체 프로젝트 파일 디렉터리

  • 본 프로젝트의 전체 코드는 다음과 같다.
  • 실제 코드 작성을 해야하는 곳은 다음과 같다.
    • app.py
    • requirements.txt
    • init.sql
    • docker-compose.yml
    • Dockerfile
docker_kubernetes_flask/
├── app/
│   ├── __init__.py
│   ├── app.py
│   └── requirements.txt
├── db/
│   ├── init.sql
│   └── data/ (This will be created by Docker)
├── docker-compose.yml
└── Dockerfile

사전준비

  • 사전에 Docker는 Desktop 설치가 되어 있다고 가정한다.
  • 코드 편집을 위해서는 Visual Studio Code를 활용한다.

Docker가 익숙하지 않은 사람들을 위한 1줄 요약

  • MySQL 설치하고, Python 설치하고, 두개 또 연동해야 하고, CLI 명령어 또 각각 입력하는거 다 자동화 해줄게요!!
  • 즉, 자동화에 익숙해지자!

docker-compose와 Dockerfile 간단 비교

  • docker-compose.yml : python 컨테이너와 mysql 컨테이너를 각각 한꺼번에 구성하도록 스크립트를 작성함
  • Dockerfile : 여기에서는 python 개발환경을 구성함
  • docker-compose.yml에서 Dockerfile을 호출하여 개발환경을 만들도록 지시할 수 있음

전체 코드 흐름 1줄 요약

  • From MySQL to Python Flask

init.sql과 app.py 간단 설명

  • 각 두개의 파일은 사전에 미리 작성을 해둔다.

MySQL : init.sql

  • SQL 코드는 데이터베이스와 테이블을 생성하고, 테이블에 데이터를 삽입하는 작업을 수행.
    • test_db 데이터베이스 생성
    • users 테이블 생성
    • 간단하게 이름 생성
CREATE DATABASE IF NOT EXISTS test_db;

USE test_db;

CREATE TABLE IF NOT EXISTS users (
    id INT AUTO_INCREMENT PRIMARY KEY,
    name VARCHAR(255) NOT NULL
);

INSERT INTO users (name) VALUES ('Evan');
INSERT INTO users (name) VALUES ('Sara');
INSERT INTO users (name) VALUES ('Lotto');

Python : app.py

  • Python 코드는 Flask 웹 애플리케이션을 설정하여 MySQL 데이터베이스에 연결하고, 사용자 데이터를 JSON 형식으로 반환하는 작업을 수행.
from flask import Flask, jsonify
import mysql.connector
import os

app = Flask(__name__)

def get_db_connection():
    connection = mysql.connector.connect(
        host='mysql',
        user='root',
        password='example',
        database='test_db'
    )
    return connection

@app.route('/')
def index():
    connection = get_db_connection()
    cursor = connection.cursor()
    cursor.execute('SELECT * FROM users')
    users = cursor.fetchall()
    cursor.close()
    connection.close()
    users_list = [{"id": user[0], "name": user[1]} for user in users]
    return jsonify(users_list)

if __name__ == '__main__':
    app.run(host='0.0.0.0', port=5000)
  • 좀더 구체적으로 살펴본다.

step 01 - 라이브러리 불러오기

  • Flask: Flask 웹 애플리케이션 프레임워크를 불러오기
  • jsonify: 데이터를 JSON 형식으로 변환하여 HTTP 응답으로 반환하는 데 사용
  • mysql.connector: MySQL 데이터베이스에 연결하기 위해 사용
from flask import Flask, jsonify
import mysql.connector
import os

step 02 - Flask Application Setup

  • Flask 애플리케이션 인스턴스를 생성. __name__은 현재 모듈의 이름을 전달하여 Flask 애플리케이션을 생성하는 데 사용.
app = Flask(__name__)

step 03 - Database Connection Function

  • get_db_connection 함수는 MySQL 데이터베이스에 연결하고, 연결 객체를 반환.
  • host, user, password, database 매개변수는 데이터베이스에 연결하기 위한 정보
def get_db_connection():
    connection = mysql.connector.connect(
        host='mysql',
        user='root',
        password='example',
        database='test_db'
    )
    return connection

step 04 - Index Route

  • @app.route('/'): 해당 Decorator는 URL (’/’)에 대한 요청을 처리하는 index 함수를 정의.
  • index 함수의 내용은 다음과 같이 구성됨
    • get_db_connection을 호출하여 데이터베이스에 연결.
    • 연결 객체에서 커서를 생성하고, SELECT * FROM users 쿼리를 실행하여 users 테이블의 모든 데이터를 가져오기
    • 데이터를 가져온 후 커서와 연결을 닫기
    • users 데이터를 List Comprehension을 사용하여 딕셔너리 형태로 변환합니다. 각 사용자에 대해 idname 키를 가지는 딕셔너리를 생성.
      • 이 부분은 별도의 HTML 소스코드를 넣지 않기 위해서 진행한 것이니, 해당 자세한 내용을 보기를 원한다면 Flask 웹개발로 더 공부할 것 권장
    • 변환된 리스트를 jsonify를 사용하여 JSON 형식으로 반환.
@app.route('/')
def index():
    connection = get_db_connection()
    cursor = connection.cursor()
    cursor.execute('SELECT * FROM users')
    users = cursor.fetchall()
    cursor.close()
    connection.close()
    users_list = [{"id": user[0], "name": user[1]} for user in users]
    return jsonify(users_list)

step 05 - Running the Application

  • 모듈이 직접 실행될 때만 Flask 애플리케이션을 실행
    • app.run 메소드를 호출하여 애플리케이션을 시작.
    • host='0.0.0.0': 애플리케이션이 모든 네트워크 인터페이스에서 접근 가능하도록 설정.
    • port=5000: 애플리케이션이 5000번 포트에서 실행되도록 설정.
if __name__ == '__main__':
    app.run(host='0.0.0.0', port=5000)

Python : requirements.txt

  • 주요 라이브러리 설치 위해 필요한 라이브러리 2개만 설치
  • 추후에 독자가 라이브러리 추가 가능
Flask
mysql-connector-python

Docker: Dockerfile

  • Dockerfile은 Python 애플리케이션을 컨테이너화하기 위한 스크립트
  • 다른 파일과 달리 확장자명이 없다는 것에 주의
  • 다양한 옵션에 대해 설명하도록 한다.
FROM python:3.10-slim

WORKDIR /app

COPY app/requirements.txt .

RUN pip install --no-cache-dir -r requirements.txt

COPY app/ .

EXPOSE 5000

CMD ["python", "app.py"]

step 01 - FROM

FROM python:3.10-slim
  • Base Image를 선택한다. 해당 이미지를 선택하려면 Docker Hub 검색창에서 확인 (Login 필수)
  • 각 Base Image를 선택하면 관련 Tag가 존재하며 여기에서 Tags 확인해서 입력하도록 한다.
  • Docker Official Image 를 선택한다.

Screenshot 2024-07-01 at 8.16.09 AM.png

Streamlit on Google Colab

개요

  • 개발환경설정이 어려운 환경에서 Google Colab 상에서 Streamlit 설치 및 실행을 익히고자 한다.
  • 주로 강의 목적으로 사용하기를 바란다.

Streamlit 라이브러리 설치

  • 아래 코드를 활용하여 streamlit 라이브러리 설치
!pip install -q streamlit

Untitled

Streamlit 코드 작성 샘플

%%writefile app.py

import streamlit as st
import plotly.graph_objs as go
from plotly.subplots import make_subplots
import seaborn as sns

@st.cache_data
def load_data():
    df = sns.load_dataset('tips')
    return df

def main():
    st.title("Streamlit with Plotly")   
    tips = load_data()

    # 데이터가공
    m_tips = tips.loc[tips['sex'] == 'Male', :]
    f_tips = tips.loc[tips['sex'] == 'Female', :]

    # 시각화 차트
    fig = make_subplots(rows = 1,
                        cols = 2,
                        subplot_titles=('Male', 'Female'),
                        shared_yaxes=True,
                        shared_xaxes=True,
                        x_title='Total Bill($)'
                        )
    fig.add_trace(go.Scatter(x = m_tips['total_bill'], y = m_tips['tip'], mode='markers'), row=1, col=1)
    fig.add_trace(go.Scatter(x = f_tips['total_bill'], y = f_tips['tip'], mode='markers'), row=1, col=2)
    fig.update_yaxes(title_text="Tip($)", row=1, col=1)
    fig.update_xaxes(range=[0, 60])
    fig.update_layout(showlegend=False)
    
    # 중요포인트
    # fig.show()
    st.plotly_chart(fig, use_container_width=True)

if __name__ == "__main__":
    main()

Untitled

Oracle VM Box 양방향 복사 붙이기

개요

  • VirtualBox를 통해 복사 붙이기 등을 하려고 함

사전작업 1 - 우분투 패키지 업그레이드

  • 터미널을 열고 아래 코드를 순차적으로 입력
sudo apt update

Untitled

  • 업그레이 명령어 입력
sudo apt upgrade

Untitled

사전작업 2 - 게스트 확장 설치

  • 우선 주요 라이브러리 설치 진행
sudo apt install gcc make perl

Untitled

  • 게스트 확장 CD 이미지 삽입 메뉴 클릭

Untitled

  • 해당 디렉터리를 열고, 마우스 우클릭 > 터미널에서 열기 실행

Untitled

  • ls 명령어 실행
    • VBoxLinuxAdditions.run 파일이 있는지 확인
ls

Untitled

Ubuntu install on M1

개요

  • M1에서 Ubuntu를 설치하는 방법에 대해 기술한다.

Ubuntu 24.04 LTS 다운로드

  • Ubuntu Download를 진행한다.
    • 다운로드 받을 시, arm으로 다운로드 받아야 한다.
    • 다른 아키텍처로 다운로드 받을 시 리눅스가 활성화가 되지 않는다.
  • 사이트 : https://ubuntu.com/download/server/arm

Screenshot 2024-05-21 at 9.43.12 AM.png

Screenshot 2024-05-21 at 10.46.43 AM.png

UTM 다운로드

Screenshot 2024-05-21 at 9.29.15 AM.png

UTM 가상머신 생성

  • UTM을 실행하면 아래와 같은 화면이 나온다.
  • Create a New Virtual Machine을 선택한다.

Screenshot 2024-05-21 at 9.30.52 AM.png

gcloud installation on Mac, SSH Connection with VSCode

개요

Screenshot 2024-04-22 at 6.15.48 PM.png

설치파일 다운로드

  • 각 사용자 버전에 맞는 설치 파일을 다운로드 받는다.
    • 필자는 M1 silicon 버전을 사용하기로 하였다.
    • Desktop > gcloud_install 내부에 해당 파일을 다운로드 받았다.

Screenshot 2024-04-22 at 6.16.45 PM.png

  • 압축을 풀면 아래와 같이 google-cloud-sdk 폴더 안애 install.sh 파일이 있다.

Screenshot 2024-04-22 at 6.20.54 PM.png

설치파일 실행

  • 해당 폴더에 있는 파일에 접속해서 install.sh 파일을 실행한다.
$ {your_location}/google-cloud-sdk/install.sh
Welcome to the Google Cloud CLI!

To help improve the quality of this product, we collect anonymized usage data
and anonymized stacktraces when crashes are encountered; additional information
is available at <https://cloud.google.com/sdk/usage-statistics>. This data is
handled in accordance with our privacy policy
<https://cloud.google.com/terms/cloud-privacy-notice>. You may choose to opt in this
collection now (by choosing 'Y' at the below prompt), or at any time in the
future by running the following command:

    gcloud config set disable_usage_reporting false

Do you want to help improve the Google Cloud CLI (y/N)? y

Your current Google Cloud CLI version is: 471.0.0
The latest available version is: 472.0.0

┌────────────────────────────────────────────────────────────────────────────────────────────────────────────────────┐
│                                                     Components                                                     │
├──────────────────┬──────────────────────────────────────────────────────┬──────────────────────────────┬───────────┤
│      Status      │                         Name                         │              ID              │    Size   │
├──────────────────┼──────────────────────────────────────────────────────┼──────────────────────────────┼───────────┤
│ Update Available │ BigQuery Command Line Tool                           │ bq                           │   1.7 MiB │
│ Update Available │ Google Cloud CLI Core Libraries                      │ core                         │  18.4 MiB │
│ Not Installed    │ App Engine Go Extensions                             │ app-engine-go                │   4.5 MiB │
│ Not Installed    │ Appctl                                               │ appctl                       │  18.5 MiB │
│ Not Installed    │ Artifact Registry Go Module Package Helper           │ package-go-module            │   < 1 MiB │
│ Not Installed    │ Cloud Bigtable Command Line Tool                     │ cbt                          │  16.7 MiB │
│ Not Installed    │ Cloud Bigtable Emulator                              │ bigtable                     │   7.0 MiB │
│ Not Installed    │ Cloud Datastore Emulator                             │ cloud-datastore-emulator     │  36.2 MiB │
│ Not Installed    │ Cloud Firestore Emulator                             │ cloud-firestore-emulator     │  44.8 MiB │
│ Not Installed    │ Cloud Pub/Sub Emulator                               │ pubsub-emulator              │  63.3 MiB │
│ Not Installed    │ Cloud Run Proxy                                      │ cloud-run-proxy              │  11.3 MiB │
│ Not Installed    │ Cloud SQL Proxy v2                                   │ cloud-sql-proxy              │  13.2 MiB │
│ Not Installed    │ Google Container Registry's Docker credential helper │ docker-credential-gcr        │           │
│ Not Installed    │ Kustomize                                            │ kustomize                    │   7.4 MiB │
│ Not Installed    │ Log Streaming                                        │ log-streaming                │  11.9 MiB │
│ Not Installed    │ Minikube                                             │ minikube                     │  33.6 MiB │
│ Not Installed    │ Nomos CLI                                            │ nomos                        │  28.6 MiB │
│ Not Installed    │ On-Demand Scanning API extraction helper             │ local-extract                │  13.7 MiB │
│ Not Installed    │ Skaffold                                             │ skaffold                     │  22.8 MiB │
│ Not Installed    │ Terraform Tools                                      │ terraform-tools              │  63.6 MiB │
│ Not Installed    │ anthos-auth                                          │ anthos-auth                  │  20.7 MiB │
│ Not Installed    │ config-connector                                     │ config-connector             │  55.6 MiB │
│ Not Installed    │ enterprise-certificate-proxy                         │ enterprise-certificate-proxy │   8.3 MiB │
│ Not Installed    │ gcloud Alpha Commands                                │ alpha                        │   < 1 MiB │
│ Not Installed    │ gcloud Beta Commands                                 │ beta                         │   < 1 MiB │
│ Not Installed    │ gcloud app Java Extensions                           │ app-engine-java              │ 126.2 MiB │
│ Not Installed    │ gcloud app PHP Extensions                            │ app-engine-php               │  21.9 MiB │
│ Not Installed    │ gcloud app Python Extensions                         │ app-engine-python            │   5.0 MiB │
│ Not Installed    │ gcloud app Python Extensions (Extra Libraries)       │ app-engine-python-extras     │   < 1 MiB │
│ Not Installed    │ gke-gcloud-auth-plugin                               │ gke-gcloud-auth-plugin       │   7.4 MiB │
│ Not Installed    │ kpt                                                  │ kpt                          │  14.4 MiB │
│ Not Installed    │ kubectl                                              │ kubectl                      │   < 1 MiB │
│ Not Installed    │ kubectl-oidc                                         │ kubectl-oidc                 │  20.7 MiB │
│ Not Installed    │ pkg                                                  │ pkg                          │           │
│ Installed        │ Cloud Storage Command Line Tool                      │ gsutil                       │  11.3 MiB │
│ Installed        │ Google Cloud CRC32C Hash Tool                        │ gcloud-crc32c                │   1.2 MiB │
└──────────────────┴──────────────────────────────────────────────────────┴──────────────────────────────┴───────────┘
To install or remove components at your current SDK version [471.0.0], run:
  $ gcloud components install COMPONENT_ID
  $ gcloud components remove COMPONENT_ID

To update your SDK installation to the latest version [472.0.0], run:
  $ gcloud components update

Modify profile to update your $PATH and enable shell command completion?

Do you want to continue (Y/n)?  y

The Google Cloud SDK installer will now prompt you to update an rc file to bring
 the Google Cloud CLIs into your environment.

Enter a path to an rc file to update, or leave blank to use 
[/Users/evan/.bash_profile]:  
Backing up [/Users/evan/.bash_profile] to [/Users/evan/.bash_profile.backup].
[/Users/evan/.bash_profile] has been updated.

==> Start a new shell for the changes to take effect.

Google Cloud CLI works best with Python 3.11 and certain modules.

Download and run Python 3.11 installer? (Y/n)?  Y
Running Python 3.11 installer, you may be prompted for sudo password...
Password: # your_password
installer: Package name is Python
installer: Upgrading at base path /
installer: The upgrade was successful.
Setting up virtual environment
Creating virtualenv...
Installing modules...
     ━━━━━━━━━━━━━━━━━━━━━━━━━━━━━━━━━━━━━━━━ 89.7/89.7 kB 4.6 MB/s eta 0:00:00
  Installing build dependencies ... done
  Getting requirements to build wheel ... done
  Preparing metadata (pyproject.toml) ... done
   ━━━━━━━━━━━━━━━━━━━━━━━━━━━━━━━━━━━━━━━━ 59.0/59.0 kB 5.9 MB/s eta 0:00:00
   ━━━━━━━━━━━━━━━━━━━━━━━━━━━━━━━━━━━━━━━━ 10.0/10.0 MB 33.9 MB/s eta 0:00:00
   ━━━━━━━━━━━━━━━━━━━━━━━━━━━━━━━━━━━━━━━━ 163.8/163.8 kB 16.1 MB/s eta 0:00:00
   ━━━━━━━━━━━━━━━━━━━━━━━━━━━━━━━━━━━━━━━━ 5.3/5.3 MB 42.0 MB/s eta 0:00:00
   ━━━━━━━━━━━━━━━━━━━━━━━━━━━━━━━━━━━━━━━━ 176.7/176.7 kB 15.4 MB/s eta 0:00:00
   ━━━━━━━━━━━━━━━━━━━━━━━━━━━━━━━━━━━━━━━━ 117.6/117.6 kB 10.4 MB/s eta 0:00:00
  Building wheel for crcmod (pyproject.toml) ... done

Updates are available for some Google Cloud CLI components.  To install them,
please run:
  $ gcloud components update

Virtual env enabled.

For more information on how to get started, please visit:
  https://cloud.google.com/sdk/docs/quickstarts
  • gcloud CLI를 초기화하려면 gcloud init 을 실행한다.
$ ./google-cloud-sdk/bin/gcloud init
Welcome! This command will take you through the configuration of gcloud.

Your current configuration has been set to: [default]

You can skip diagnostics next time by using the following flag:
  gcloud init --skip-diagnostics

Network diagnostic detects and fixes local network connection issues.
Checking network connection...done.                                            
Reachability Check passed.
Network diagnostic passed (1/1 checks passed).

You must log in to continue. Would you like to log in (Y/n)?  Y

Your browser has been opened to visit:

    https://accounts.google.com/o/oauth2/....S256

You are logged in as: [your_email@gmail.com].

Pick cloud project to use: 
 [1] chickenbot-a185e
 [2] encoded-phalanx-420600
 [3] streamlit-gitaction-403105
 [4] streamlit-project-416601
 [5] Enter a project ID
 [6] Create a new project
Please enter numeric choice or text value (must exactly match list item):  2

Screenshot 2024-04-22 at 6.34.04 PM.png

gcloud Installation on Windows 11 - New Configuration

개요

재설치

  • 재설치의 마지막 화면은 다음과 같다.
  • Pick configuration to use, Section에서 2번을 선택한다.

Untitled

  • 이후 CMD 화면이 팝업화가 된다.
Welcome to the Google Cloud CLI! Run "gcloud -h" to get the list of available commands.
---
Welcome! This command will take you through the configuration of gcloud.

Settings from your current configuration [default] are:
accessibility:
  screen_reader: 'True'
compute:
  region: asia-northeast3
  zone: asia-northeast3-a
core:
  account: your_existing@gmail.com
  disable_usage_reporting: 'False'
  project: mulcampfp

Pick configuration to use:
 [1] Re-initialize this configuration [default] with new settings
 [2] Create a new configuration
Please enter your numeric choice:  2
  • 이번에는 Enter configuration name이 있다. 이 때, 접속하고자 하는 [mulcamp-project-abc] 프로젝트를 입력한다.
  • 이 때, 참고하고자 하는 프로젝트 정보에서 Project ID와 매칭되는 것을 선택한다.
Enter configuration name. Names start with a lower case letter and contain only lower case letters a-z, digits 0-9, and
hyphens '-':  mulcamp-project-abc
Your current configuration has been set to: [mulcamp-project-abc]
  • 기존 이메일 주소를 선택하거나 또는 다른 이메일을 선택한다. 필자는 1번으로 선택하였다.
You can skip diagnostics next time by using the following flag:
  gcloud init --skip-diagnostics

Network diagnostic detects and fixes local network connection issues.
Checking network connection...done.
Reachability Check passed.
Network diagnostic passed (1/1 checks passed).

Choose the account you would like to use to perform operations for this configuration:
 [1] your_email@gmail.com
 [2] Log in with a new account
Please enter your numeric choice: 1
  • 로그인 이후에는 기존 이메일 계정에 있는 프로젝트 목록이 활성화 될 것이다.

Untitled

Github Actions with GCE, SSH-Key 값 등록

개요

  • Github Actions 강의 중, 애매한 부분을 정리하였다.
  • Github Actions에 대한 전체 코드는 여기에서 다루지는 않는다.

SSH-Key 값 설정

  • GCE에서 Github와 연동을 위해서는 Key값을 생성해야 한다.
  • 본인의 구글클라우드 이메일을 추가하여 아래와 같이 코드를 실행한다.
  • GCP의 ID와 Github의 이메일 주소가 다른 분들이 있다. 이럴 경우 문제가 발생할 수 있다.
    • 주의 : Github 이메일 주소가 아님
$ ssh-keygen -t rsa -b 4096 -C "your@gmail.com"

Github SSH Key값 생성

  • ssh의 public 키값을 복사한다.
$ cat .ssh/id_rsa.pub 
ssh-rsa AAAAB3...Q== your@gmail.com

Github SSH 등록

  • public key값을 복사하여 아래 SSH and GPG keys 값에 복사한다.

Untitled

django-web on GCE

개요

  • django-web을 GCE에 설치 및 배포를 간단하게 진행하도록 한다.

사전준비

  • Google Cloud Platform 회원가입은 미리 진행했고, GCE 인스턴스를 생성할 줄 아는 상태임을 전제로 한다.
  • Miniconda 설치가 끝난 상황임을 가정한다.
  • Miniconda 설치
mkdir -p ~/miniconda3
wget https://repo.anaconda.com/miniconda/Miniconda3-latest-Linux-x86_64.sh -O ~/miniconda3/miniconda.sh
bash ~/miniconda3/miniconda.sh -b -u -p ~/miniconda3
rm -rf ~/miniconda3/miniconda.sh
  • 설치 후, 새로 설치한 미니콘다를 초기화합니다. 다음 명령은 bash 및 zsh 셸을 초기화
~/miniconda3/bin/conda init bash
~/miniconda3/bin/conda init zsh

django on GCE

  • GCE Shell에서 django를 설치한다.
pip install django
  • django의 버전을 확인한다.
django-admin --version
5.0.4
  • project 명령어를 입력한다.
django-admin startproject mysite
  • 서버를 실행해본다.
    • 경로를 mysite에 이동 시킨 후 아래 명령어를 실행한다.
$ python manage.py makemigrations
$ python manage.py migrate
Operations to perform:
  Apply all migrations: admin, auth, contenttypes, sessions
Running migrations:
  Applying contenttypes.0001_initial... OK
  Applying auth.0001_initial... OK
  Applying admin.0001_initial... OK
  Applying admin.0002_logentry_remove_auto_add... OK
  Applying admin.0003_logentry_add_action_flag_choices... OK
  Applying contenttypes.0002_remove_content_type_name... OK
  Applying auth.0002_alter_permission_name_max_length... OK
  Applying auth.0003_alter_user_email_max_length... OK
  Applying auth.0004_alter_user_username_opts... OK
  Applying auth.0005_alter_user_last_login_null... OK
  Applying auth.0006_require_contenttypes_0002... OK
  Applying auth.0007_alter_validators_add_error_messages... OK
  Applying auth.0008_alter_user_username_max_length... OK
  Applying auth.0009_alter_user_last_name_max_length... OK
  Applying auth.0010_alter_group_name_max_length... OK
  Applying auth.0011_update_proxy_permissions... OK
  Applying auth.0012_alter_user_first_name_max_length... OK
  Applying sessions.0001_initial... OK
$ python manage.py runserver
...

April 18, 2024 - 05:13:47
Django version 5.0.4, using settings 'mysite.settings'
Starting development server at http://127.0.0.1:8000/
Quit the server with CONTROL-C.

Untitled

Spark Code 실행 예제

강의소개

  • 인프런에서 Streamlit 관련 강의를 진행하고 있습니다.

개요

  • 현재 러닝 스파크 교재를 배우고 있다.
  • 해당 교재는 주로 00.py에서 실행하는 방법으로 안내하고 있지만, Google Colab에서 어떻게 변환하는지 확인해보고자 한다.

Spark 설정

Untitled

  • Download 버튼을 클릭하면 아래와 같은 화면이 나온다.
    • 주소를 복사한다. https://dlcdn.apache.org/spark/spark-3.5.1/spark-3.5.1-bin-hadoop3.tgz

Untitled