개요
Django 한 그릇 뚝딱 교재의 내용에서 멀티캠퍼스 강의에 맞게 일부 수정함- 2019년 버전이고 현재는 2023년이기 때문에 소스코드 변경 사항이 필요할 거 같아서 글을 남김
교재 홍보

Step 01 - 이전 글
Step 02 - 파일 업로드 하기
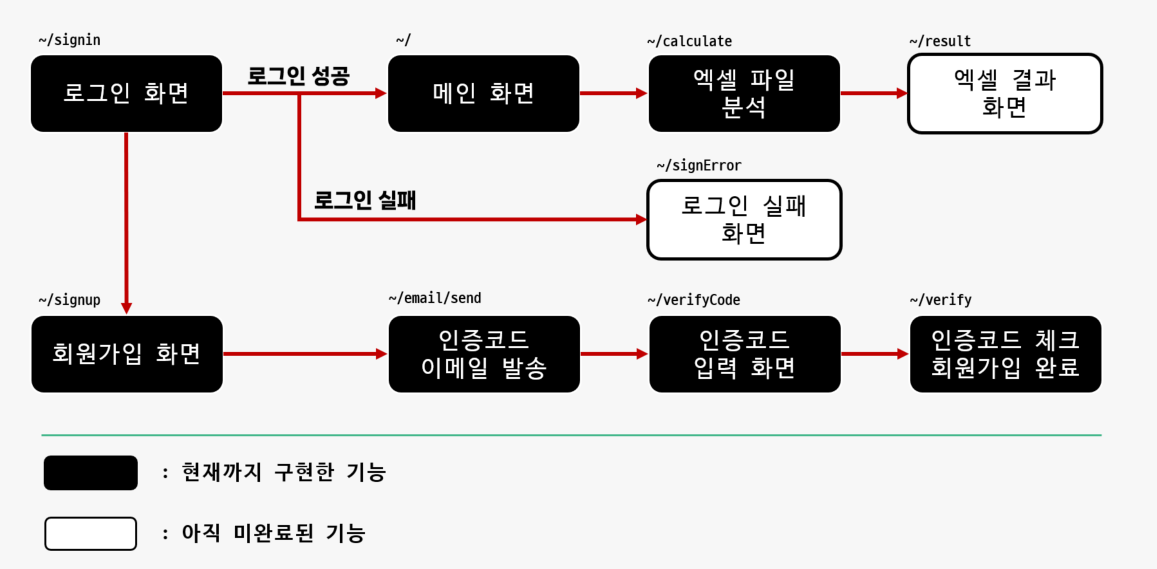
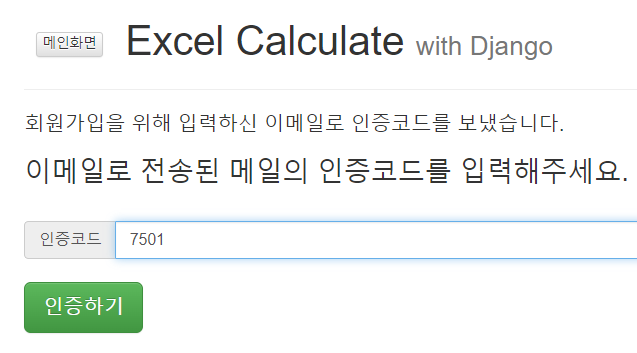
- 로그인을 통해 메인 화면으로 왔다면, 파일 업로드 기능 구현
Step 03 - 파일 업로드 기능 구현
check - 1 : index.html 구현
- 파일 경로 : ExcelCalculate > main > templates > main > index.html
- 파일 제출 버튼을 눌렀을 때 가려는 url을 등록한다.
- 또한
enctype="multipart/form-data" 를 추가한다.- 이것을 사용해야 파일의 내용이 올바르게 전달된다.
<div class="content">
<div class="fileInputDiv">
<form action="**calculate/**" method="POST" enctype="multipart/form-data">{% csrf_token %}
<div class="input-group">
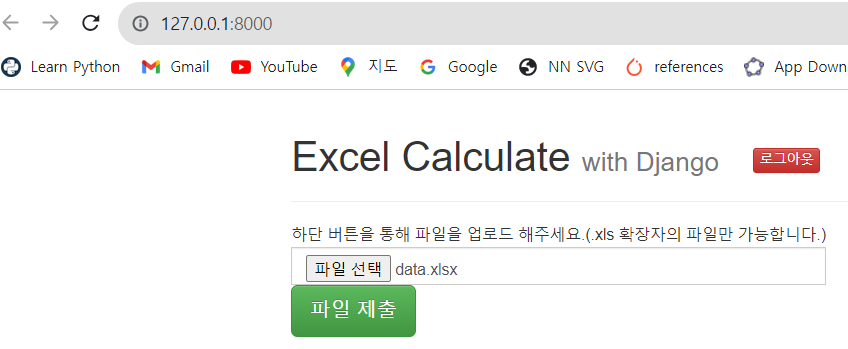
하단 버튼을 통해 파일을 업로드 해주세요.(.xls 확장자의 파일만 가능합니다.)<br>
<input id="fileInput" name="fileInput" type="file" class="form-control">
<input type="submit" class="btn btn-success btn-lg" value="파일 제출">
</div>
</form>
</div>
</div>
calculate/ 경로는 초기에 ExcelCalculate > ExcelCalculate > urls.py에서 이미 설정해놨다.
from django.contrib import admin
from django.urls import path, include

urlpatterns = [
    path('email/', include('sendEmail.urls'), name="email"),
    path('calculate/', include('calculate.urls'), name="calculate"),
    path('', include('main.urls'), name="main"),
    path("admin/", admin.site.urls),
]
ExcelCalcalculate > calculate > urls.py 에서도 이미 설정을 해놨다.
from django.urls import path
from . import views

urlpatterns = [
    path('', views.calculate, name="calculate_do"),
]
check - 2 : views.py 구현
- 파일 경로 :
ExcelCalculate > calculate > views.py - 이 때,
request.POST가 아닌 request.FILES를 이용한다.
# Create your views here.
def calculate(request):
    file = request.FILES['fileInput']
    print("# 사용자가 등록한 파일의 이름: ", file)
    return HttpResponse("calculate, calculate function!")
check - 3 : 테스트
- 이제 data.xlsx 파일을 업로드 한다.
- 파일 제출 버튼을 누를 시, 웹에서는 정상적으로
calculate, calculate function! 출력이 되어야 하고 터미널에서는 아래와 같이 print() 문구가 나와야 한다.