개요
- Plotly 그래프를 다양한 방법으로 내보내는 코드를 작성해본다.
- 본 블로그에서는 HTML, PNG 두가지 형태로 내보내는 방법을 숙지한다.
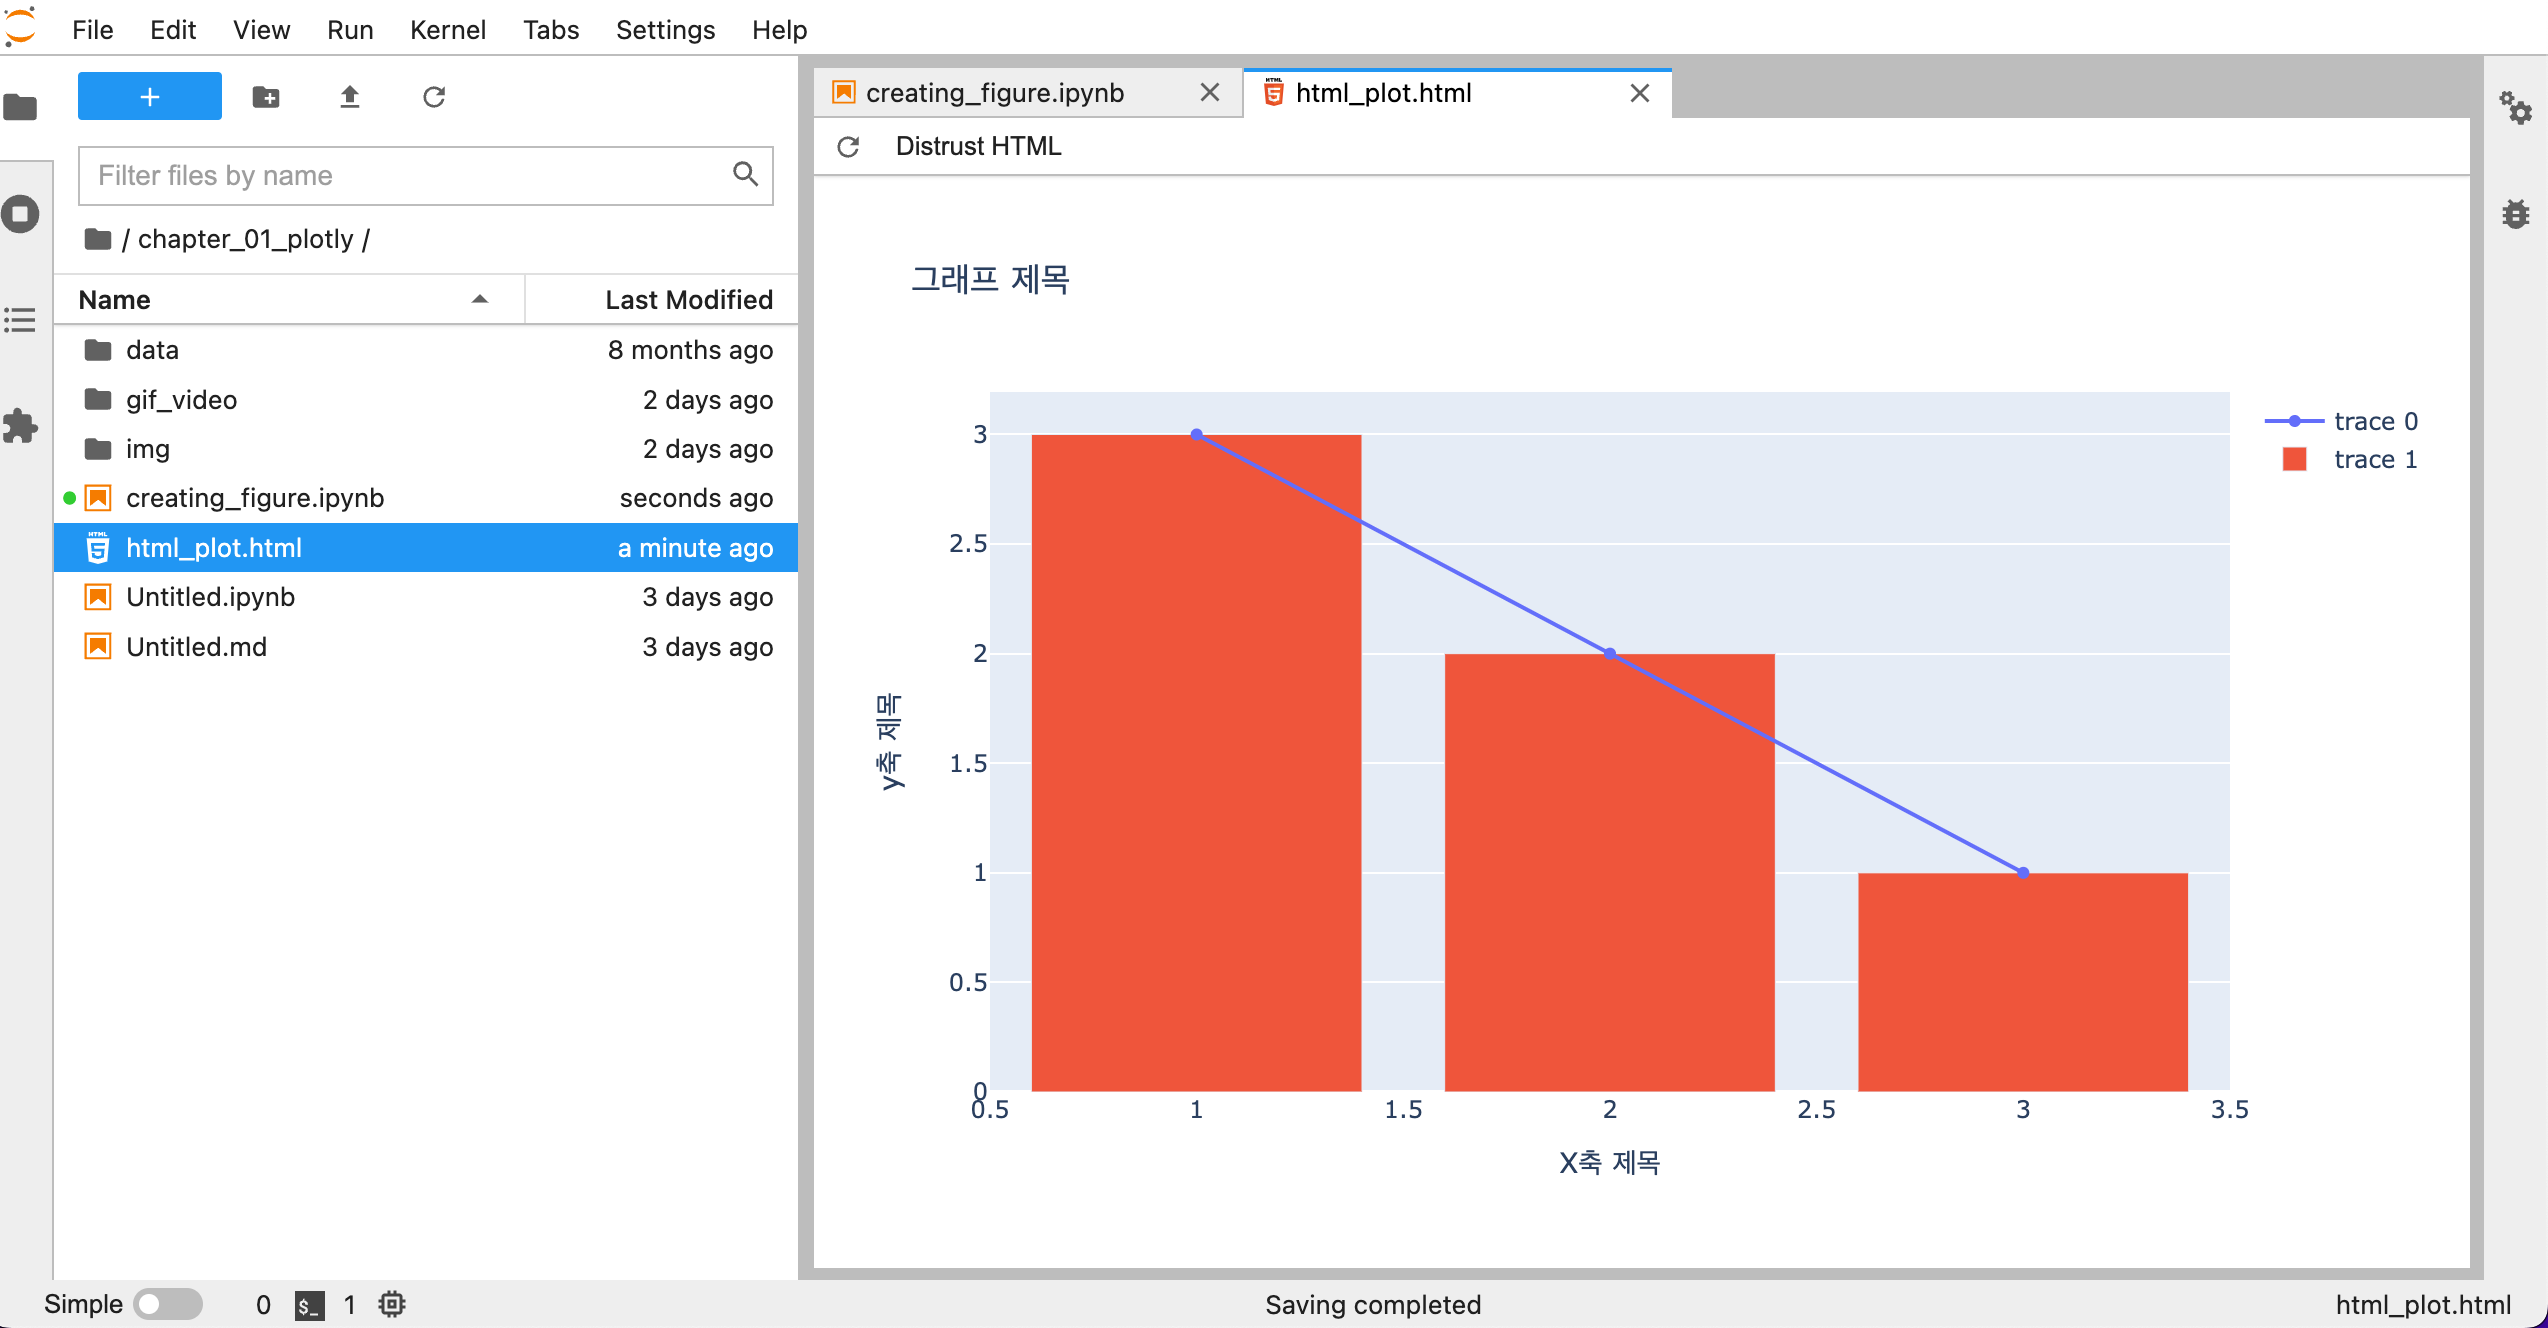
HTML로 내보내기
- plotly figures는 HTML 및 자바스크립트로 구성되어 있다.
- 소스코드는 아래와 같다.
fig.write_html('html_plot.html', config={'toImageButtonOptions':{'format': 'svg'}})
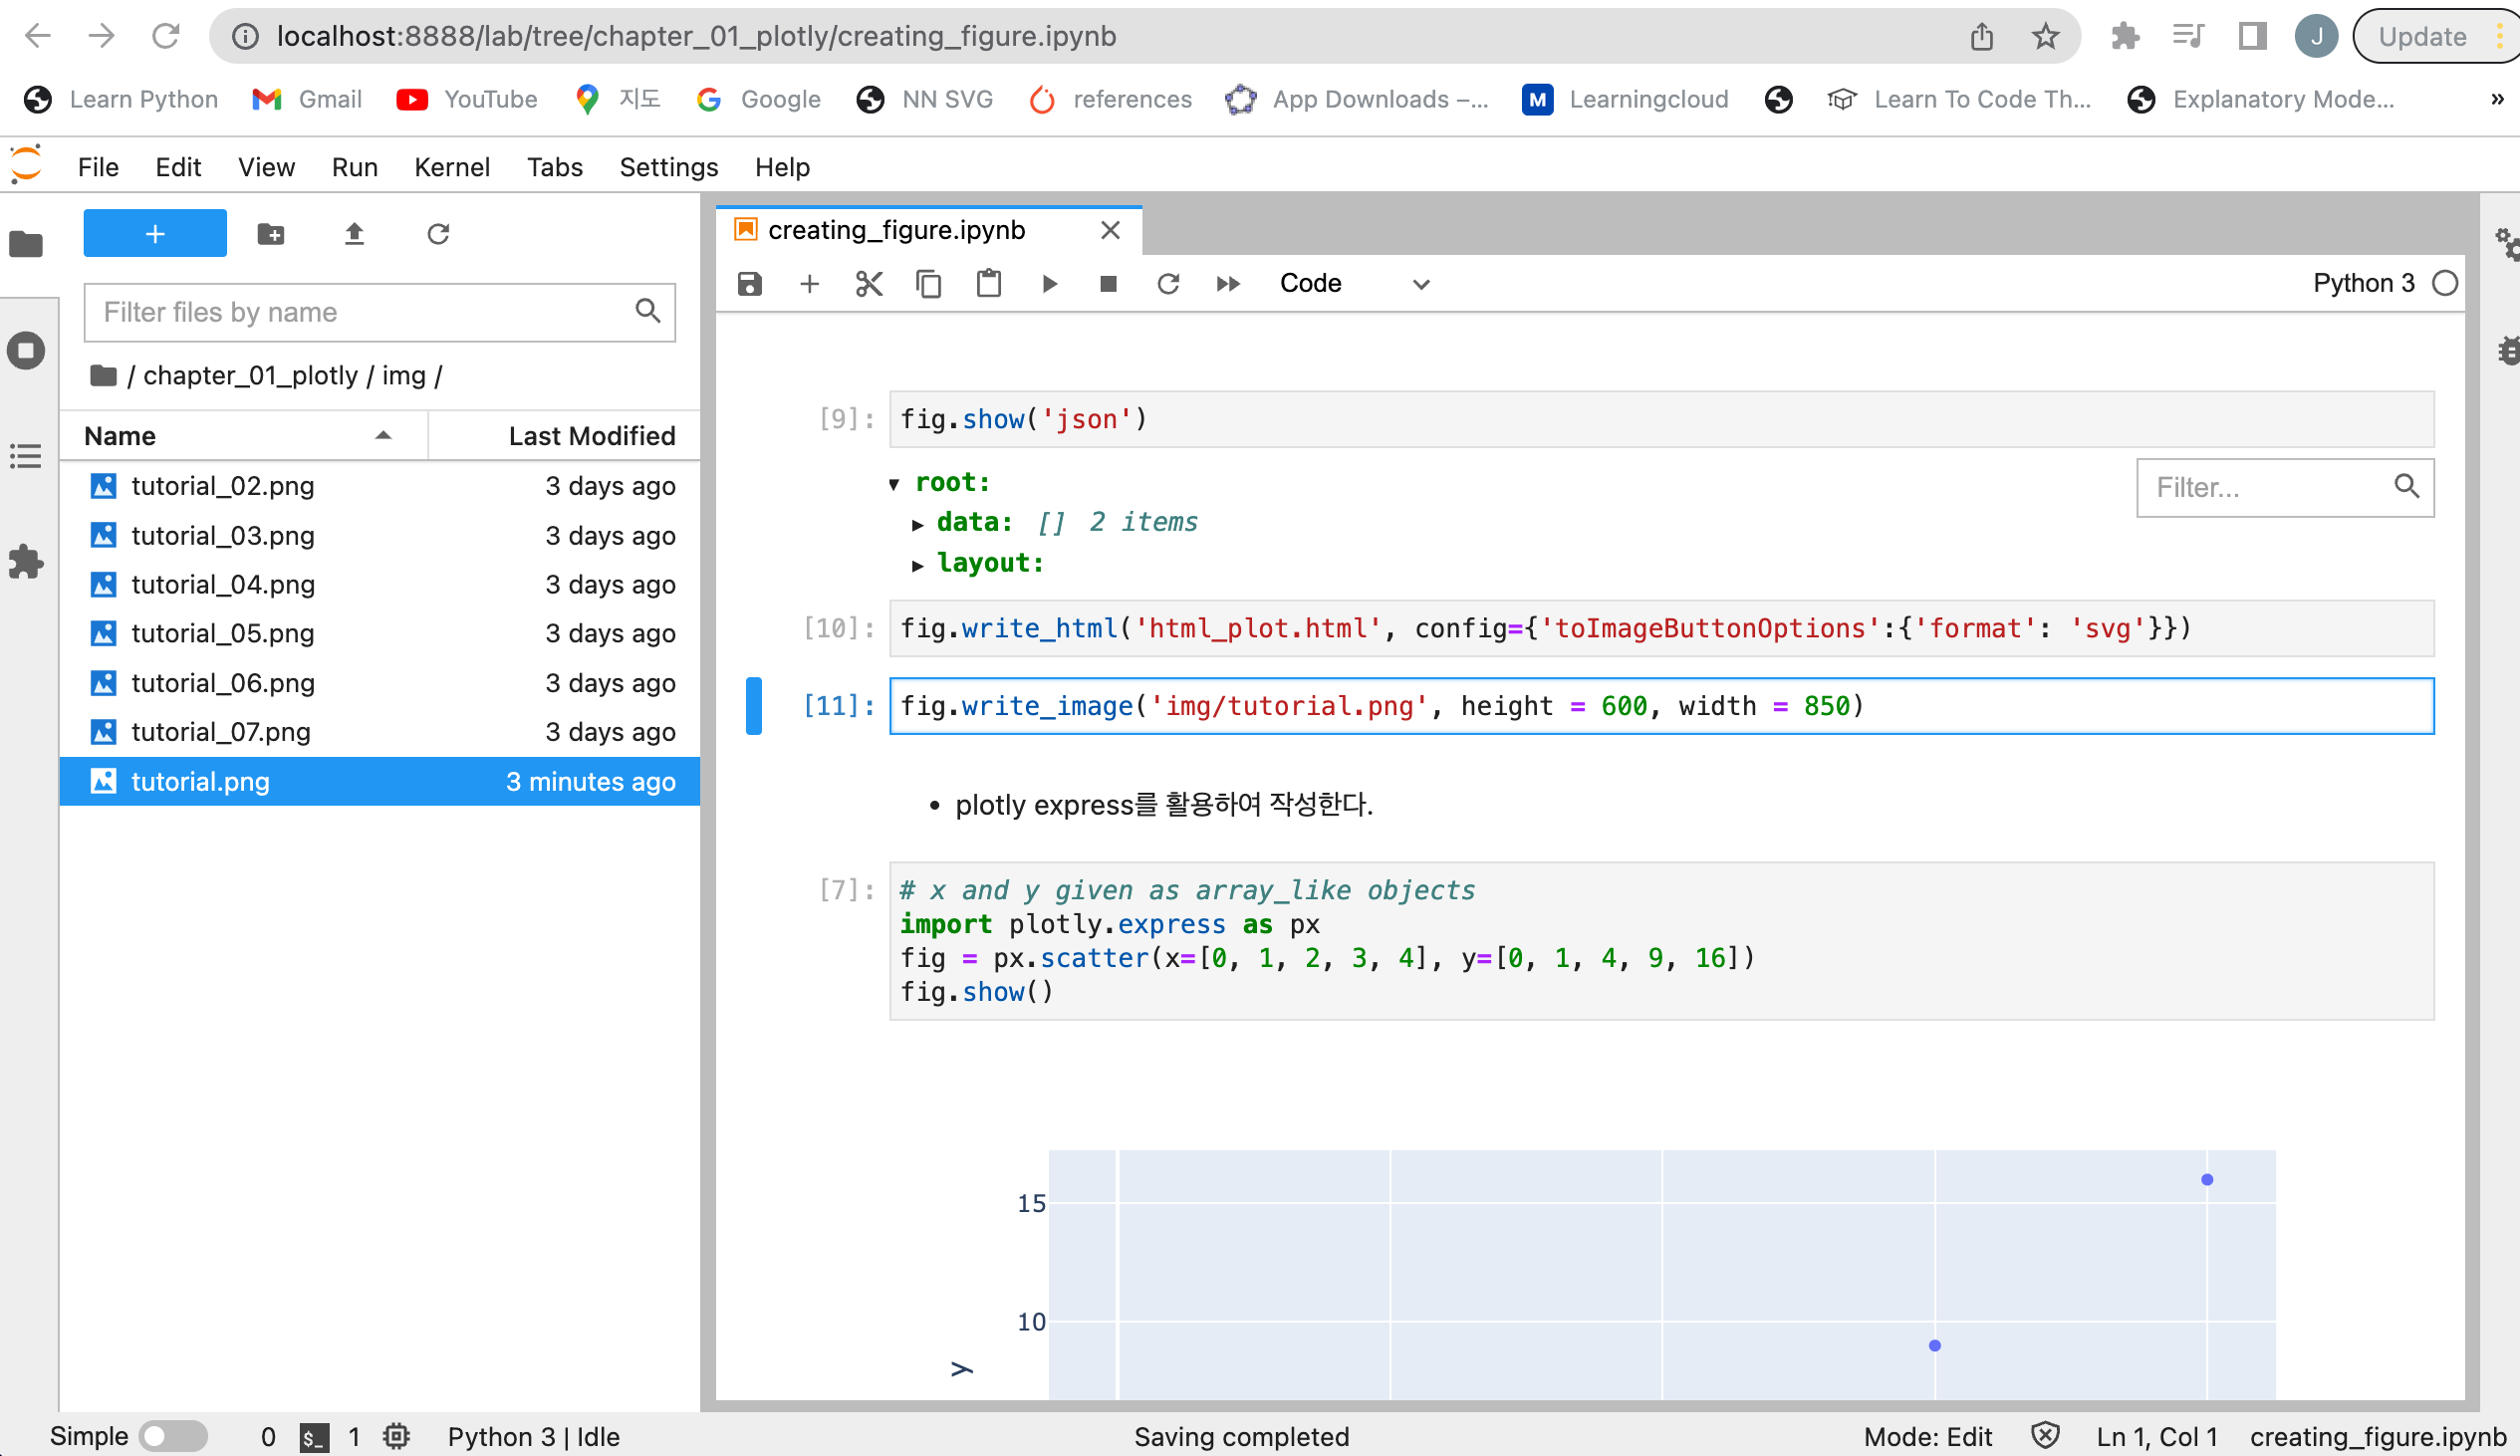
image로 내보내기
- 이미지로 내보내기 위해서는 아래와 같이 소스코드를 작성한다.
fig.write_image('path/to/image_file.svg',height=600, width=850)
- 그런데, 실행 시, 다음과 에러가 나올 경우 아래와 같이 라이브러리를 설치한다.
---------------------------------------------------------------------------
ValueError                                Traceback (most recent call last)
<ipython-input-11-691564193a43> in <module>
----> 1 fig.write_image('img/tutorial.png', height = 600, width = 850)

/Library/Frameworks/Python.framework/Versions/3.8/lib/python3.8/site-packages/plotly/basedatatypes.py in write_image(self, *args, **kwargs)
   3819         import plotly.io as pio
   3820
-> 3821         return pio.write_image(self, *args, **kwargs)
   3822
   3823     # Static helpers

/Library/Frameworks/Python.framework/Versions/3.8/lib/python3.8/site-packages/plotly/io/_kaleido.py in write_image(fig, file, format, scale, width, height, validate, engine)
    266     # -------------
    267     # Do this first so we don't create a file if image conversion fails
--> 268     img_data = to_image(
    269         fig,
    270         format=format,

/Library/Frameworks/Python.framework/Versions/3.8/lib/python3.8/site-packages/plotly/io/_kaleido.py in to_image(fig, format, width, height, scale, validate, engine)
    132     # Raise informative error message if Kaleido is not installed
    133     if scope is None:
--> 134         raise ValueError(
    135             """
    136 Image export using the "kaleido" engine requires the kaleido package,

ValueError:
Image export using the "kaleido" engine requires the kaleido package,
which can be installed using pip:
    $ pip install -U kaleido
fig.write_image('img/tutorial.png', height = 600, width = 850)
- 해당되는 경로에서 실제 이미지가 내보내기가 되었는지 확인한다.